Unveiling the Artistic Process: Painting a Woman Portrait from Scratch in Photoshop
Introduction:
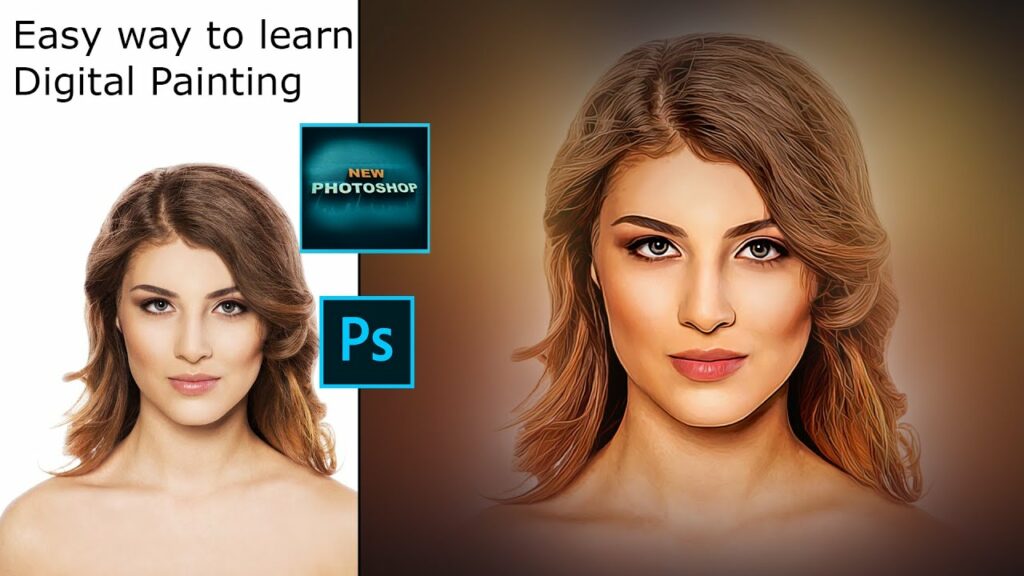
Digital art has revolutionized the way artists express themselves, offering a myriad of tools and techniques to create stunning portraits from scratch. In this extensive guide, we will embark on an immersive journey through the intricate steps of painting a woman portrait in Photoshop. From the initial sketch to the final touches, each stage of this artistic process will be unveiled, providing insights, tips, and a comprehensive roadmap for artists and enthusiasts alike.
Section 1: Setting the Stage – Preparing Your Canvas
Creating a woman portrait from scratch in Photoshop begins with preparing a blank canvas. Open Adobe Photoshop and create a new document with dimensions that suit your artistic vision. Consider the desired resolution, keeping in mind factors such as print quality or digital display.
Once your canvas is ready, set the background color or choose a neutral tone that complements the portrait’s mood. This initial step lays the foundation for the artistic journey ahead.
Section 2: The Initial Sketch – Outlining the Vision
The heart of any portrait lies in the initial sketch, capturing the essence and proportions of the subject. Begin by selecting the Brush or Pencil tool and choose a color that stands out against your background. Sketch the basic outline, focusing on the facial features, proportions, and overall composition.
Pay attention to details such as the placement of eyes, nose, mouth, and the general structure of the face. This phase is about capturing the initial vision before delving into finer details.
Section 3: Defining Facial Features – Eyes, Nose, and Mouth
With the basic sketch in place, it’s time to define the facial features. Zoom in and use a smaller brush to add details to the eyes, nose, and mouth. Pay close attention to proportions, symmetry, and capturing the unique characteristics of your subject.
Experiment with brush opacity and size to create depth and subtle variations in tone. Building up the features gradually allows for more control over the final appearance.
Section 4: Shaping the Face – Adding Shadows and Highlights
To bring dimension to the portrait, focus on shaping the face by adding shadows and highlights. Create a new layer and set it to “Multiply” for shadows and “Overlay” for highlights. Use a soft brush to apply shadows in areas where natural shadows would fall, such as beneath the eyebrows, around the nose, and under the jawline.
Conversely, apply highlights to areas that catch light, like the forehead, cheekbones, and the tip of the nose. Balancing shadows and highlights creates a three-dimensional effect, making the portrait come to life.
Section 5: Hair – Crafting Texture and Flow
Moving on to the hair, consider the style and texture you want to achieve. Create a new layer for the hair and use varied brush strokes to emulate strands and texture. Pay attention to the direction of hair flow, ensuring a natural and flowing appearance.
Experiment with different brushes, opacity levels, and colors to capture the nuances of the subject’s hair. This step allows for creative expression and adds a distinctive touch to the overall portrait.
Section 6: Refining Details – Eyes, Lips, and Fine Features
Return to the facial features and refine details such as eyes, lips, and any other fine features. Zoom in and use a smaller brush to add intricate elements, ensuring realism and capturing the subject’s unique characteristics. Pay attention to subtle nuances like reflections in the eyes or the curvature of the lips.
Refining details is an iterative process, requiring patience and attention to achieve a level of realism that brings the portrait to life.
Section 7: Clothing and Accessories – Infusing Style
If your portrait includes clothing or accessories, it’s time to bring those elements to life. Create separate layers for clothing and accessories, using the appropriate brushes and colors to capture the fabric’s texture or the details of jewelry.
Consider the overall style and mood you want to convey through the subject’s attire. This step adds a layer of personality and enhances the visual storytelling within the portrait.
Section 8: Background – Creating a Cohesive Environment
To complete the composition, turn your attention to the background. Depending on the desired aesthetic, you can choose to keep it simple, add a subtle gradient, or introduce a detailed environment. Create a new layer for the background and use brushes, gradients, or textures to craft a setting that complements the subject.
Consider factors such as lighting, perspective, and color harmony to ensure the background enhances rather than distracts from the main focus – the woman portrait.
Section 9: Color Grading – Harmonizing Tones
Color grading plays a pivotal role in unifying the elements of your portrait. Create adjustment layers for color balance, curves, or selective color, and fine-tune the overall color palette. Experiment with warm or cool tones, emphasizing certain colors to evoke specific moods or atmospheres.
Color grading allows for creative expression and contributes to the overall cohesiveness of your woman portrait.
Section 10: Final Touches – Refinement and Polish
As you approach the conclusion of your portrait, shift your focus to the final touches. Zoom in to inspect details, refine any areas that require attention, and ensure a polished finish. Consider adding subtle effects such as glows, textures, or vignettes to enhance the overall visual appeal.
This phase is about stepping back, evaluating the portrait as a whole, and making subtle adjustments to achieve a refined and professional result.
Section 11: Saving Your Masterpiece – Formats and Considerations
Before saving your woman portrait, consider the intended use and choose an appropriate file format. If the portrait is for digital display or sharing online, JPEG is a commonly used format that balances quality and file size. For projects requiring transparency or layers, PNG is a suitable choice.
If you plan to print your portrait, opt for formats like TIFF or PSD (Photoshop’s native format) to preserve layers and ensure high-quality reproduction.
Section 12: Showcasing Your Art – Sharing and Receiving Feedback
Celebrate your artistic accomplishment by showcasing your woman portrait. Share it on social media, display it in online portfolios, or submit it to digital art communities. Engage with fellow artists, seek constructive feedback, and immerse yourself in the creative dialogue.
Art is a journey of continuous growth, and sharing your work allows you to connect with a diverse community, gain insights, and inspire others on their artistic endeavors.
Conclusion:
Painting a woman portrait from scratch in Photoshop is an intricate and rewarding process that allows artists to express their creativity and capture the essence of their subjects. From the initial sketch to the final touches, each stage of this artistic journey contributes to the overall narrative and visual impact of the portrait.
Through the mastery of digital tools and techniques, artists can transcend the boundaries of traditional art, exploring new dimensions and possibilities. Whether you’re a seasoned digital artist or a passionate beginner, painting a woman portrait in Photoshop offers an immersive and fulfilling experience. Embrace the creative journey, express your unique vision, and let your digital canvas become a reflection of your artistic soul.


