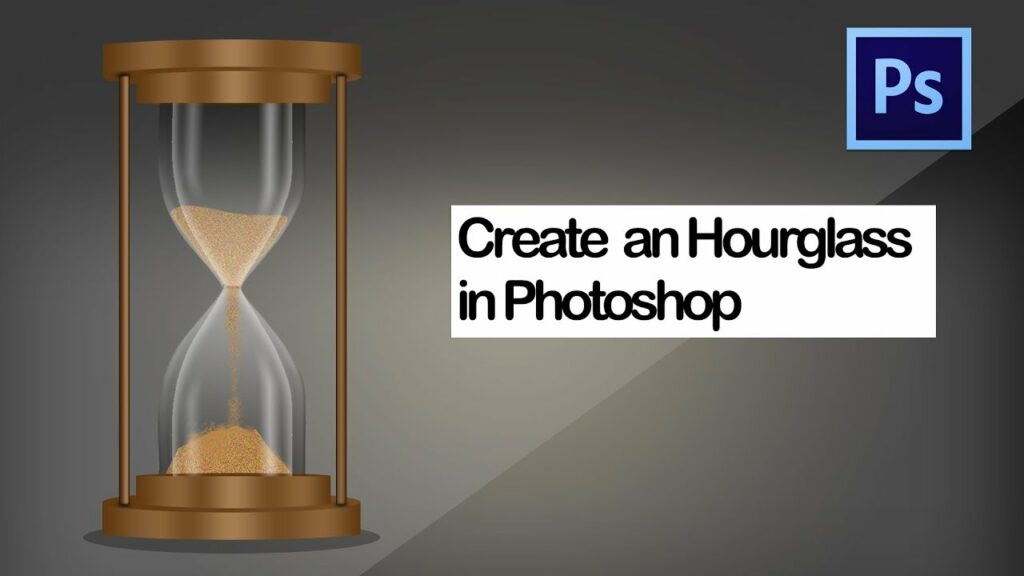
Crafting Time: A Comprehensive Guide to Creating an Hourglass in Photoshop
Introduction:
In the world of digital design, the hourglass stands as an iconic symbol of time, patience, and the inevitable passage of moments. Crafting an hourglass in Photoshop is more than just manipulating shapes; it’s a journey that combines artistic expression with technical precision. In this extensive guide, we will navigate the step-by-step process of creating an hourglass from scratch in Photoshop, exploring tools, techniques, and creative considerations to bring this timeless symbol to life.
Section 1: Inspiration and Research
Before embarking on the creation of an hourglass in Photoshop, gather inspiration and insights from real-life hourglasses, artistic interpretations, and various visual representations of time. Understanding the nuances of hourglass designs, from classic to modern, will inform your creative choices and help you infuse your digital creation with authenticity.
Section 2: Setting Up Your Canvas
Open Adobe Photoshop and create a new document to serve as the canvas for your hourglass masterpiece. Consider the size and resolution based on your intended use – whether it’s for digital illustration, print design, or web graphics. A canvas with ample space provides room for intricate details and allows for a more immersive design process.
Section 3: Basic Shapes and Outlining
Begin the hourglass creation process by outlining the basic shapes. Utilize the Rectangle Tool to draw the upper and lower chambers of the hourglass, ensuring symmetry and proportion. Experiment with different dimensions and ratios to achieve the desired aesthetic – whether you prefer a sleek, modern design or a more traditional and timeless appearance.
Section 4: Forming the Glass Bulbs
To simulate the glass bulbs of the hourglass, create two circular shapes using the Ellipse Tool. Position them at the top and bottom of the outlined rectangles, aligning them with precision. These circles will represent the glass chambers that hold the flowing sand. Adjust the size and proportions to achieve the desired balance.
Section 5: Adding Dimension with Layer Styles
To enhance the realism of the glass bulbs, apply layer styles to create a sense of transparency and reflection. Double-click on the bulb layers to access the Layer Style options. Experiment with settings such as Inner and Outer Glow, Bevel & Emboss, and Gradient Overlay to mimic the refractive properties of glass.
Adjust opacity levels to create a subtle translucency, and play with gradients to simulate the curvature of the glass. These layer style adjustments contribute to the overall visual appeal of the hourglass.
Section 6: Designing the Neck and Connecting Element
Connect the glass bulbs with a narrow neck to complete the hourglass structure. Use the Rectangle Tool to draw a thin vertical shape between the two glass bulbs. Ensure that the neck maintains a consistent width, contributing to the stability and balance of the overall design.
Consider adding a subtle gradient or texture to the neck element, providing visual interest and cohesion with the glass bulbs. This connecting element is crucial for the structural integrity and aesthetic harmony of the hourglass.
Section 7: Creating Realistic Sand Flow
The hallmark of an hourglass lies in the cascading flow of sand from one chamber to the other. To achieve this effect, draw a series of small, tapered rectangles within the upper chamber using the Rectangle Tool. Align them vertically to represent the descending sand.
Experiment with the size and angle of each rectangle to simulate the organic movement of flowing sand. To enhance the realism, consider applying a gradient or texture to the sand elements, creating a sense of texture and dimension.
Section 8: Conveying Movement with Motion Blur
To evoke a dynamic sense of movement, apply motion blur to the descending sand. Select the sand layers and navigate to “Filter” > “Blur” > “Motion Blur.” Adjust the angle and distance settings to emulate the direction and speed of the falling sand particles.
This step adds a cinematic touch to your hourglass, capturing the essence of time in motion. Experiment with different motion blur settings to find the balance that best suits your design.
Section 9: Refining Details and Highlights
Zoom in to your hourglass and refine details to enhance its overall visual impact. Add highlights to the glass bulbs and neck using the Brush Tool or the Dodge/Burn tools. These highlights contribute to the illusion of light interacting with the glass surfaces, creating a polished and realistic appearance.
Fine-tune the shape and positioning of the sand elements, ensuring a natural and flowing motion. Consider the play of light and shadow on the sand particles, refining their appearance for added authenticity.
Section 10: Incorporating Shadows and Ambient Light
To ground your hourglass in a visual context, introduce shadows and ambient light. Create a new layer beneath the hourglass structure and use a soft brush to paint shadows on the surface below. Adjust the opacity and blending mode to achieve a subtle shadow effect that anchors the hourglass in its environment.
Experiment with ambient light by adding a soft glow or gradient around the hourglass, simulating the way light interacts with glass surfaces. These atmospheric touches contribute to the overall realism and depth of your digital creation.
Section 11: Texturing the Hourglass Elements
For added visual interest and authenticity, consider texturing the various elements of your hourglass. Apply subtle patterns, gradients, or overlays to the glass bulbs, neck, and even the falling sand. This step allows you to experiment with different materials and finishes, from sleek and modern to weathered and vintage.
Textures can be applied through layer blending modes or by using overlay layers with textured patterns. Play with blending modes such as Overlay, Soft Light, or Multiply to achieve the desired effect.
Section 12: Customizing Colors and Styles
Tailor the color palette and styles of your hourglass to align with your artistic vision. Experiment with different color variations for the glass bulbs, neck, and sand. Adjust saturation, hue, and brightness levels to create a harmonious and visually pleasing color scheme.
Explore stylistic choices, such as adding a subtle gradient to the background or incorporating decorative elements. This customization allows you to infuse your personality and creative flair into the hourglass design.
Section 13: Adding Decorative Elements
Elevate your hourglass design by incorporating decorative elements or embellishments. This could include ornate patterns, engraved details, or thematic symbols that enhance the overall aesthetic. Create a new layer for these decorative elements and experiment with brushes, patterns, or custom shapes to add intricate details.
Consider the narrative or symbolism you want to convey through your hourglass design, and let these decorative elements contribute to the storytelling aspect of your digital creation.
Section 14: Creating a Dynamic Background
Enhance the visual impact of your hourglass by designing a dynamic background. This could involve adding a textured backdrop, incorporating gradients, or introducing thematic elements that complement the concept of time. Create a new layer behind the hourglass and experiment with various design elements to achieve a cohesive and visually appealing background.
Pay attention to color harmony and balance to ensure that the background enhances rather than distracts from the main focus – the hourglass.
Section 15: Fine-Tuning and Reviewing Your Composition
As you near the completion of your hourglass design, take the time to fine-tune details and review the overall composition. Zoom in to inspect smaller elements, ensuring that textures, highlights, and shadows are consistent and polished. Evaluate the balance of colors and the placement of decorative elements to achieve a cohesive and visually pleasing result.
Consider testing your composition at different zoom levels to ensure that the details hold up, especially if your hourglass design will be viewed across various platforms.
Section 16: Saving and Exporting Your Hourglass Design
Once satisfied with your hourglass design, it’s time to save and export your creation. Consider saving your Photoshop project file (.PSD) to retain all layers and editable elements for future adjustments. Additionally, export your hourglass design in a suitable format for your intended use, such as JPEG or PNG.
Optimize the file size while preserving image quality, especially if your hourglass design is intended for digital platforms or social media. For print projects, ensure that your exported file meets the resolution requirements for high-quality reproduction.
Section 17: Showcasing Your Digital Hourglass
Celebrate your artistic achievement by showcasing your digital hourglass. Share it on social media, incorporate it into your portfolio, or submit it to design communities. Engage with fellow artists, seek constructive feedback, and let your hourglass design become a testament to your creative prowess.
Consider creating variations or exploring different themes with the hourglass concept. Your digital creation has the potential to inspire others and ignite conversations about the passage of time, symbolism, and the intersection of art and technology.
Conclusion:
Crafting an hourglass in Photoshop is an artistic journey that merges technical skills with creative expression. From the initial outlines to the intricate details of falling sand, each step in this comprehensive guide contributes to the creation of a timeless symbol that transcends its digital origins.
Whether you’re a seasoned digital artist or a passionate beginner, the process of designing an hourglass in Photoshop allows for exploration, experimentation, and storytelling. Embrace the symbolism of time, let your creativity flow, and may your digital hourglass stand as a testament to the beauty that can be crafted through the convergence of art and technology.


