Unveiling Creativity: A Comprehensive Guide to Mastering the Stroke Effect in Adobe After Effects
Introduction: In the realm of motion graphics and visual effects, the Stroke effect in Adobe After Effects serves as a versatile tool for adding dynamic lines, outlines, and animated strokes to your compositions. Whether you’re creating stylish text animations, dynamic motion graphics, or captivating visual effects, the Stroke effect offers endless possibilities for creative expression. In this comprehensive guide, we’ll explore the intricacies of the Stroke effect in After Effects, covering its functionalities, applications, and advanced techniques for unleashing its full potential.
Understanding the Stroke Effect
The Stroke effect in Adobe After Effects allows you to create lines, shapes, and outlines that follow the contours of your layers or mask paths. By applying the Stroke effect to a layer, you can define the color, width, opacity, and other attributes of the stroke, as well as animate its properties over time. Whether you’re tracing the outline of a logo, highlighting text, or creating animated doodles, the Stroke effect provides a powerful and intuitive way to add visual interest and emphasis to your compositions.
Getting Started with the Stroke Effect
To begin using the Stroke effect in After Effects, follow these steps:
Step 1: Apply the Stroke Effect
Select the layer or mask path to which you want to apply the Stroke effect in the After Effects timeline. Navigate to the Effects & Presets panel and search for the “Stroke” effect. Apply the effect to your layer by dragging it onto the desired layer or by selecting the layer and double-clicking the effect in the panel.
Step 2: Customize the Stroke Settings
Once the Stroke effect is applied, you’ll have access to a range of parameters for customizing its appearance and behavior. These parameters include:
- Paint Style: Choose between “On Original Image” and “On Transparent” to determine whether the stroke is painted over the original image or on a transparent background.
- Color: Define the color of the stroke by selecting a color from the color picker or entering specific color values.
- Brush Size: Adjust the width of the stroke by specifying the brush size in pixels. Increase the brush size for thicker strokes or decrease it for thinner lines.
- Opacity: Control the transparency of the stroke by adjusting the opacity parameter. Lower opacity values create more transparent strokes, while higher values result in more opaque lines.
- Start and End Points: Specify the start and end points of the stroke by animating the “Start” and “End” parameters. This allows you to reveal or animate the stroke over time, creating dynamic effects and transitions.
Step 3: Animate the Stroke Properties
Explore animation techniques to bring your strokes to life and add dynamic motion to your compositions. Use keyframes to animate the “Start” and “End” parameters of the stroke, creating animated reveals, transitions, and effects. Experiment with easing curves, motion paths, and timing to achieve the desired animation style and pacing.
Step 4: Experiment with Advanced Techniques
Once you’re comfortable with the basics of the Stroke effect, experiment with advanced techniques and creative applications to push the boundaries of your animations. This may include:
- Masking and Track Matte: Combine the Stroke effect with masking and track matte techniques to create complex shapes and animations. Use masks to define the shape of the stroke or to reveal specific areas of your composition.
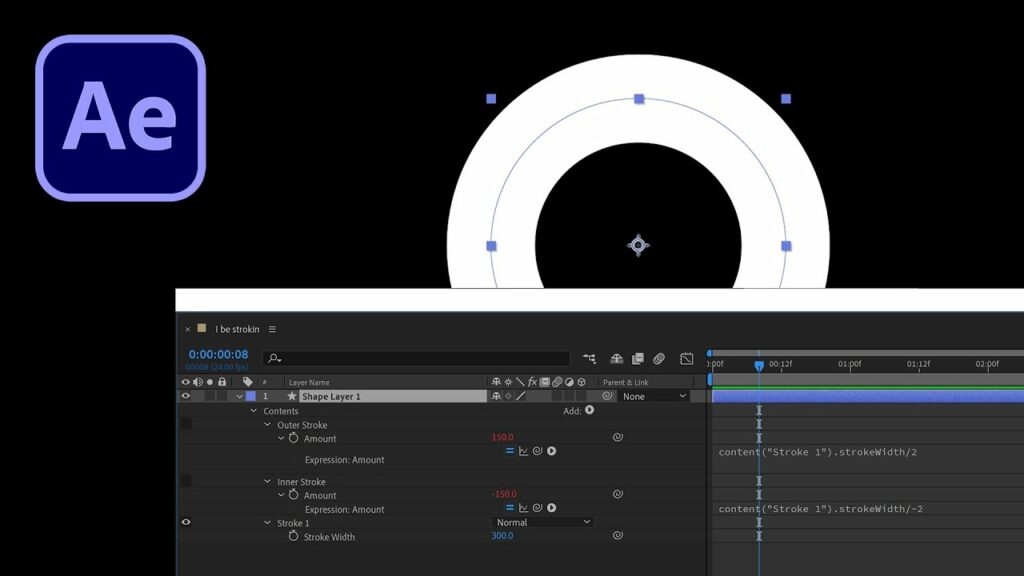
- Shape Layers and Paths: Utilize shape layers and paths in After Effects to create custom strokes and outlines with precise control over their shape, curvature, and styling. Experiment with shape layer properties, such as stroke width, line caps, and dashed lines, to achieve unique visual effects.
- Text Animation: Apply the Stroke effect to text layers in After Effects to create stylish text animations and typography effects. Use the stroke as an outline or highlight for your text, and animate its properties to create dynamic text reveals, transitions, and effects.
- Particle Systems and Effects: Combine the Stroke effect with particle systems and other visual effects in After Effects to create intricate and dynamic animations. Experiment with effects such as Trapcode Particular or CC Particle Systems to add depth, motion, and complexity to your strokes.
Tips for Optimizing Your Workflow
To streamline your workflow and optimize your use of the Stroke effect in After Effects, consider the following tips:
- Pre-compose and Nest Layers: Pre-compose and nest layers in After Effects to organize your composition and simplify the application of the Stroke effect. This allows you to apply strokes to multiple layers or compositions simultaneously and maintain a clean and structured project hierarchy.
- Use Adjustment Layers: Apply the Stroke effect to adjustment layers in After Effects to create global stroke effects that affect multiple layers in your composition. This allows you to apply strokes to entire scenes or sequences with ease and flexibility.
- Save Custom Presets: Save custom presets for the Stroke effect settings that you frequently use to speed up your workflow and maintain consistency across projects. This allows you to quickly apply predefined stroke styles and animations without having to manually adjust settings each time.
- Experiment with Blending Modes: Experiment with blending modes and layer styles in After Effects to blend strokes seamlessly with your composition and create interesting visual effects. Try overlaying strokes with different blending modes, such as Multiply or Screen, to achieve unique and dynamic results.
- Practice and Experiment: Finally, don’t be afraid to practice and experiment with the Stroke effect in After Effects. Try out different techniques, styles, and animation ideas to discover new ways of using the effect and unleash your creativity.
Conclusion
The Stroke effect in Adobe After Effects offers a powerful and versatile tool for adding dynamic lines, outlines, and animated strokes to your compositions. Whether you’re creating motion graphics, visual effects, or animated illustrations, the Stroke effect provides endless possibilities for creative expression and experimentation. By mastering the intricacies of the Stroke effect and exploring advanced techniques and creative applications, you can elevate your animations to new heights of visual impact and storytelling.
As you delve into the world of the Stroke effect in After Effects, remember that creativity knows no bounds. Experiment, explore, and push the boundaries of your imagination to discover new ways of using strokes and lines to enhance your animations and captivate your audience. With dedication, practice, and a willingness to learn, you’ll unlock the full potential of the Stroke effect and create stunning animations that leave a lasting impression.


