Mastering Animation: A Comprehensive Guide to Creating a Cartoon Character Rig in Adobe After Effects
Introduction: Cartoon characters have a timeless appeal, captivating audiences with their charm, expressiveness, and whimsical personalities. Behind the seamless motion and fluid performances of these characters lies the art of character rigging—a process that involves creating a skeletal structure and controls to manipulate the character’s movements and expressions. In the realm of digital animation, Adobe After Effects stands as a powerful tool for creating cartoon character rigs, offering a robust set of features and tools for animators to bring their characters to life. In this comprehensive guide, we’ll delve into the intricacies of creating a cartoon character rig in After Effects, covering everything from character design to rigging techniques and animation principles.
Understanding Character Rigging in After Effects
Character rigging in Adobe After Effects involves creating a hierarchical structure of layers and controls that allow animators to pose and animate the character with precision and flexibility. The rig serves as the skeleton of the character, providing a framework for manipulating its various parts, including limbs, facial features, and props. By setting up a comprehensive rig, animators can achieve smooth, lifelike movements and bring their characters to life with dynamic performances.
Step-by-Step Guide to Creating a Cartoon Character Rig
Step 1: Character Design and Preparation
Begin by designing your cartoon character in a separate graphics software, such as Adobe Illustrator or Photoshop. Break down the character into individual parts, including the head, body, limbs, and facial features. Organize these parts into layers, ensuring that each element is easily accessible for rigging and animation.
Step 2: Import and Organize Layers in After Effects
Import the layered artwork of your character into After Effects by selecting “File” > “Import” > “File” and choosing the appropriate file format. Once imported, organize the layers in the After Effects timeline, arranging them hierarchically according to their relationship to one another. For example, place the limbs and facial features within groups or pre-compositions to maintain a clean and organized rig structure.
Step 3: Set Up the Rigging Controls
With your character layers organized, it’s time to set up the rigging controls that will allow you to manipulate the character’s movements and expressions. This involves creating null objects, sliders, and other control layers to act as handles for animating specific parts of the character. For example, you can create null objects to control the position and rotation of the limbs, as well as sliders to adjust facial expressions and mouth shapes.
Step 4: Parenting and Linking Layers
Connect the various parts of the character together using the parenting and linking features in After Effects. Parent each layer to its corresponding control layer or to other parts of the character hierarchy to establish the relationship between them. This allows you to move and rotate the character as a whole while maintaining the independence of each individual part.
Step 5: Rigging Advanced Features and Expressions
Explore advanced rigging techniques and expressions to add additional functionality and interactivity to your character rig. This may include setting up inverse kinematics (IK) for more natural limb movement, creating automated behaviors using expressions, or implementing dynamic effects such as squash and stretch for added personality and appeal.
Step 6: Testing and Refinement
Once the rig is set up, test its functionality by posing and animating the character in various scenarios. Pay attention to the range of motion, flexibility, and responsiveness of the rig, and make any necessary adjustments or refinements to improve its performance. Iterate on the rig design and animation until you’re satisfied with the results.
Advanced Techniques and Tips
To enhance the effectiveness and versatility of your cartoon character rig in After Effects, consider exploring the following advanced techniques and tips:
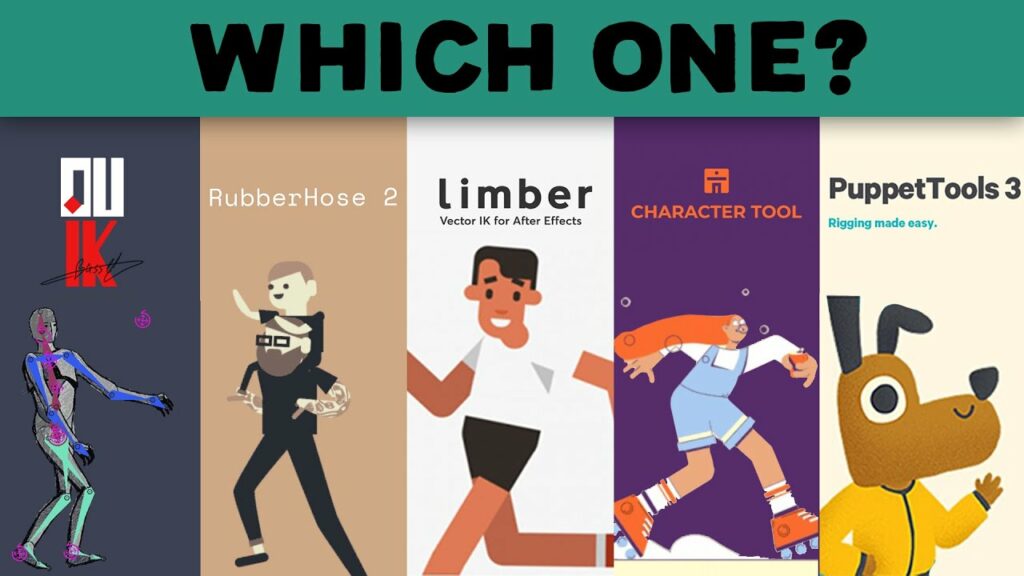
- Character Studio Scripts: Utilize third-party scripts and plugins, such as Duik Bassel or RubberHose, to streamline the rigging process and add advanced features to your character rig. These tools offer powerful rigging and animation capabilities, including automatic IK setup, rigging templates, and advanced controller systems.
- Mesh Deformation: Experiment with mesh deformation techniques, such as puppet pins or the Puppet tool in After Effects, to add organic deformation and secondary motion to your character rig. This allows you to create more dynamic and expressive character animations with fluid body movements and facial expressions.
- Expression Controls and Rigging Presets: Take advantage of expression controls and rigging presets to create customizable character rigs that can be easily modified and reused across different projects. Use expressions to automate repetitive tasks and add procedural animation effects, such as automated lip syncing or eye blinks, to your character rig.
- Collaborative Rigging: Collaborate with other animators and riggers to share techniques, resources, and best practices for character rigging in After Effects. Participate in online communities, forums, and workshops to learn from others and expand your knowledge and skills in rigging and animation.
- Performance Optimization: Optimize your character rig for performance and efficiency by minimizing the number of layers, effects, and expressions used. Avoid using excessive detail or unnecessary complexity that may slow down playback or render times. Use pre-rendered elements or proxy layers to speed up the animation workflow and improve overall responsiveness.
Conclusion
Creating a cartoon character rig in Adobe After Effects opens up a world of creative possibilities for animators and storytellers. By mastering the art of character rigging, you can breathe life into your characters and convey emotions, expressions, and narratives with depth and nuance. Whether you’re crafting whimsical cartoons, dynamic motion graphics, or interactive multimedia projects, the ability to create versatile and expressive character rigs is essential for engaging and captivating audiences.
As you embark on your journey to create cartoon character rigs in After Effects, remember that rigging is as much an art as it is a science. Experiment, explore, and push the boundaries of creativity to discover new techniques and approaches that elevate your character animation to new heights. With dedication, practice, and a willingness to learn, you’ll unlock the full potential of character rigging in After Effects and bring your characters to life with charm, personality, and flair.


