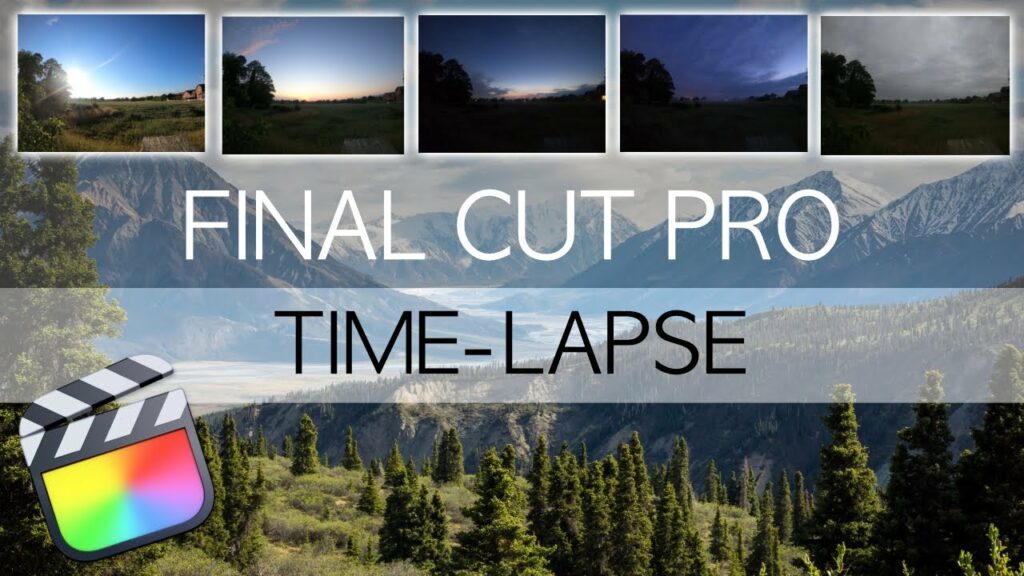
Mastering Time-Lapse Video Creation in Final Cut Pro: A Comprehensive Guide

Time-lapse videos are a captivating way to showcase the passage of time, compressing hours, days, or even years into a short sequence. Whether capturing the movement of clouds, the hustle and bustle of city streets, or the blooming of flowers, time-lapse videos offer a unique perspective on the world around us. Final Cut Pro, a leading video editing software, provides powerful tools and features for creating stunning time-lapse videos with ease and precision. In this comprehensive guide, we’ll explore the intricacies of creating time-lapse videos in Final Cut Pro, unveiling techniques, workflows, and expert tips to help you master this dynamic form of visual storytelling and enhance your video projects.
Understanding Time-Lapse Video Creation in Final Cut Pro
Before we delve into the practical aspects, let’s first understand the concept and significance of time-lapse video creation. Time-lapse photography involves capturing a series of still images at set intervals over a period of time and then combining them into a video sequence. This technique allows filmmakers and photographers to condense long periods of time into short, visually compelling videos that showcase changes and movements not readily apparent to the naked eye. With Final Cut Pro, you can seamlessly assemble and edit time-lapse sequences, apply effects, and export high-quality videos for sharing with audiences worldwide.
Step-by-Step Guide to Creating Time-Lapse Videos in Final Cut Pro
- Capture Time-Lapse Footage: Begin by capturing your time-lapse footage using a camera capable of interval shooting or time-lapse photography. Set up your camera on a stable tripod and choose a compelling subject or scene to capture over time.
- Import Footage into Final Cut Pro: Once you’ve captured your time-lapse footage, transfer it to your computer and import it into Final Cut Pro. Organize your footage in the event browser for easy access.
- Create a New Project: Open Final Cut Pro and create a new project timeline for your time-lapse video. Set the desired project settings, including resolution, frame rate, and aspect ratio.
- Import Footage into Timeline: Drag your time-lapse footage from the event browser onto the timeline in Final Cut Pro. Adjust the duration of the clips as needed to achieve the desired length for your time-lapse sequence.
- Adjust Clip Speed (Optional): Depending on the interval at which you captured your time-lapse footage, you may need to adjust the speed of the clips to achieve the desired playback rate. Select the clips on the timeline, go to the speed controls in the inspector panel, and adjust the speed percentage accordingly.
- Apply Effects and Enhancements (Optional): Enhance the visual impact of your time-lapse video by applying effects, color correction, and other enhancements in Final Cut Pro. Experiment with adjustments such as contrast, saturation, and exposure to achieve the desired look and mood for your time-lapse sequence.
- Add Music or Sound Effects (Optional): To further enhance the mood and atmosphere of your time-lapse video, consider adding background music or sound effects. Import audio files into Final Cut Pro, drag them onto the timeline, and adjust the volume levels as needed to complement the visuals.
- Create Transitions (Optional): Smoothly transition between clips in your time-lapse sequence by adding transitions such as fades, dissolves, or wipes. Use the transitions browser in Final Cut Pro to browse and apply a variety of transition effects to your clips.
- Add Titles or Text (Optional): Provide context or additional information for your time-lapse video by adding titles, captions, or text overlays. Use the text tool in Final Cut Pro to create and customize text elements, and position them on the screen as desired.
- Preview and Playback: Continuously preview your time-lapse video in Final Cut Pro to assess its visual quality, pacing, and overall impact. Playback the sequence to ensure smooth transitions, accurate color grading, and synchronized audio.
- Export Your Video: Once satisfied with your time-lapse video, export it in the desired format and resolution for sharing or distribution. Choose the appropriate output settings to ensure optimal video quality and compatibility with your intended playback platform.
Tips and Best Practices for Creating Time-Lapse Videos
- Choose the Right Subject: Select a compelling subject or scene for your time-lapse video, such as a bustling city street, a scenic landscape, or a dynamic natural phenomenon. Consider factors such as movement, lighting, and composition when choosing your subject.
- Use Manual Exposure and Focus: To ensure consistent exposure and focus throughout your time-lapse sequence, use manual exposure and focus settings on your camera. Avoid using auto-exposure or auto-focus, as they can result in inconsistent results and flickering in the final video.
- Experiment with Interval Settings: Adjust the interval settings on your camera to capture different time-lapse effects. Shorter intervals will result in faster movement and smoother transitions, while longer intervals will create a more gradual sense of change over time.
- Plan Your Composition: Before capturing your time-lapse footage, carefully plan your composition and framing to ensure a visually engaging result. Consider elements such as foreground interest, leading lines, and framing techniques to create a dynamic and balanced composition.
- Use Motion Blur (Optional): To create a more cinematic look and smooth out movement in your time-lapse video, consider adding motion blur effects in Final Cut Pro. Experiment with blur settings to achieve the desired level of realism and fluidity in your footage.
Conclusion
Creating time-lapse videos in Final Cut Pro is a rewarding and creative process that allows you to showcase the passage of time in a visually compelling way. By following the steps outlined in this guide and embracing best practices, you’ll be well-equipped to capture, assemble, and edit stunning time-lapse sequences that captivate and inspire your audience. Whether you’re documenting the changing seasons, capturing the hustle and bustle of city life, or revealing the beauty of the natural world, Final Cut Pro provides the tools and capabilities you need to bring your time-lapse visions to life with precision and impact. So, unleash your creativity, explore new perspectives, and let Final Cut Pro be your platform for immersive and captivating time-lapse storytelling.


