Mastering the Art of Green Screen (Chroma Key) in Premiere Pro: A Comprehensive Guide
The green screen, also known as chroma keying, is a powerful technique used in video production to replace a specific color in a scene with another image or footage. This technique allows filmmakers and content creators to place subjects in virtually any location or environment, unlocking creative possibilities and enhancing visual storytelling. Adobe Premiere Pro, one of the industry-leading video editing software, offers robust tools and features for effectively using green screens in your projects. In this comprehensive guide, we’ll delve into the intricacies of using green screen (chroma key) in Premiere Pro, exploring techniques, workflows, and expert tips to help you master this dynamic editing technique and elevate your video productions.
Understanding Green Screen (Chroma Key) in Premiere Pro
Before we dive into the practical aspects, let’s first understand the concept and significance of green screen (chroma key) in video production. Chroma keying involves isolating a specific color from a video clip or image, typically green or blue, and replacing it with another background or footage. The green screen technique is widely used due to its consistent color, minimal interference with skin tones, and ease of removal in post-production. By using green screen in Premiere Pro, filmmakers can seamlessly integrate subjects into different environments, create visual effects, and enhance the overall production value of their videos.
Step-by-Step Guide to Using Green Screen in Premiere Pro
- Capture Green Screen Footage: Begin by capturing your desired footage against a green screen background. Ensure proper lighting to achieve an evenly lit green screen with minimal shadows or wrinkles.
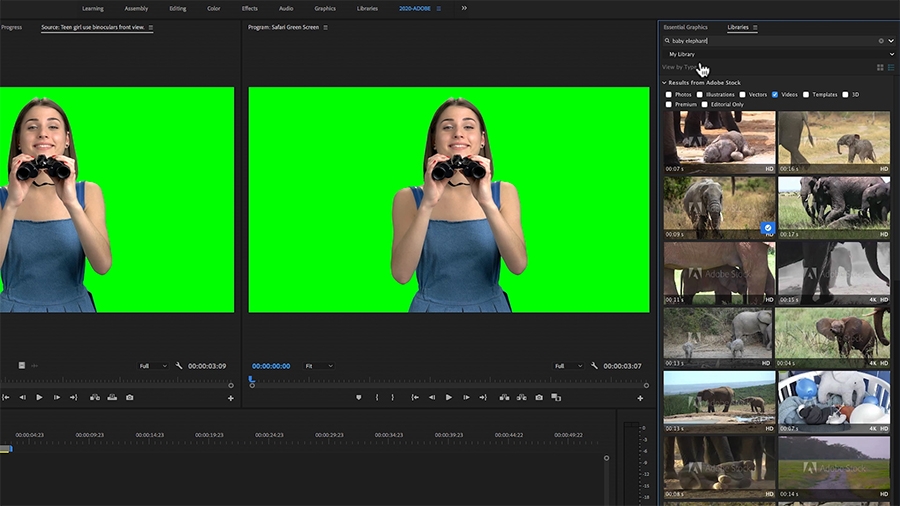
- Import Footage into Premiere Pro: Open Premiere Pro and import both your green screen footage and the background footage or image you wish to use as the replacement background.
- Place Green Screen Footage on Timeline: Drag your green screen footage onto the timeline in Premiere Pro. Position it on the video track above the background footage or image.
- Apply the Ultra Key Effect: Select the green screen footage on the timeline and navigate to the Effects panel. Search for the Ultra Key effect and drag it onto the green screen footage.
- Adjust Ultra Key Settings: With the green screen footage selected, go to the Effect Controls panel. In the Ultra Key effect settings, use the eyedropper tool to select the green color in the footage as the key color. Adjust the settings such as Matte Generation, Transparency, and Matte Cleanup to refine the keying effect and achieve clean edges.
- Fine-Tune Matte Settings: Depending on the complexity of the green screen footage and the desired level of precision, fine-tune the matte settings to ensure accurate keying. Use parameters such as Matte Generation, Matte Cleanup, and Choke to eliminate spill, soften edges, and enhance transparency.
- Review and Refine: Continuously preview the green screen keying effect in Premiere Pro to assess its visual quality. Make adjustments to the Ultra Key settings as needed to achieve the desired level of keying accuracy and transparency.
- Add Background Footage or Image: Once satisfied with the green screen keying effect, drag the background footage or image onto the timeline below the green screen footage. Position it on the video track to align with the keyed subject.
- Fine-Tune Composition: Adjust the timing, duration, and positioning of the background footage or image to ensure seamless integration with the keyed subject. Use the Transform controls in the Effect Controls panel to scale, position, and rotate the background as needed.
- Apply Additional Effects (Optional): To further enhance the visual impact of your composition, consider applying additional effects or adjustments to the keyed subject and background. Experiment with color correction, blur, or stylization effects to achieve the desired look and mood.
- Preview and Playback: Continuously preview your composition in Premiere Pro to assess its visual quality and coherence. Playback the sequence to ensure smooth transitions and seamless integration between the keyed subject and background.
- Export Your Composition: Once satisfied with your green screen composition, export the final video in the desired format and resolution for distribution or further editing. Choose the appropriate output settings to ensure optimal video quality and compatibility with your intended playback platform.
Tips and Best Practices for Using Green Screen in Premiere Pro
- Ensure Proper Lighting: Proper lighting is essential for achieving a clean and consistent green screen keying effect. Use diffused lighting to minimize shadows and wrinkles on the green screen backdrop.
- Shoot in High Resolution: Whenever possible, capture your green screen footage in high resolution and quality to preserve details and ensure better keying results in post-production.
- Avoid Spill and Reflections: Minimize spill and reflections from the green screen onto the subject by positioning the subject at an appropriate distance from the backdrop and using flags or screens to block unwanted light.
- Experiment with Keying Controls: Don’t hesitate to experiment with different keying controls and settings in Premiere Pro to achieve the best results for your footage. Adjust parameters such as Tolerance, Edge Thin, and Edge Feather to fine-tune the keying effect and improve edge blending.
- Use Multiple Keying Effects: For complex green screen footage with uneven lighting or varying shades of green, consider using multiple instances of the Ultra Key effect or combining it with other keying effects such as Matte Key or Color Key to achieve optimal results.
Conclusion
Using green screen (chroma key) in Premiere Pro is a versatile and powerful technique that opens up a world of creative possibilities in video production. By following the steps outlined in this guide and embracing best practices, you’ll be well-equipped to create seamless and visually compelling compositions that captivate and engage your audience. Whether you’re integrating subjects into different environments, creating visual effects, or enhancing storytelling, Premiere Pro provides the tools and capabilities you need to achieve professional-grade results. So, unleash your creativity, experiment fearlessly, and let Premiere Pro be your gateway to immersive and dynamic video productions with green screen magic.


