Mastering the Ripple Delete Tool in Premiere Pro: A Comprehensive Guide
Premiere Pro, Adobe’s flagship video editing software, is renowned for its robust set of tools that streamline the editing process and empower creators to bring their vision to life. One such tool, the Ripple Delete tool, is a powerful feature that allows editors to efficiently remove unwanted gaps in their timeline while automatically adjusting adjacent clips to maintain the overall sequence’s integrity. In this comprehensive guide, we’ll explore the intricacies of using the Ripple Delete tool in Premiere Pro, uncovering techniques, workflows, and expert tips to help you master this essential editing function and optimize your post-production workflow.
Understanding the Ripple Delete Tool in Premiere Pro
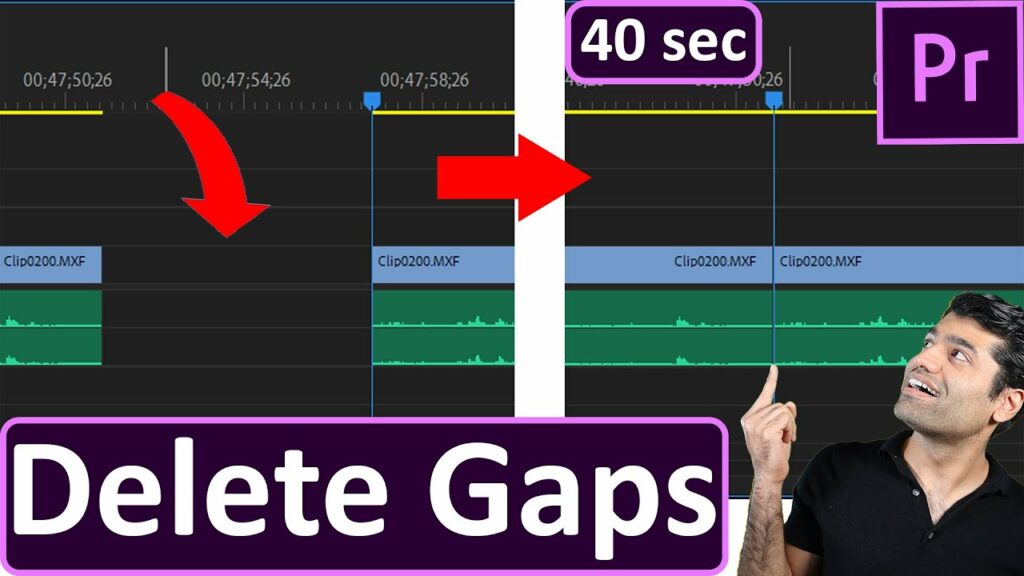
Before we delve into the practical aspects, it’s important to understand the concept and significance of the Ripple Delete tool. The Ripple Delete tool is designed to streamline the editing process by automatically closing gaps in the timeline when removing clips or segments. When a clip is deleted using the Ripple Delete tool, Premiere Pro automatically shifts the subsequent clips forward to fill the empty space, maintaining the overall duration and sequence of the timeline. This allows editors to quickly and efficiently remove unwanted portions of their edit without disrupting the flow of their project.
Step-by-Step Guide to Using the Ripple Delete Tool in Premiere Pro
- Open Your Project in Premiere Pro: Launch Premiere Pro and open the project containing the sequence you wish to edit using the Ripple Delete tool. Navigate to the project panel and double-click on the desired sequence to open it in the timeline.
- Identify Unwanted Clips or Gaps: Scrutinize your timeline and identify any unwanted clips, segments, or gaps that you wish to remove using the Ripple Delete tool. These may include unused footage, unnecessary transitions, or gaps between clips.
- Select the Clip or Segment to Delete: Using the selection tool (V), click on the clip or segment you want to delete from the timeline. If you want to remove a gap between clips, click on the empty space between them.
- Apply the Ripple Delete Command: With the clip or segment selected, navigate to the Edit menu at the top of the Premiere Pro interface. From the drop-down menu, select “Ripple Delete” or use the keyboard shortcut (Shift + Delete / Backspace) to apply the Ripple Delete command.
- Observe the Timeline Adjustment: Upon executing the Ripple Delete command, Premiere Pro automatically adjusts the timeline by closing the gap created by the deleted clip or segment. Adjacent clips are shifted forward in time to fill the empty space, ensuring a seamless transition and maintaining the overall sequence duration.
- Fine-Tune the Edit (Optional): After applying the Ripple Delete command, review the timeline to ensure that the edit meets your expectations. If necessary, use the undo command (Ctrl + Z / Cmd + Z) to revert the edit or make additional adjustments as needed.
- Repeat the Process as Necessary: Continue identifying and removing unwanted clips, segments, or gaps from the timeline using the Ripple Delete tool as needed. This iterative process allows you to refine your edit and streamline the flow of your project efficiently.
- Preview and Playback: After completing the editing process, preview the sequence in the timeline to assess the visual flow and coherence of your project. Playback the sequence to ensure smooth transitions and seamless continuity between clips.
- Save Your Project: Once satisfied with the edits, save your project in Premiere Pro to preserve your changes and ensure that your work is securely backed up for future reference or revisions.
Tips and Best Practices for Using the Ripple Delete Tool
- Keyboard Shortcut Efficiency: Familiarize yourself with the keyboard shortcut (Shift + Delete / Backspace) for applying the Ripple Delete command. This shortcut allows for faster and more efficient editing, minimizing the need to navigate through menus.
- Use in Conjunction with Other Tools: Combine the Ripple Delete tool with other editing techniques and tools in Premiere Pro to optimize your workflow. For example, you can use the Ripple Delete tool in conjunction with the Razor tool to quickly trim and remove unwanted sections of your timeline.
- Preview Before Applying: Before applying the Ripple Delete command, preview the edit to ensure that the removal of the clip or segment does not disrupt the continuity or flow of your project. This proactive approach helps avoid unintended consequences and maintains the overall integrity of your edit.
- Backup Your Project: Regularly save and backup your Premiere Pro project to prevent data loss and protect your work against unexpected software crashes or system failures. Consider using cloud storage or external drives for additional redundancy and peace of mind.
- Experiment and Iterate: Don’t be afraid to experiment with different editing techniques and approaches using the Ripple Delete tool. Iterate on your edits, fine-tune your sequences, and explore creative possibilities to achieve the desired outcome for your project.
Conclusion
The Ripple Delete tool in Premiere Pro is a valuable asset in the toolkit of video editors, offering a streamlined and efficient way to remove unwanted clips, segments, or gaps from the timeline while maintaining the overall sequence’s integrity. By following the steps outlined in this guide and embracing best practices, you’ll be well-equipped to leverage the power of the Ripple Delete tool to optimize your post-production workflow, streamline your edits, and enhance the visual flow of your projects. So, dive in, experiment fearlessly, and let the Ripple Delete tool be your ally in the pursuit of seamless and captivating video storytelling in Premiere Pro.


