Mastering the Art of Sunset Enhancement: A Comprehensive Guide to Elevating Sunset Photos with Photoshop
Introduction:
Capturing the beauty of a sunset is a timeless endeavor for photographers, and with the capabilities of Adobe Photoshop, the artistic potential of sunset images can be taken to new heights. This comprehensive guide delves into the intricate process of enhancing a sunset photo with Photoshop, unraveling the techniques that transform a captivating sunset into a visual masterpiece. From adjusting colors and tones to creating dramatic effects, this guide explores the myriad tools and features that Photoshop offers for elevating sunset photography.
I. Understanding the Essence of a Sunset Photo:
1.1 The Allure of Sunset Photography:
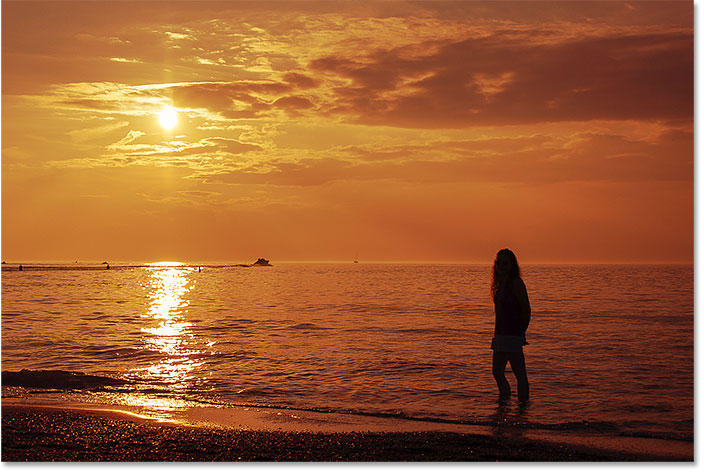
- Sunset photography encapsulates the ephemeral beauty of nature, painting the sky with warm hues and casting a magical glow over the landscape.
- Enhancing a sunset photo in Photoshop is about preserving and amplifying the natural spectacle while infusing creative elements.
1.2 The Role of Photoshop in Sunset Enhancement:
- Adobe Photoshop serves as a powerful ally for photographers, offering a range of tools to refine colors, contrast, and overall composition.
- The goal is not to replace the authenticity of the original photo but to enhance its visual impact.
II. Choosing the Right Sunset Photo:
2.1 Criteria for Selection:
- Start with a high-quality sunset photograph that captures the essence of the scene, including vibrant colors, interesting cloud formations, and compelling foreground elements.
- Consider the overall composition, ensuring that the photo has a focal point that will anchor the viewer’s attention.
2.2 Preparing the Image:
- Open the chosen sunset image in Photoshop, creating a duplicate layer to preserve the original.
- Name the duplicate layer for organizational clarity and maintain a non-destructive editing approach.
III. Adjusting Colors and Tones:
3.1 Utilizing the Color Balance Tool:
- Access the Color Balance adjustment layer to fine-tune the color tones in the image.
- Adjust the sliders for shadows, midtones, and highlights to enhance or modify the colors present in the sunset.
3.2 Enhancing Saturation with Vibrance and Hue/Saturation:
- Utilize the Vibrance and Hue/Saturation adjustment layers to selectively boost the saturation of specific colors without oversaturating the entire image.
- Fine-tune the settings to achieve a balanced and visually appealing color palette.
IV. Emphasizing Contrast and Dynamics:
4.1 Leveraging the Levels Adjustment:
- Use the Levels adjustment layer to enhance contrast by adjusting the black and white points.
- This helps bring out details in both the foreground and the sky, adding depth and dimension to the sunset photo.
4.2 Applying Gradient Maps for Dramatic Effects:
- Experiment with Gradient Maps to create dramatic effects and emphasize the dynamic range of the sunset.
- Choose a gradient that complements the existing colors or introduces contrasting tones for a bold impact.
V. Refining Details and Sharpness:
5.1 Sharpening Techniques:
- Apply sharpening techniques, such as the Unsharp Mask filter, to enhance the details in the photo.
- Be cautious not to over-sharpen, as this can result in an unnatural appearance.
5.2 Dodging and Burning:
- Use the Dodge and Burn tools to selectively lighten or darken specific areas of the image.
- This technique allows for greater control over highlights and shadows, adding subtlety to the overall composition.
VI. Introducing Lens Flares and Sunbursts:
6.1 Creating Natural-Looking Lens Flares:
- Add natural-looking lens flares to enhance the warmth and authenticity of the sunset.
- Utilize the Lens Flare filter and experiment with different positions and intensities to find the most pleasing effect.
6.2 Embracing Sunburst Effects:
- Introduce sunburst effects by strategically placing a radial blur at the location of the sun in the photo.
- Adjust the settings to achieve a soft and realistic sunburst that complements the overall atmosphere.
VII. Experimenting with Cloud Enhancements:
7.1 Enhancing Cloud Details:
- Amplify the details in the clouds by using the High Pass filter.
- Apply the filter to a duplicate layer, change the blending mode to Overlay, and adjust the opacity for subtlety.
7.2 Adding Dynamic Cloud Textures:
- Experiment with cloud textures by overlaying images of clouds to introduce depth and movement.
- Adjust the blending mode and opacity to seamlessly integrate the additional cloud textures.
VIII. Finalizing the Composition:
8.1 Reviewing and Iterating:
- Step back and review the enhanced sunset photo, making any necessary adjustments to achieve the desired visual impact.
- Consider iterating the process to explore different creative possibilities.
8.2 Exporting the Final Image:
- Save the final image in the desired format and resolution, considering the intended use (web, print, etc.).
- Preserve layers for future edits and experimentation.
IX. Conclusion:
Enhancing a sunset photo with Photoshop is a journey of creative exploration, where the nuances of color, contrast, and composition are carefully orchestrated to elevate the visual impact of the original image. By understanding the diverse array of tools and techniques available in Photoshop, photographers can breathe new life into sunset photos, transforming them into captivating works of art. Embrace experimentation, let your creativity flourish, and allow Photoshop to be your trusted companion in capturing and enhancing the awe-inspiring beauty of sunsets. As you delve into the intricate process outlined in this guide, the magic of Photoshop will unfold, and your enhanced sunset photos will tell stories of vibrant skies and tranquil horizons.


