Mastering the Art of Screenshots: A Comprehensive Guide to Using the Snipping Tool in Windows 7
In the digital age, capturing and sharing screenshots has become an indispensable part of our daily computing experience. Whether you’re documenting software issues, sharing information with colleagues, or simply preserving memories, the ability to capture precise screenshots is invaluable. Fortunately, Windows 7 offers a powerful built-in tool known as the Snipping Tool, designed to make screenshot capture a breeze. In this extensive guide, we’ll explore the ins and outs of using the Snipping Tool in Windows 7, empowering you to capture, annotate, and share screenshots with precision and ease.
Understanding the Snipping Tool:
Before diving into the intricacies of screenshot capture, let’s first understand what the Snipping Tool is and what it offers:
- Capture Screenshots: The Snipping Tool allows you to capture screenshots of your entire screen, a specific window, or a custom-selected area. This flexibility enables you to capture exactly what you need, whether it’s a full-page screenshot or a specific element on your screen.
- Annotate and Highlight: In addition to capturing screenshots, the Snipping Tool provides basic annotation tools, such as a pen and highlighter, allowing you to mark up your screenshots with notes, arrows, and highlights. This makes it easy to draw attention to specific details or provide context to your screenshots.
- Save and Share: Once you’ve captured and annotated your screenshot, the Snipping Tool allows you to save it as an image file (e.g., PNG, JPEG, GIF) or copy it to the clipboard for easy sharing via email, messaging apps, or image editing software. This makes it simple to share screenshots with colleagues, friends, or technical support personnel.
Using the Snipping Tool:
Now that we have a basic understanding of what the Snipping Tool offers, let’s dive into the step-by-step process of using it to capture and annotate screenshots in Windows 7:
- Accessing the Snipping Tool:
- Click on the Start button in the taskbar.
- Type “Snipping Tool” in the search box and press Enter.
- Alternatively, navigate to “All Programs” > “Accessories” > “Snipping Tool” from the Start menu.
- Choosing a Snip Type:
- Once the Snipping Tool window is open, click on the “New” button.
- The Snipping Tool offers four types of snips: Free-form Snip, Rectangular Snip, Window Snip, and Full-screen Snip.
- Select the desired snip type by clicking on it. Each snip type offers a different way to capture screenshots.
- Capturing a Screenshot:
- Depending on the selected snip type, follow these steps to capture a screenshot:
- Free-form Snip: Click and drag the cursor to draw a free-form shape around the area you want to capture.
- Rectangular Snip: Click and drag the cursor to create a rectangular selection around the area you want to capture.
- Window Snip: Click on the window you want to capture. The Snipping Tool will automatically capture the selected window.
- Full-screen Snip: The Snipping Tool will immediately capture the entire screen.
- Depending on the selected snip type, follow these steps to capture a screenshot:
- Annotating the Screenshot:
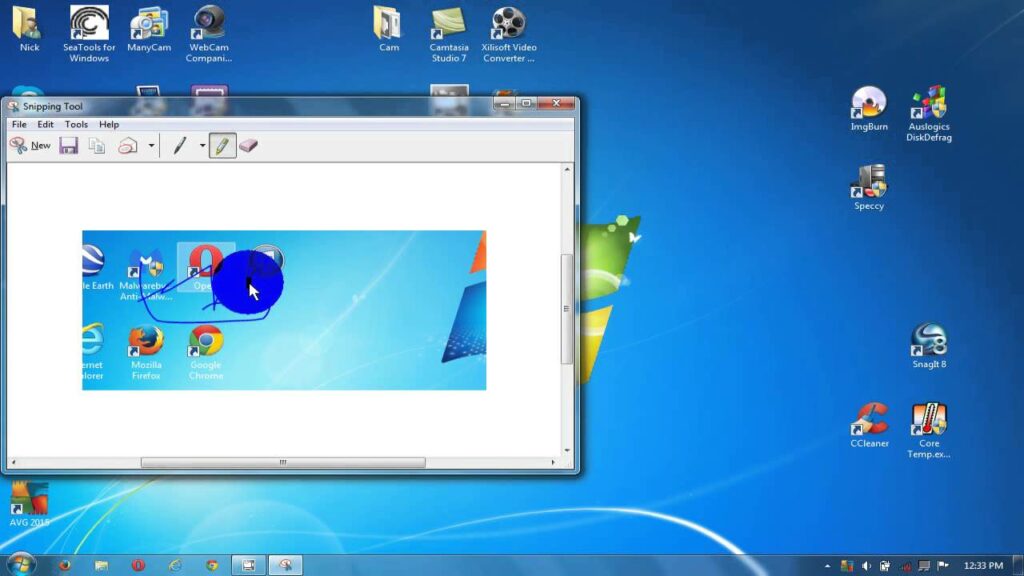
- After capturing a screenshot, the Snipping Tool window will display the screenshot along with basic annotation tools.
- Use the Pen tool to draw freehand annotations, the Highlighter tool to highlight important areas, and the Eraser tool to remove annotations.
- You can also use the Text tool to add text boxes to your screenshot, providing additional context or instructions.
- Saving and Sharing the Screenshot:
- Once you’ve annotated the screenshot to your satisfaction, click on the “File” menu in the Snipping Tool window.
- Select “Save As” to save the screenshot as an image file (e.g., PNG, JPEG, GIF) to your desired location on your computer.
- Alternatively, select “Copy” to copy the screenshot to the clipboard for easy pasting into other applications or documents.
Advanced Tips and Tricks:
Now that you’re familiar with the basics of using the Snipping Tool, let’s explore some advanced tips and tricks to take your screenshot game to the next level:
- Keyboard Shortcuts: To quickly open the Snipping Tool, you can use the keyboard shortcut “Windows key + Shift + S.” This shortcut allows you to capture a screenshot without having to navigate through the Start menu.
- Delay Feature: The Snipping Tool offers a delay feature that allows you to capture screenshots of menus and tooltips that disappear when you click away. To use this feature, click on the “Delay” button in the Snipping Tool window and select the desired delay time (e.g., 1, 2, 3, or 4 seconds).
- Customizing Settings: You can customize various settings in the Snipping Tool, such as the default snip type, ink color, and output file format. To access these settings, click on the “Options” button in the Snipping Tool window and adjust the settings to your preference.
- Keyboard Navigation: You can navigate through the Snipping Tool window using keyboard shortcuts. Press the Tab key to move between annotation tools, use the arrow keys to adjust settings, and press Enter to activate selected options.
Conclusion:
With its intuitive interface and powerful features, the Snipping Tool in Windows 7 empowers users to capture, annotate, and share screenshots with precision and ease. By following the step-by-step guide and exploring advanced tips and tricks outlined in this comprehensive article, you can master the art of screenshot capture and elevate your productivity to new heights. Whether you’re documenting software issues, collaborating with colleagues, or simply capturing moments worth remembering, the Snipping Tool is your go-to tool for all your screenshot needs in Windows 7.


