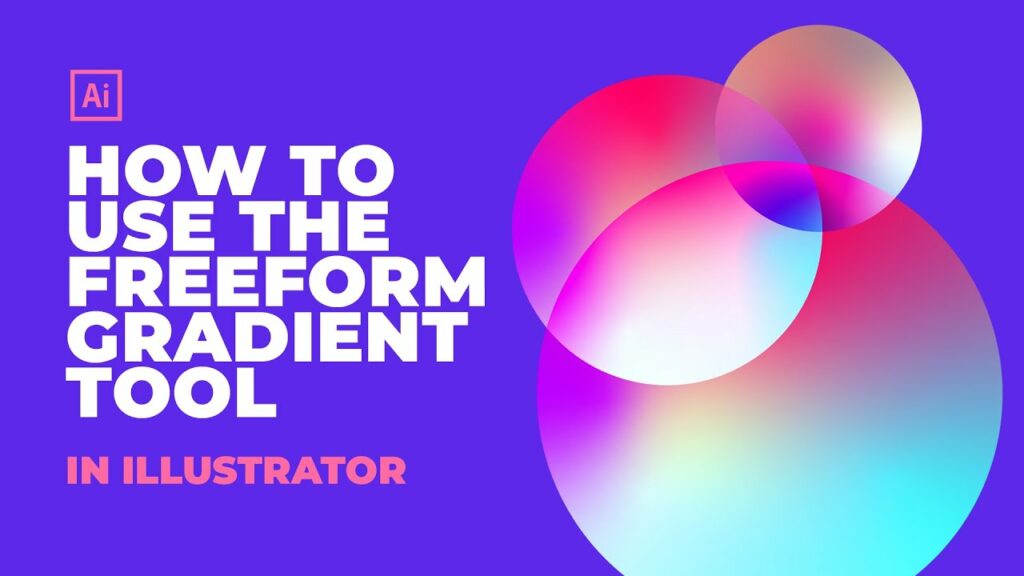
Mastering Gradient Mastery: A Comprehensive Guide to Harnessing the Freeform Gradient Tool in Adobe Illustrator
Introduction:
In the realm of digital design, Adobe Illustrator serves as a cornerstone tool, empowering artists and designers to craft visually stunning artwork with precision and finesse. Among its arsenal of features, the freeform gradient tool stands out as a dynamic instrument, offering unprecedented control and flexibility in creating complex color blends and gradients. Whether you’re a seasoned illustrator or an aspiring designer, understanding how to effectively wield the freeform gradient tool in Adobe Illustrator is essential for unlocking new dimensions of creativity. In this comprehensive guide, we’ll embark on a journey to explore the intricacies of the freeform gradient tool, from its basic functionalities to advanced techniques for creating captivating artwork.
Chapter 1: Introducing the Freeform Gradient Tool
At its core, the freeform gradient tool in Adobe Illustrator is a revolutionary feature that allows artists to create custom gradients with unparalleled precision and control. Unlike traditional gradient tools, which apply linear or radial gradients to objects, the freeform gradient tool enables users to define multiple color points and paths within a single gradient, allowing for smooth transitions and intricate color blends. This level of flexibility opens up endless possibilities for creating lifelike textures, abstract designs, and dynamic illustrations.
Chapter 2: Getting Started with the Freeform Gradient Tool
Before diving into advanced techniques, it’s important to familiarize yourself with the basic functionalities of the freeform gradient tool in Adobe Illustrator. Start by selecting an object or shape to which you want to apply the gradient. Then, select the freeform gradient tool from the toolbar or by pressing the G key. Click on the object to add color points, and drag the points to adjust their position and intensity. Experiment with different color combinations and point placements to create unique gradient effects.
Chapter 3: Customizing Gradient Paths and Points
The true power of the freeform gradient tool lies in its ability to customize gradient paths and points to achieve desired effects. Use the direct selection tool (A) to select and manipulate individual gradient points, adjusting their position, intensity, and color. Experiment with adding and deleting points to refine the gradient’s appearance and create smooth transitions between colors. Additionally, use the curvature tool to adjust the curvature of gradient paths, allowing for more precise control over gradient shapes and contours.
Chapter 4: Exploring Gradient Types and Styles
In addition to customizing gradient paths and points, the freeform gradient tool offers a variety of gradient types and styles to choose from. Experiment with different types of gradients, such as linear, radial, and elliptical, to achieve different effects and textures. Additionally, explore gradient styles such as smooth, noise, and diamond to add complexity and visual interest to your gradients. Combine different gradient types and styles to create unique and dynamic gradient effects that enhance your artwork.
Chapter 5: Applying Effects and Blending Modes
To further enhance your gradient artwork, consider applying effects and blending modes to your gradients. Experiment with opacity, transparency, and blending modes to create subtle or dramatic effects that complement your design. Use layer effects such as shadows, glows, and textures to add depth and dimension to your gradients. Additionally, explore the possibilities of using gradient meshes and patterns to create complex and intricate gradient effects.
Chapter 6: Integrating Freeform Gradients into Your Workflow
Once you’ve mastered the freeform gradient tool, integrate it into your design workflow to enhance your artwork and streamline your creative process. Use freeform gradients to add depth and dimension to illustrations, create lifelike textures and patterns, and add dynamic lighting and shading effects to your designs. Experiment with combining freeform gradients with other Illustrator tools and techniques, such as brushes, masks, and filters, to push the boundaries of your creativity and unlock new possibilities in digital design.
Conclusion:
Mastering the freeform gradient tool in Adobe Illustrator is a journey of exploration and experimentation, offering endless opportunities for creativity and expression. By understanding the basic functionalities, customizing gradient paths and points, exploring gradient types and styles, applying effects and blending modes, and integrating freeform gradients into your workflow, you’ll be able to create stunning artwork that captivates and inspires. So grab your stylus, unleash your imagination, and let the freeform gradient tool elevate your designs to new heights of creativity and sophistication.


