Crafting Urban Marvels: A Comprehensive Guide to Creating Vector Cityscapes in Adobe Illustrator
Introduction:
In the realm of digital design, Adobe Illustrator stands as a powerhouse, offering a plethora of tools and features to bring artistic visions to life. Among its many capabilities, the ability to create vector cityscapes provides artists and designers with a versatile platform to depict bustling urban landscapes, iconic skylines, and architectural marvels. Whether you’re a seasoned illustrator or an aspiring designer, mastering the art of creating vector cityscapes in Adobe Illustrator opens up a world of creative possibilities. In this comprehensive guide, we’ll embark on a journey to explore the techniques and tools needed to craft stunning vector cityscapes from scratch.
Chapter 1: Planning Your Cityscape Composition
Before diving into the creation process, it’s essential to plan your cityscape composition. Consider the theme, mood, and focal point of your cityscape. Will it be a modern metropolis, a historic town, or a futuristic cityscape? Sketch out rough ideas and determine the elements that will make up your cityscape, such as skyscrapers, landmarks, streets, and vehicles. Pay attention to perspective, scale, and composition to create a dynamic and visually engaging scene.
Chapter 2: Setting Up Your Illustrator Document
Once you’ve finalized your cityscape composition, it’s time to set up your Illustrator document. Create a new document with dimensions that suit your intended cityscape size and resolution. Consider whether you’ll be creating a print or web-based illustration and adjust the document settings accordingly. Organize your workspace by creating layers for different elements of your cityscape, such as buildings, streets, and background elements.
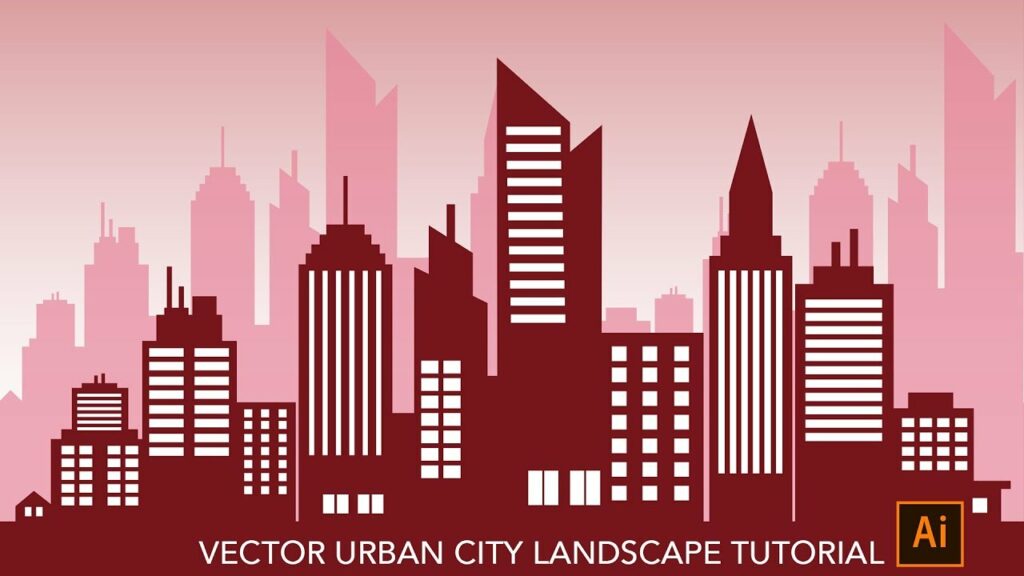
Chapter 3: Creating the Background and Skyline
Start by creating the background and skyline elements of your cityscape. Use the shape tools, such as the rectangle and ellipse tools, to create basic shapes for the sky and horizon line. Apply gradients, patterns, and texture effects to achieve realistic sky colors and atmospheric effects. For the skyline, use the pen tool to create custom shapes for buildings and landmarks, paying attention to their silhouettes and proportions. Experiment with different architectural styles and details to create a diverse and dynamic skyline.
Chapter 4: Adding Building Details and Structures
Next, add details and structures to your cityscape buildings. Use the pen tool and shape tools to create windows, doors, balconies, and other architectural features. Experiment with different shapes, sizes, and arrangements to create variety and visual interest. Consider adding rooftop elements such as antennas, air conditioning units, and rooftop gardens to add realism and complexity to your buildings.
Chapter 5: Incorporating Street Elements and Vehicles
To bring your cityscape to life, incorporate street elements and vehicles into your composition. Use the pen tool to create streets, sidewalks, and crosswalks, paying attention to perspective and scale. Add vehicles such as cars, buses, and bicycles to the streets, using simple shapes and details to convey motion and activity. Experiment with different vehicle types and arrangements to create a sense of bustling city life.
Chapter 6: Adding Details and Atmosphere
Once you’ve assembled the main elements of your cityscape, take the time to add details and atmosphere to enhance the realism and mood of your illustration. Add trees, parks, and green spaces to the cityscape to break up the urban landscape and add a sense of natural beauty. Incorporate lighting effects such as streetlights, neon signs, and illuminated windows to add depth and dimension to your scene. Experiment with atmospheric effects such as fog, haze, and reflections to create a sense of depth and atmosphere.
Chapter 7: Refining and Editing Your Cityscape
After adding details and atmosphere to your cityscape, take the time to refine and edit your design as needed. Use the direct selection tool to adjust individual elements within your cityscape, such as resizing, rotating, or repositioning buildings and street elements. Experiment with color, gradients, and blending modes to add depth and dimension to your cityscape. Consider adding additional details such as people, animals, and signage to enhance the realism and storytelling of your illustration.
Chapter 8: Saving and Exporting Your Cityscape
Once you’re satisfied with your vector cityscape illustration, it’s time to save and export your artwork for sharing or further editing. Save your Illustrator document in a compatible file format, such as AI or PDF, to preserve the vector properties of your artwork. If you’re creating a web-based illustration, consider exporting your artwork as an SVG file for scalability and compatibility with web browsers. For print-based illustrations, export your artwork as a high-resolution raster image in formats such as JPEG or PNG.
Conclusion:
Creating vector cityscapes in Adobe Illustrator is a rewarding and fulfilling endeavor that allows artists and designers to unleash their creativity and imagination. By following the techniques and tips outlined in this comprehensive guide, you’ll be able to craft stunning cityscapes that capture the vibrancy and energy of urban life. So grab your stylus, set your sights on the skyline, and embark on an adventure to create breathtaking vector cityscapes that captivate and inspire.


