Mastering Fluidity: An Exhaustive Guide to Using the Blob Brush Tool in Adobe Illustrator
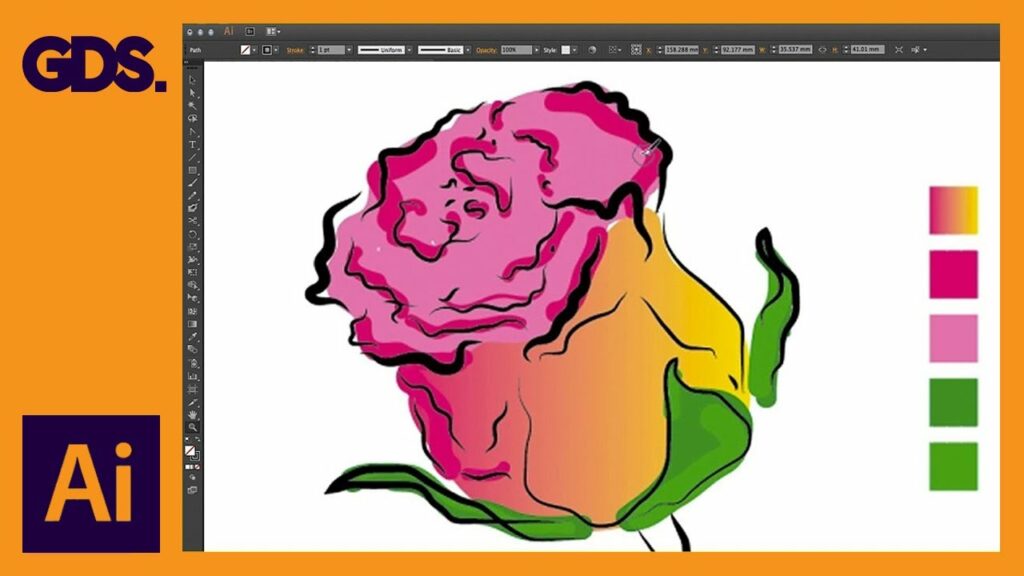
The Blob Brush Tool in Adobe Illustrator is a unique and versatile feature that allows designers to create freeform shapes and paths with fluidity and precision. Unlike traditional vector drawing tools, the Blob Brush Tool mimics the behavior of a paintbrush, enabling users to draw smooth and organic shapes with varying thickness and opacity. Whether you’re sketching, illustrating, or creating digital paintings, mastering the Blob Brush Tool can elevate your artwork to new levels of creativity and expressiveness. In this comprehensive guide, we’ll explore everything you need to know about using the Blob Brush Tool in Adobe Illustrator, from the basics to advanced techniques and creative applications.
Understanding the Blob Brush Tool:
Before diving into the techniques for using the Blob Brush Tool, it’s essential to understand its basic functionality and capabilities:
- Definition: The Blob Brush Tool is a painting tool in Adobe Illustrator that allows users to draw freeform shapes and paths by “painting” with a brush-like tool. Unlike the regular Brush Tool, which creates strokes with uniform thickness, the Blob Brush Tool creates variable-width paths that mimic the appearance of hand-drawn lines.
- Fluidity and Control: The Blob Brush Tool combines the spontaneity and expressiveness of traditional painting with the precision and control of vector graphics. Users can draw smooth, flowing lines with varying thickness and opacity, making it ideal for creating organic shapes, illustrations, and digital paintings.
Step-by-Step Guide to Using the Blob Brush Tool:
- Select the Blob Brush Tool: Start by selecting the Blob Brush Tool from the Toolbar or by pressing Shift + B on your keyboard. The cursor will change to a paintbrush icon, indicating that the Blob Brush Tool is active.
- Adjust Brush Settings: Before you start drawing, adjust the brush settings in the Control Panel or the Brushes panel. You can change the brush size, shape, hardness, and opacity to customize the appearance of your strokes.
- Set Drawing Mode (Optional): Choose between Merge or Keep Selected drawing modes in the Control Panel or the Blob Brush Tool Options bar. In Merge mode, new strokes merge with existing ones of the same color, while in Keep Selected mode, new strokes remain separate.
- Draw with the Blob Brush Tool: With the Blob Brush Tool selected and your desired settings adjusted, start drawing on the artboard by clicking and dragging with your mouse or stylus. The Blob Brush Tool will create a smooth, variable-width path as you draw.
- Edit Strokes: After drawing a stroke with the Blob Brush Tool, you can edit its appearance using the Direct Selection Tool (A) or the Selection Tool (V). Click on the stroke to select it, and then use the handles and anchor points to adjust its shape, size, and position.
- Adjust Opacity (Optional): To adjust the opacity of a stroke drawn with the Blob Brush Tool, select the stroke and adjust the opacity slider in the Transparency panel. You can also change the blending mode of the stroke to achieve different visual effects.
- Merge or Expand Strokes (Optional): If you want to merge multiple strokes into a single shape or expand them into editable paths, use the Merge or Expand commands in the Object menu. This will convert the strokes drawn with the Blob Brush Tool into regular vector paths.
Advanced Techniques and Tips for Using the Blob Brush Tool:
- Pressure Sensitivity: If you’re using a pressure-sensitive drawing tablet, enable pressure sensitivity for the Blob Brush Tool in the Brush Options panel. This allows you to vary the thickness and opacity of your strokes based on pen pressure.
- Smoothness and Fidelity: Experiment with the Smoothness and Fidelity settings in the Blob Brush Tool Options bar to adjust the smoothness and accuracy of your strokes. Higher Smoothness values create smoother lines, while higher Fidelity values preserve more detail.
- Color Dynamics: Utilize color dynamics settings in the Brushes panel to add variation to your strokes’ color as you draw with the Blob Brush Tool. Adjust settings such as Hue Shift, Brightness Jitter, and Saturation Jitter to create dynamic and expressive brush strokes.
- Custom Brushes: Create custom brushes with the Blob Brush Tool by drawing shapes or patterns and saving them as brush presets. Use the Brushes panel to define brush settings such as scatter, rotation, and colorization to create unique and versatile brush effects.
- Artistic Effects: Combine the Blob Brush Tool with other Illustrator tools and effects to create artistic effects and illustrations. Experiment with blending modes, opacity masks, and distortion effects to add depth and texture to your artwork.
- Vector Textures: Use the Blob Brush Tool to create vector-based textures and patterns for use in illustrations, backgrounds, and designs. Draw organic shapes with the Blob Brush Tool and adjust their appearance using Illustrator’s vector editing tools.
Creative Applications of the Blob Brush Tool:
- Illustration: Create expressive illustrations and artwork with the Blob Brush Tool, mimicking the look and feel of traditional painting. Use the tool to sketch, paint, and add details to illustrations, characters, and scenes with fluid and organic brush strokes.
- Digital Painting: Use the Blob Brush Tool for digital painting projects, creating textured brush strokes, and painterly effects. Experiment with different brush settings and techniques to achieve a wide range of painterly styles and effects.
- Graphic Design: Incorporate hand-drawn elements and textures into graphic design projects using the Blob Brush Tool. Add custom brush strokes, borders, and accents to posters, flyers, and packaging designs to create a unique and dynamic visual identity.
- Typography: Use the Blob Brush Tool to create custom hand-lettering and typography designs. Draw letterforms, embellishments, and decorative elements with the tool to add personality and style to typography compositions.
- Pattern Design: Create organic patterns and textures with the Blob Brush Tool for use in textile design, surface design, and digital artwork. Draw repeating motifs and textures with the tool and convert them into seamless patterns for use in various design projects.
- Web Design: Incorporate hand-drawn elements and illustrations created with the Blob Brush Tool into web design projects. Use custom brush strokes and textures to add visual interest and personality to website headers, backgrounds, and icons.
Conclusion:
In conclusion, the Blob Brush Tool in Adobe Illustrator is a versatile and expressive feature that enables designers to create fluid, organic shapes and paths with precision and control. By mastering the step-by-step techniques outlined in this guide, exploring advanced tips and techniques, and incorporating the Blob Brush Tool into your design workflow, you’ll be able to unleash your creativity, elevate your artwork, and create visually stunning illustrations and designs. So, grab your stylus or mouse, experiment fearlessly, and let the Blob Brush Tool be your gateway to limitless creativity in Adobe Illustrator!
