Illuminating Design: A Comprehensive Guide to Working with Lights and Cameras in AutoCAD
Introduction: In the realm of computer-aided design (CAD), AutoCAD stands as a powerful tool for architects, engineers, designers, and artists seeking to create intricate and precise 3D models. Among the myriad of techniques available for enhancing visualizations and presentations, working with lights and cameras stands out as essential methods for illuminating scenes and capturing perspectives with realism and impact. In this extensive guide, we will delve into the intricacies of working with lights and cameras in AutoCAD, exploring the techniques, tools, and best practices to empower users to unlock the full potential of lighting and camera setups and realize their design visions with immersive clarity and sophistication.
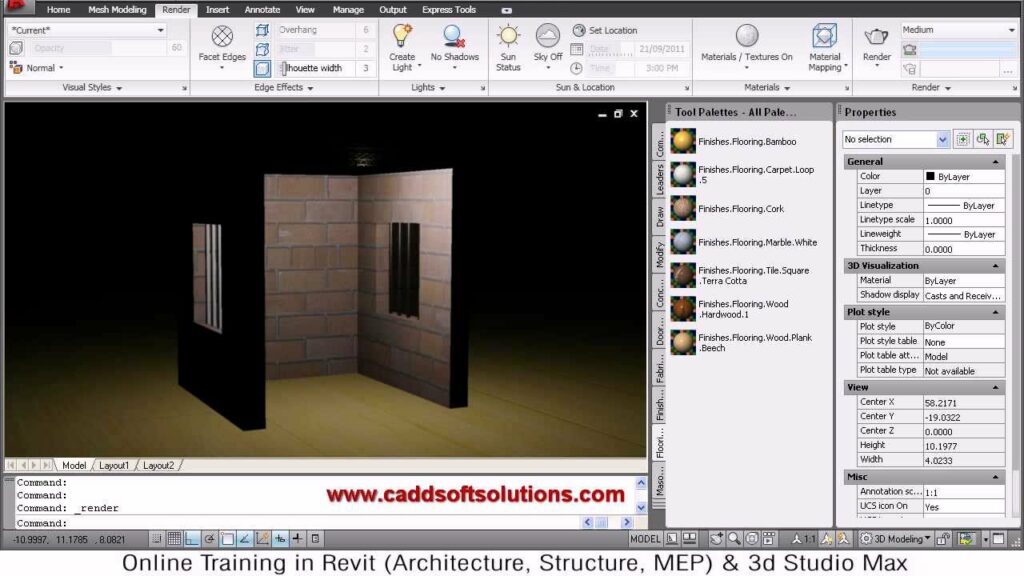
Understanding Lights and Cameras in AutoCAD: Lights and cameras play pivotal roles in the process of visualizing and presenting 3D models in AutoCAD. Lights simulate real-world illumination, casting shadows, highlighting features, and creating ambiance, while cameras define viewpoints and perspectives from which scenes are captured and rendered. By mastering the techniques for working with lights and cameras, users can enhance the realism, clarity, and impact of their visualizations, presentations, and renderings, bringing their design visions to life with immersive clarity and sophistication.
Key Concepts in Lighting and Camera Setup: Before delving into the process of working with lights and cameras, it’s essential to understand some key concepts that underpin lighting and camera setups in AutoCAD:
- Light Types: AutoCAD offers various types of lights, including point lights, spotlights, distant lights, and web lights, each with unique properties and behaviors. Point lights emit light uniformly in all directions from a single point, spotlights emit focused light in a specific direction, distant lights emit parallel light rays from an infinite distance, and web lights emit light along specified paths or trajectories.
- Light Properties: Lights in AutoCAD have properties such as intensity, color, attenuation, and cone angle that define their brightness, hue, falloff, and spread. Adjusting these properties allows users to control the brightness, color, and distribution of light in the scene, creating realistic lighting effects and ambiance.
- Camera Settings: Cameras in AutoCAD have settings such as field of view, aspect ratio, focal length, and depth of field that define their perspective and framing. Adjusting these settings allows users to control the field of view, aspect ratio, and focal depth of the camera, capturing viewpoints and perspectives with precision and control.
- Rendering Engines: AutoCAD offers different rendering engines, such as the built-in Autodesk Rendering engine or third-party rendering plugins, each with unique capabilities and features. Rendering engines simulate the behavior of light and materials, calculating the interaction of light rays with surfaces to produce realistic images and renderings.
Basic Lighting and Camera Setup Techniques: Setting up lights and cameras in AutoCAD involves a series of steps that begin with defining the scene and culminate in configuring lighting and camera parameters. Here’s a basic overview of the techniques for working with lights and cameras:
- Create Lights: Start by creating lights in the scene using lighting tools such as the “LIGHT” command or the “Lighting” panel in the rendering workspace. Place lights strategically to illuminate key features, highlight focal points, and create ambiance within the scene.
- Adjust Light Properties: Adjust the properties of lights such as intensity, color, attenuation, and cone angle to control their brightness, hue, falloff, and spread. Experiment with different light settings to achieve the desired lighting effects and ambiance, such as warm or cool lighting, soft or harsh shadows, and dramatic or subtle highlights.
- Position and Orient Cameras: Position and orient cameras in the scene using camera tools such as the “VIEW” command or the “Viewport Configuration” panel. Define viewpoints and perspectives that capture key features, emphasize focal points, and convey the desired narrative or mood.
- Configure Camera Settings: Configure camera settings such as field of view, aspect ratio, focal length, and depth of field to control the perspective and framing of the camera. Adjust settings to capture viewpoints and perspectives with precision and control, ensuring that the composition and framing align with the design intent and narrative.
Advanced Lighting and Camera Setup Techniques: While the basic lighting and camera setup techniques suffice for most applications, mastering advanced techniques can enhance the realism, clarity, and impact of visualizations and renderings in AutoCAD. Here are some advanced techniques and applications to consider:
- Global Illumination: Simulate realistic lighting effects such as indirect illumination, reflections, and refractions using global illumination techniques. Enable features such as ambient occlusion, indirect lighting, and image-based lighting to enhance the realism and depth of lighting in the scene, creating immersive environments with natural lighting effects and ambiance.
- Light Distribution: Control the distribution of light in the scene using lighting techniques such as light distribution maps, light portals, and light layers. Adjust the distribution of light to emphasize key features, balance brightness and contrast, and create dynamic lighting effects that enhance the visual impact and realism of the scene.
- Camera Effects: Apply camera effects such as depth of field, motion blur, and lens distortion to enhance the realism and cinematic quality of renderings. Use depth of field to simulate the selective focus of a camera, blurring objects in the foreground or background to create depth and dimensionality. Apply motion blur to simulate the motion of objects or cameras, adding dynamic energy and realism to renderings. Use lens distortion to simulate the optical characteristics of different camera lenses, adding character and authenticity to renderings.
- Render Settings: Configure render settings such as resolution, quality, and output format to optimize the visual quality and file size of renderings. Adjust settings such as image resolution, sampling rate, and compression level to balance visual quality and rendering speed, ensuring that renderings are crisp, clear, and optimized for presentation and distribution.
Best Practices for Lighting and Camera Setup: To achieve optimal results when working with lights and cameras in AutoCAD, consider the following best practices:
- Plan and Sketch: Start with a clear plan and sketch of the scene you want to visualize or present, including its key features, focal points, and lighting requirements. Use sketches as reference images or templates to guide the lighting and camera setup process and ensure accuracy and consistency.
- Use Real-World References: Use real-world references such as photographs, architectural drawings, or concept art to guide the lighting and camera setup process. Analyze lighting conditions, camera perspectives, and composition techniques in reference images to emulate real-world lighting effects and visual styles in renderings.
- Experiment and Iterate: Experiment with different lighting setups, camera angles, and rendering settings to explore creative possibilities and refine your designs. Iterate on your designs by reviewing renderings, gathering feedback, and making incremental adjustments to achieve the desired result.
- Optimize Performance: Optimize performance by managing scene complexity, optimizing lighting and camera settings, and configuring render settings to balance visual quality and rendering speed. Minimize the number of lights and polygons in the scene, optimize light properties and camera settings, and adjust render settings to achieve fast, efficient, and high-quality renderings.
Conclusion: Working with lights and cameras in AutoCAD offers a powerful means of enhancing visualizations, presentations, and renderings with realism and impact. By mastering the techniques, tools, and best practices for lighting and camera setup, users can unlock a world of creative possibilities and bring their design visions to life with immersive clarity and sophistication. Whether you’re visualizing architectural spaces, presenting product designs, or creating artistic renderings, the ability to work with lights and cameras in AutoCAD empowers you to realize your creative vision with precision and creativity. With practice, experimentation, and attention to detail, you can harness the full potential of lighting and camera setups to create compelling and immersive visualizations that captivate audiences and inspire creativity.


