Unleashing the Power of Notepad++: A Comprehensive Guide to Compiling and Running Java Programs
Introduction:
Notepad++ stands as a versatile and lightweight text editor that has endeared itself to developers for its simplicity and extensibility. While it may not be a full-fledged integrated development environment (IDE), Notepad++ can be transformed into a powerful tool for Java development. In this comprehensive guide, we will delve into the intricacies of compiling and running Java programs using Notepad++, empowering users to harness the capabilities of this text editor for Java coding.
Section 1: Setting Up Your Java Development Environment
1.1 Installing Java Development Kit (JDK):
- Before delving into Java development with Notepad++, ensure that you have the Java Development Kit (JDK) installed on your system.
- Download the JDK from the official Oracle website or adopt the OpenJDK distribution.
1.2 Verifying JDK Installation:
- Confirm that the JDK installation was successful by checking your system’s PATH variable.
- Open a command prompt or terminal and type “java -version” and “javac -version” to verify the Java runtime and compiler installations.
Section 2: Installing Notepad++
2.1 Downloading Notepad++:
- Visit the official Notepad++ website (https://notepad-plus-plus.org/) and download the latest version of Notepad++.
- The installer provides a straightforward setup process; follow the on-screen instructions to complete the installation.
Section 3: Configuring Notepad++ for Java Development
3.1 Installing the JN Plugin:
- The JN (Java Npp) plugin enhances Notepad++ with features tailored for Java development.
- Download the JN plugin from the official GitHub repository (https://github.com/sbabais/JavaNpp) and follow the installation instructions.
3.2 Configuring Syntax Highlighting:
- Enable Java syntax highlighting in Notepad++ to enhance code readability.
- Open Notepad++, navigate to “Language” in the menu, and select “Java” or “JN.”
3.3 Setting Up Auto-Completion:
- Enable auto-completion for Java code snippets by installing the “NppJavaAutoCompletion” plugin.
- Download and install the plugin, then restart Notepad++ to activate auto-completion.
Section 4: Writing Your Java Code
4.1 Creating a New Java File:
- Open Notepad++ and create a new file by selecting “File” -> “New” -> “Java” or simply create a new text file with a “.java” extension.
4.2 Writing Your First Java Program:
- Write a simple Java program in the newly created file. For example:javaCopy code
public class HelloWorld { public static void main(String[] args) { System.out.println("Hello, World!"); } }
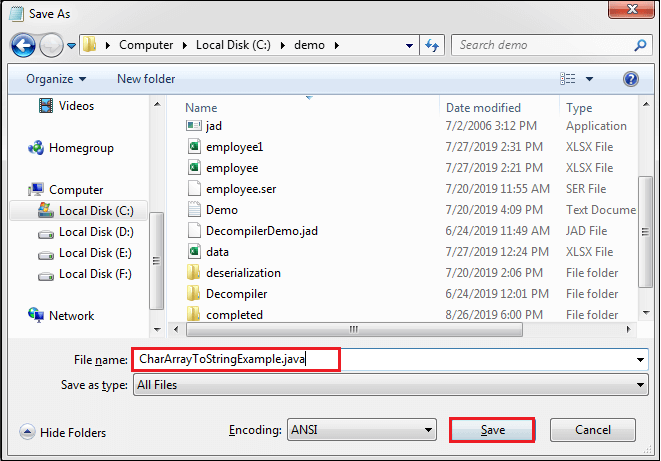
4.3 Saving Your Java File:
- Save your Java file with a “.java” extension, ensuring that the file name matches the name of the public class within the code.
Section 5: Compiling Java Programs in Notepad++
5.1 Opening the Command Prompt:
- To compile Java programs, Notepad++ relies on the command-line capabilities of the JDK. Open the command prompt or terminal on your system.
5.2 Navigating to the Java File Directory:
- Use the “cd” command to navigate to the directory where your Java file is saved. For example:bashCopy code
cd path\to\your\java\file
5.3 Compiling the Java Program:
- Compile your Java program using the “javac” command followed by the name of your Java file. For example:Copy code
javac HelloWorld.java
5.4 Checking for Compilation Errors:
- Examine the command prompt for any compilation errors. Address any issues before proceeding to the next step.
Section 6: Running Java Programs in Notepad++
6.1 Running the Compiled Java Program:
- Once successfully compiled, run your Java program using the “java” command followed by the name of the public class. For example:Copy code
java HelloWorld
6.2 Viewing Program Output:
- The output of your Java program will be displayed in the command prompt. In the example, you should see “Hello, World!” printed on the screen.
Section 7: Exploring Advanced Features in Notepad++
7.1 Debugging with Breakpoints:
- While Notepad++ doesn’t provide an integrated debugger, you can set breakpoints in your code and use external tools like “jdb” (Java Debugger) to debug your programs.
7.2 Integrating External Build Tools:
- Consider integrating external build tools like Apache Maven or Gradle with Notepad++ for more advanced project management and dependency handling.
Section 8: Troubleshooting and Tips
8.1 Addressing Compilation Errors:
- Carefully review error messages in the command prompt when compiling. Common issues include syntax errors, missing semicolons, or incorrect class names.
8.2 Managing Classpaths:
- Understand the concept of classpaths and ensure that your Java programs have access to the required libraries and dependencies.
8.3 Staying Informed:
- Stay updated on Notepad++ features and plugins, as well as changes in the Java ecosystem.
Conclusion:
Compiling and running Java programs using Notepad++ is a testament to the flexibility and extensibility of this beloved text editor. While it may not provide the robust features of a full-fledged IDE, Notepad++ can serve as a lightweight and efficient tool for Java development, especially for beginners or those seeking a minimalist coding environment. By following the steps outlined in this comprehensive guide, you’ve embarked on a journey to leverage Notepad++ for Java coding, empowering yourself to write, compile, and run Java programs with confidence. Happy coding!


