Precision Redefined: A Comprehensive Exploration of Drawing B-Splines in CorelDRAW
Introduction:
In the realm of vector graphics and digital design, CorelDRAW stands as a powerhouse, offering a plethora of tools to transform creative visions into tangible digital art. Among these tools, the B-Spline tool emerges as a versatile instrument, enabling artists, illustrators, and designers to craft smooth and sophisticated curves with unparalleled precision. In this exhaustive guide, we will delve into the intricacies of drawing B-Splines in CorelDRAW, exploring techniques, customization options, and advanced tips to empower you in creating digital masterpieces with elegance and finesse.
Understanding the B-Spline Tool:
The B-Spline (Basis Spline) tool is a mathematical curve that allows for the creation of smooth, flowing lines by defining a series of control points. Unlike traditional splines, B-Splines offer greater flexibility and control over the curvature of the line, making them a preferred choice for artists seeking to achieve organic and polished designs.
Customizing Settings for Optimal Control:
Before embarking on the creative process, it’s essential to familiarize yourself with the customization options of the B-Spline tool in CorelDRAW. Access the ‘Tool Options’ or ‘Property Bar’ (depending on your CorelDRAW version) to adjust parameters such as line thickness, color, and node types. Tailor these settings to match your design preferences and optimize the B-Spline tool for your specific needs.
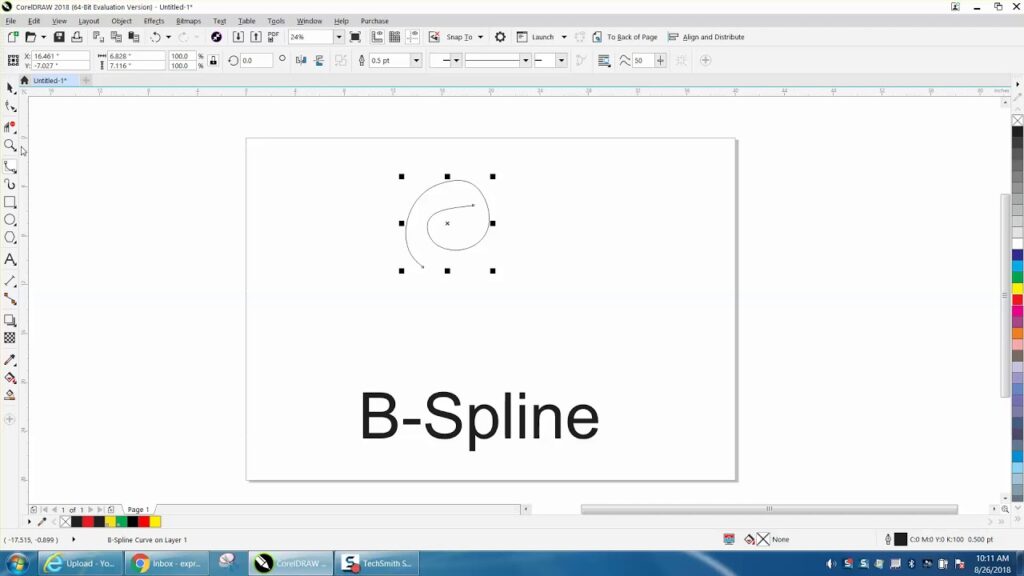
Mastering Basic B-Spline Techniques:
- Placing Control Points: Activate the B-Spline tool from the toolbar or press the ‘B’ key. Click on the canvas to place your first control point, and subsequent clicks will add additional control points to create your B-Spline.
- Creating Curves with Control Handles: After placing a control point, click and drag to create control handles. These handles dictate the direction and curvature of the B-Spline. Experiment with the placement and length of control handles to shape the curve according to your artistic vision.
- Adding and Removing Control Points: To add a control point, simply click on the line where you want the new point. To remove a point, select the B-Spline with the Shape tool and press the ‘Delete’ key.
- Closing Paths: Similar to other drawing tools in CorelDRAW, B-Splines can be used to create closed paths. To close a path and form a complete shape, click on the initial control point or press ‘Ctrl’ while placing the last control point.
Advanced B-Spline Techniques:
- Fine-Tuning with the Shape Tool: The Shape tool in CorelDRAW complements the B-Spline tool by allowing you to fine-tune and adjust existing B-Splines. Select the B-Spline with the Shape tool and manipulate control points and handles for precise adjustments to the curve.
- Node Editing for Granular Control: The Node Edit tool provides granular control over individual control points and handles after drawing the B-Spline. Select the B-Spline with the Node Edit tool, and manipulate individual nodes for precise adjustments to the path.
- Symmetry with Mirror and Rotate Tools: Enhance your designs by incorporating symmetry. Duplicate your B-Spline, use the Mirror or Rotate tool to create a mirrored or rotated copy, and achieve balanced compositions effortlessly.
- Guidelines for Alignment: Guidelines act as visual aids for maintaining precision in your designs. Drag guidelines from the rulers to align and guide your B-Spline with accuracy, especially when creating symmetrical or intricate illustrations.
Troubleshooting and Optimization Strategies:
- Smoothing Options for Seamless Curves: If your B-Spline appears jagged or uneven, experiment with the curve smoothing options available in the Property Bar. Adjusting the smoothing level will refine the curvature, providing a smoother and more polished appearance.
- Avoiding Overlapping Splines: Overlapping B-Splines can create unintended shapes or intersections. Exercise caution to ensure each B-Spline complements others without causing unwanted intersections.
- Adjusting Stroke Properties: Fine-tune the appearance of your B-Spline by adjusting stroke properties in the ‘Object Properties’ docker. Experiment with line thickness, end caps, and join styles to achieve the desired visual impact.
Conclusion:
The B-Spline tool in CorelDRAW is a gateway to elegance and precision in digital design. By mastering the basic and advanced techniques outlined in this comprehensive guide, you’ll unlock the full potential of the B-Spline tool and infuse your artwork with intricate and refined curves. Whether you’re crafting logos, illustrations, or complex designs, the B-Spline tool in CorelDRAW empowers you to create with unparalleled accuracy and finesse. Embrace the art of drawing B-Splines, and let your creativity flourish on the digital canvas with the timeless precision it brings to your designs.


