Mastering the Illusion: A Comprehensive Guide to Creating Photorealistic Drop Shadows in Photoshop
Introduction:
In the dynamic world of digital design, the creation of photorealistic drop shadows is a skill that can elevate the visual impact of images, adding depth, realism, and a touch of sophistication. This comprehensive guide is designed to unravel the intricacies of crafting photo-realistic drop shadows in Adobe Photoshop. Whether you are a seasoned designer or an aspiring artist, this step-by-step exploration will empower you to master the art of casting shadows that seamlessly blend with your images, bringing them to life.
Section 1: Understanding the Importance of Drop Shadows
Drop shadows serve as a visual anchor, creating the illusion of depth and grounding objects in a composition. When executed with precision and realism, drop shadows can contribute to the overall believability of an image, making it more visually engaging and aesthetically pleasing. In the realm of design, photorealistic drop shadows are a valuable tool to enhance the professional quality of your work.
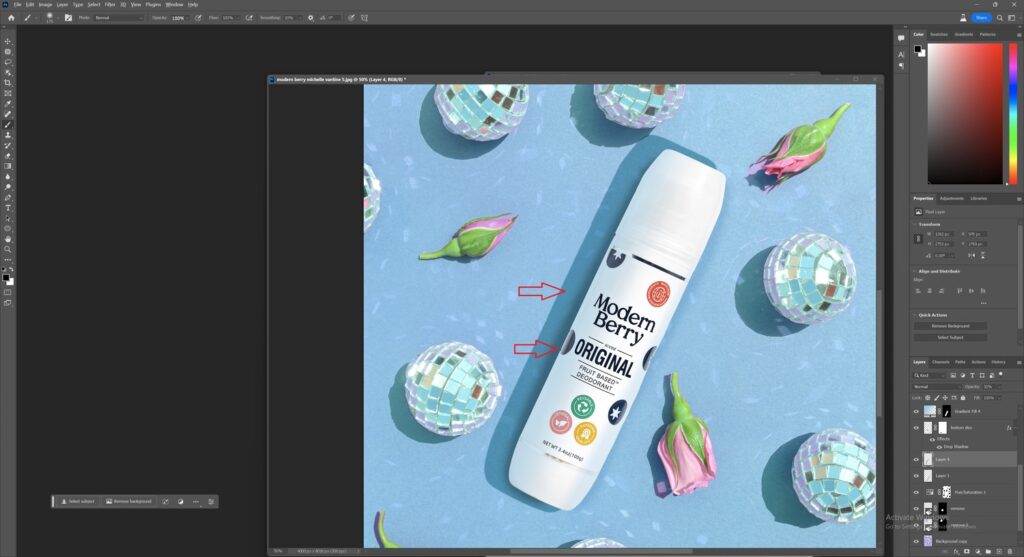
Section 2: Setting Up Your Workspace
Open Adobe Photoshop and import the image you wish to enhance with a photorealistic drop shadow. Ensure that your workspace is organized and conducive to focused editing. This includes having the Layers panel, Tools panel, and relevant adjustment panels readily accessible for efficient workflow.
Section 3: Creating the Base Layer
Start by duplicating the layer of the object for which you want to create the drop shadow. This duplicate layer will serve as the base for your shadow. Position the duplicated layer below the original object layer to establish the foundation for the upcoming shadow creation.
Section 4: Utilizing the Drop Shadow Layer Style
Photoshop’s Layer Style options provide a quick and straightforward way to add a drop shadow to your duplicated layer. Right-click on the duplicated layer, choose “Blending Options,” and navigate to the “Drop Shadow” section. Adjust parameters such as opacity, distance, and size to achieve a basic drop shadow effect.
Section 5: Refining the Drop Shadow Settings
To achieve photorealism, delve deeper into the drop shadow settings. Experiment with the blend mode, considering options like Multiply for a subtle, natural effect. Fine-tune the angle and distance to match the lighting direction in your image. Adjust the size to control the softness or sharpness of the shadow edge.
Section 6: Customizing Shadow Color and Opacity
For a more realistic drop shadow, customize the color and opacity. Experiment with the shadow color to match the underlying surface or environment. Adjust the opacity to control the intensity of the shadow, ensuring it complements the lighting conditions and integrates seamlessly with the object.
Section 7: Incorporating Ambient Occlusion
To enhance the realism of the drop shadow, consider incorporating ambient occlusion. Create a new layer below the duplicated layer and use a soft brush to paint a dark color in areas where the object would naturally cast a shadow. Adjust the opacity of this layer to fine-tune the subtlety of the ambient occlusion effect.
Section 8: Experimenting with Blur
Photorealistic drop shadows often exhibit a gradual blur as they extend farther from the object. Experiment with the Gaussian Blur filter to add a soft, natural-looking blur to your drop shadow. Adjust the blur radius to achieve a balance between realism and visual impact.
Section 9: Manual Refinement with the Brush Tool
For precise control and customization, use the Brush tool to manually refine the drop shadow. Create a layer mask on the duplicated layer and paint with a soft brush to add or subtract shadow in specific areas. This step allows you to tailor the drop shadow to the unique contours and details of your object.
Section 10: Final Adjustments and Evaluation
As you near completion, take a step back and evaluate the overall effect. Fine-tune any remaining details, adjust layer opacities, and ensure that the drop shadow seamlessly integrates with the object and its environment. Consider making additional adjustments to lighting, contrast, and color to achieve a cohesive and polished result.
Section 11: Saving and Exporting
Once satisfied with your photorealistic drop shadow, save your work. Consider saving different versions to maintain flexibility for future edits. When exporting, choose a file format that supports transparency, such as PNG, to preserve the drop shadow when integrating the image into various projects.
Conclusion:
Mastering the art of creating photorealistic drop shadows in Photoshop is a valuable skill that can significantly enhance the visual appeal of your designs. This comprehensive guide has provided a detailed roadmap, guiding you through the essential steps from setting up your workspace to the final refinements. Embrace the intricacies of lighting, shading, and blending to bring your objects to life with convincing depth and realism. As you continue to refine your skills, the creation of photorealistic drop shadows will become an intuitive and impactful element in your digital design toolbox.


