Mastering Text Effects: A Comprehensive Guide to Adding Multiple Strokes to Text in Photoshop
In the world of graphic design, typography serves as a powerful tool for conveying messages, evoking emotions, and enhancing visual appeal. Adobe Photoshop, with its extensive array of text editing and manipulation tools, offers designers unparalleled flexibility and creativity when it comes to working with text. One popular technique that designers often employ is adding multiple strokes to text, creating eye-catching effects and enhancing the overall design. In this extensive guide, we will explore step-by-step instructions and tips for adding multiple strokes to text in Photoshop, allowing you to elevate your designs and unleash your creativity like never before.
1. Create a New Document and Add Text:
Begin by opening Adobe Photoshop and creating a new document of your desired size and resolution. Once the document is created, select the Text tool from the toolbar (shortcut: T) and click anywhere on the canvas to create a text layer. Type your desired text into the text box and adjust the font, size, color, and other attributes as needed using the options in the toolbar or the Character panel.
2. Duplicate the Text Layer:
With the text layer selected in the Layers panel, right-click on it and choose “Duplicate Layer” from the context menu, or simply drag the text layer onto the “New Layer” icon at the bottom of the Layers panel. This will create a duplicate of the text layer, which we will use to create the additional strokes.
3. Apply the First Stroke:
Select the duplicated text layer in the Layers panel, then go to the “Layer” menu at the top of the screen and choose “Layer Style,” then “Stroke.” This will open the Layer Style dialog box, where you can customize the appearance of the stroke. Adjust the size, color, position, and blending mode of the stroke to achieve the desired effect. Click “OK” to apply the stroke and close the Layer Style dialog box.
4. Rasterize the Text Layer:
To add another stroke to the text, we need to rasterize the duplicated text layer. Right-click on the duplicated text layer in the Layers panel and choose “Rasterize Layer” from the context menu. This converts the text layer into a regular pixel layer, allowing us to apply additional strokes and effects.
5. Apply Another Stroke:
With the rasterized text layer selected, repeat the process of applying a stroke by going to the “Layer” menu, choosing “Layer Style,” then “Stroke.” Customize the settings of the stroke to create the desired effect, such as adjusting the size, color, and blending mode. Click “OK” to apply the stroke and close the Layer Style dialog box.
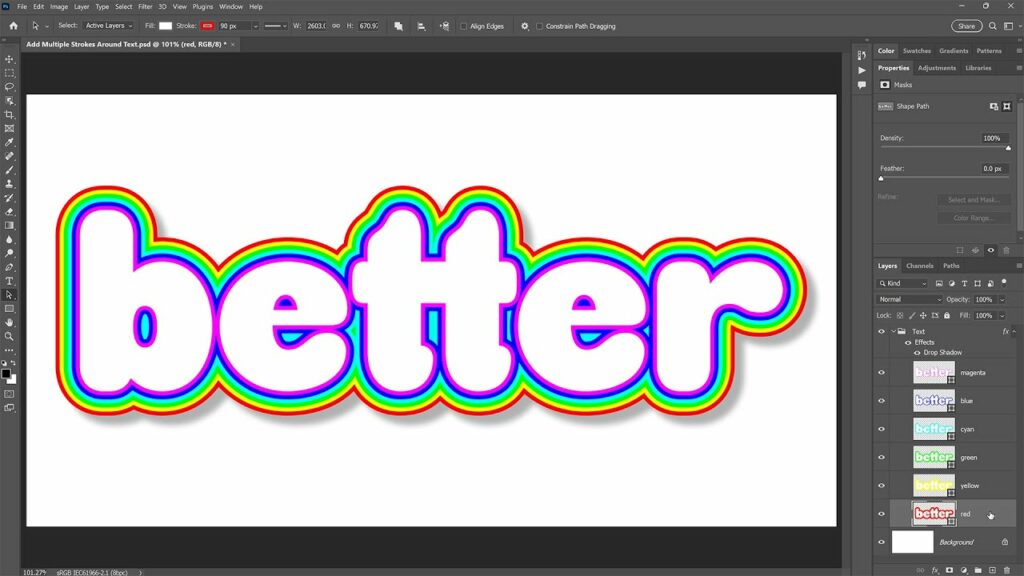
6. Repeat for Additional Strokes (Optional):
If you wish to add more strokes to the text, simply repeat the process outlined in steps 4 and 5 for each additional stroke layer. You can experiment with different stroke sizes, colors, and blending modes to create unique and visually appealing effects. Be creative and don’t be afraid to experiment with different combinations until you achieve the desired result.
7. Arrange Layers and Fine-Tune:
Once you have added all the desired strokes to the text, you may need to arrange the layers in the Layers panel to achieve the desired visual hierarchy. Use the Move tool (shortcut: V) to reposition the stroke layers above or below the original text layer as needed. You can also fine-tune the appearance of the strokes by adjusting their opacity, blending modes, and layer styles.
8. Save and Export Your Design:
Once you are satisfied with the appearance of the text and strokes, it’s time to save and export your design. Go to the “File” menu and choose “Save As” to save the Photoshop document (.PSD) for future editing. Additionally, you can export the design as a JPEG, PNG, or other file format by choosing “Export” or “Save for Web” from the File menu.
Tips for Adding Multiple Strokes to Text in Photoshop:
- Experiment with different stroke sizes, colors, and blending modes to create unique and visually appealing effects.
- Use layer styles such as Bevel & Emboss, Inner Shadow, and Outer Glow in conjunction with strokes to add depth and dimension to your text.
- Combine multiple text layers with different stroke effects to create complex and intricate designs.
- Consider the overall composition and balance of your design when adding strokes to text, ensuring that they complement the overall aesthetic and message.
- Don’t be afraid to experiment and think outside the box – the possibilities are endless with Photoshop’s text editing and manipulation tools.
In conclusion, adding multiple strokes to text in Photoshop is a versatile technique that allows designers to create eye-catching and visually appealing typography effects. By following the step-by-step instructions and tips outlined in this guide, you can master this technique and unlock a world of creative possibilities in your designs. Whether you’re creating posters, advertisements, social media graphics, or other visual content, adding multiple strokes to text can help you stand out and make a lasting impression on your audience.


