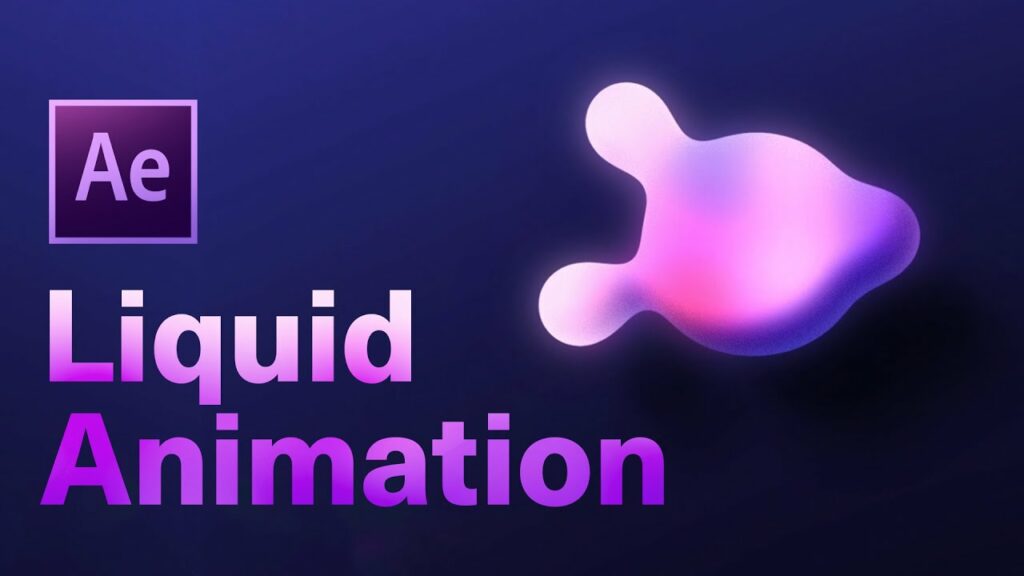
Mastering Fluidity: A Comprehensive Guide to Creating Liquid Animations in Adobe After Effects
Introduction: Liquid animations in Adobe After Effects offer a captivating visual experience, simulating the fluid motion and dynamic properties of liquids such as water, oil, and mercury. Whether used in motion graphics, visual effects, or animated illustrations, liquid animations add a sense of realism, dynamism, and aesthetic appeal to compositions. In this comprehensive guide, we’ll delve into the intricacies of creating liquid animations in After Effects, exploring techniques for simulating fluid dynamics, animating viscosity, and crafting realistic liquid effects that mesmerize and inspire.
Understanding Liquid Animation in After Effects
Liquid animation in Adobe After Effects involves creating dynamic, flowing movements that mimic the behavior of liquids in the real world. This includes simulating properties such as viscosity, surface tension, and fluid dynamics to achieve realistic and visually engaging results. By leveraging techniques such as keyframe animation, motion paths, and effects simulations, artists can bring liquids to life with fluid motion, splashes, and ripples that evoke a sense of naturalism and realism.
Getting Started with Liquid Animation
To begin creating liquid animations in After Effects, follow these steps:
Step 1: Plan Your Animation
Start by conceptualizing your liquid animation and defining its purpose, style, and context within your composition. Determine the type of liquid you want to simulate (e.g., water, lava, slime) and consider factors such as viscosity, transparency, and color. Sketch out rough storyboard frames or create mood boards to visualize the look and feel of your animation.
Step 2: Set Up Your Composition
Launch After Effects and create a new composition by selecting “Composition” > “New Composition” from the menu. Adjust the composition settings, including dimensions, frame rate, and duration, to match the specifications of your animation. Import any assets or elements you’ll need for your animation, such as background images, graphics, or footage.
Step 3: Create Your Liquid Element
Using shape layers, masks, or effects in After Effects, create the base shape of your liquid element. This may involve drawing paths to define the contours of the liquid, applying effects such as Fractal Noise or Turbulent Displace to simulate fluid motion, or using pre-made assets or plugins for more complex liquid effects.
Step 4: Animate the Liquid Motion
Animate the movement of your liquid element using keyframes, motion paths, or simulations in After Effects. Experiment with techniques such as easing, overshoot, and secondary motion to create smooth and dynamic fluid animations. Pay attention to details such as gravity, inertia, and momentum to achieve realistic motion that adheres to the laws of physics.
Step 5: Add Secondary Effects and Details
Enhance the realism and visual appeal of your liquid animation by adding secondary effects and details. This may include adding splashes, droplets, or ripples to simulate interactions with other objects or surfaces. Experiment with effects such as CC Particle World, Trapcode Particular, or Video Copilot’s Element 3D to create dynamic and convincing liquid effects.
Advanced Techniques and Tips
To take your liquid animations to the next level, consider exploring the following advanced techniques and tips:
- Fluid Simulation Plugins: Explore third-party plugins and scripts for After Effects that offer advanced fluid simulation capabilities. Plugins such as Newton 3, RealFlow, or Flowbox allow you to simulate complex fluid dynamics, interactions, and collisions with greater accuracy and realism.
- Texture Mapping and Displacement: Use texture mapping and displacement techniques to add surface detail and complexity to your liquid animations. Apply textures or displacement maps to your liquid elements to create realistic surface patterns, reflections, and refractions that enhance the visual fidelity of your animation.
- Color and Transparency Effects: Experiment with color grading and transparency effects to add depth and visual interest to your liquid animations. Adjust the opacity, blending modes, and color gradients of your liquid elements to achieve subtle variations in transparency, color, and luminosity that mimic the appearance of real liquids.
- Motion Blur and Depth of Field: Apply motion blur and depth of field effects to your liquid animations to enhance realism and cinematic quality. Use the Motion Blur feature in After Effects to simulate motion blur for fast-moving liquid elements, and experiment with depth of field effects to create selective focus and depth perception in your animation.
- Particle Systems and Dynamics: Integrate particle systems and dynamic simulations into your liquid animations to add complexity and dynamism. Use particle emitters to generate splashes, bubbles, or foam, and apply dynamic simulations to simulate interactions between liquid elements and external forces such as wind, gravity, or turbulence.
Conclusion
Creating liquid animations in Adobe After Effects offers a thrilling opportunity to explore the dynamic properties of fluids and unleash your creativity. By mastering techniques such as keyframe animation, effects simulation, and texture mapping, you can craft liquid animations that captivate and mesmerize audiences with their realism and fluidity.
As you embark on your journey to create liquid animations in After Effects, remember to experiment, iterate, and push the boundaries of your creativity. Explore new techniques, study real-world fluid dynamics, and let your imagination soar as you craft stunning visuals that evoke the beauty and complexity of liquid motion. With dedication, practice, and a willingness to explore new possibilities, you’ll unlock the full potential of liquid animation in After Effects and create animations that leave a lasting impression on your audience.


