Illuminating Creativity: A Comprehensive Guide to Lighting Your YouTube Videos on a Budget
In the realm of YouTube content creation, lighting is a crucial element that can make or break the visual appeal and professionalism of your videos. Proper lighting enhances the clarity of your footage, adds depth and dimension to your subjects, and creates a visually engaging viewing experience for your audience. However, many aspiring creators may be deterred by the perceived cost of professional lighting equipment. The good news is that achieving quality lighting for your YouTube videos doesn’t have to break the bank. With some creativity, resourcefulness, and strategic planning, you can illuminate your content on a budget and elevate the production value of your videos.
In this extensive guide, we will embark on a journey through the art and science of lighting your YouTube videos on a budget, exploring a myriad of techniques, tips, and DIY solutions to help you achieve professional-looking lighting without breaking the bank. From understanding the fundamentals of lighting to leveraging affordable lighting equipment and household items, this guide will equip you with the knowledge and tools needed to illuminate your videos and captivate your audience.
Understanding the Importance of Lighting
Before delving into budget-friendly lighting solutions, it’s essential to understand why lighting is such a critical aspect of video production. Here are some key reasons why lighting matters:
- Visibility and Clarity: Proper lighting ensures that your subjects are well-lit and clearly visible, allowing viewers to see details, expressions, and actions with clarity and precision.
- Mood and Atmosphere: Lighting sets the mood and atmosphere of your videos, influencing the emotional impact and tone of your content. Whether it’s bright and cheerful or moody and dramatic, lighting shapes the viewer’s perception and experience of your videos.
- Depth and Dimension: Effective lighting adds depth and dimension to your shots, creating visual interest and separating subjects from the background. By controlling light and shadow, you can sculpt the contours of your subjects and enhance the three-dimensional quality of your footage.
- Professionalism and Quality: Quality lighting enhances the overall production value of your videos, signaling to viewers that you take your content seriously and prioritize quality. Professional-looking lighting can elevate the visual appeal of your videos and leave a lasting impression on your audience.
Budget-Friendly Lighting Solutions
Now that we’ve established the importance of lighting let’s explore budget-friendly solutions for illuminating your YouTube videos:
1. Natural Light
One of the most cost-effective and versatile lighting sources is natural light from the sun. Here’s how you can make the most of natural light for your videos:
- Shoot Near Windows: Position yourself or your subject near windows to capitalize on natural light sources. North-facing windows provide soft, diffused light, while south-facing windows offer brighter, direct sunlight.
- Use Reflectors: Enhance natural light by using reflectors to bounce sunlight onto your subject and fill in shadows. Reflective surfaces such as white foam boards, aluminum foil, or silver reflectors can help redirect light and soften harsh shadows.
2. DIY Lighting Equipment
You can create your own lighting equipment using affordable materials and household items. Here are some DIY lighting solutions to consider:
- DIY Softbox: Construct a DIY softbox using a cardboard box, white fabric or shower curtain, and a light source such as a desk lamp or LED bulb. Line the inside of the box with white fabric to diffuse light and create a soft, flattering glow.
- Chinese Lanterns: Use inexpensive Chinese lanterns or paper lanterns as affordable lighting fixtures. Hang lanterns from light stands or ceiling mounts and place LED bulbs or compact fluorescent bulbs inside for soft, diffused illumination.
3. Affordable Lighting Kits
While professional lighting kits can be expensive, there are affordable options available that provide decent quality for beginner and intermediate creators. Consider investing in the following budget-friendly lighting kits:
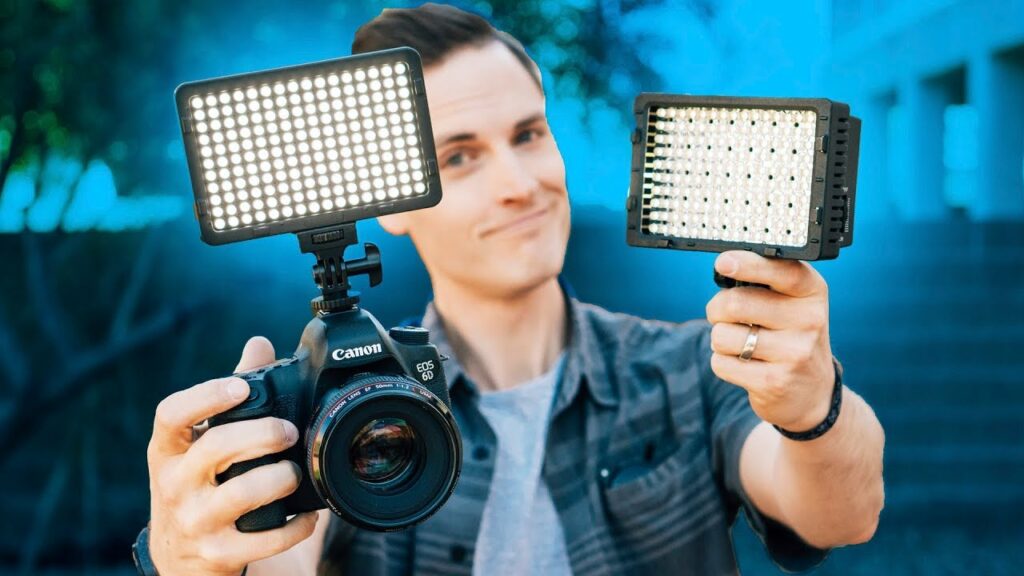
- LED Panel Lights: LED panel lights are affordable, energy-efficient, and versatile lighting fixtures that offer adjustable brightness and color temperature settings. Look for budget-friendly LED panel kits that include multiple lights and accessories such as light stands and diffusers.
- Compact Ring Lights: Compact ring lights are portable, easy to use, and provide even illumination for close-up shots and beauty videos. Opt for budget-friendly ring light kits that include adjustable brightness settings and smartphone holders for added versatility.
4. Household Lighting
You can also utilize existing household lighting fixtures to illuminate your videos. Here are some household lighting options to consider:
- Table Lamps: Use table lamps or desk lamps with adjustable heads to direct light where needed. Experiment with different bulb types and wattages to achieve the desired brightness and color temperature.
- Floor Lamps: Position floor lamps near your shooting area to provide additional ambient light and fill in shadows. Choose floor lamps with adjustable height and brightness settings for added flexibility.
Lighting Techniques and Tips
Regardless of the lighting sources you choose, here are some techniques and tips to help you achieve professional-looking lighting on a budget:
- Three-Point Lighting: Implement the classic three-point lighting setup using key lights, fill lights, and backlighting to achieve balanced, flattering illumination for your subjects.
- Diffusion: Use diffusion materials such as white fabric, shower curtains, or parchment paper to soften and diffuse harsh light sources, creating a flattering, natural-looking glow.
- Color Temperature: Pay attention to color temperature when selecting light sources and bulbs. Daylight-balanced bulbs (5000-6500K) mimic natural sunlight, while warmer bulbs (2700-3500K) create a cozy, inviting atmosphere.
Conclusion
Lighting your YouTube videos on a budget is a rewarding and creative endeavor that empowers you to enhance the visual quality and professionalism of your content without breaking the bank. By leveraging natural light, DIY lighting solutions, affordable lighting kits, and household lighting fixtures, you can achieve professional-looking results that captivate and engage your audience.
Remember that lighting is as much an art as it is a science, and experimentation is key to finding the right lighting setup for your videos. Stay curious, stay creative, and stay resourceful as you explore different lighting techniques, experiment with lighting equipment, and refine your lighting skills over time.
So, embrace the challenge, unleash your creativity, and illuminate your YouTube videos with budget-friendly lighting solutions. With dedication, ingenuity, and a keen eye for detail, you can create visually stunning videos that shine bright and leave a lasting impression on your audience. Happy lighting!


