Crafting Worlds: A Comprehensive Guide to Creating a Planet from Scratch in Photoshop

Introduction
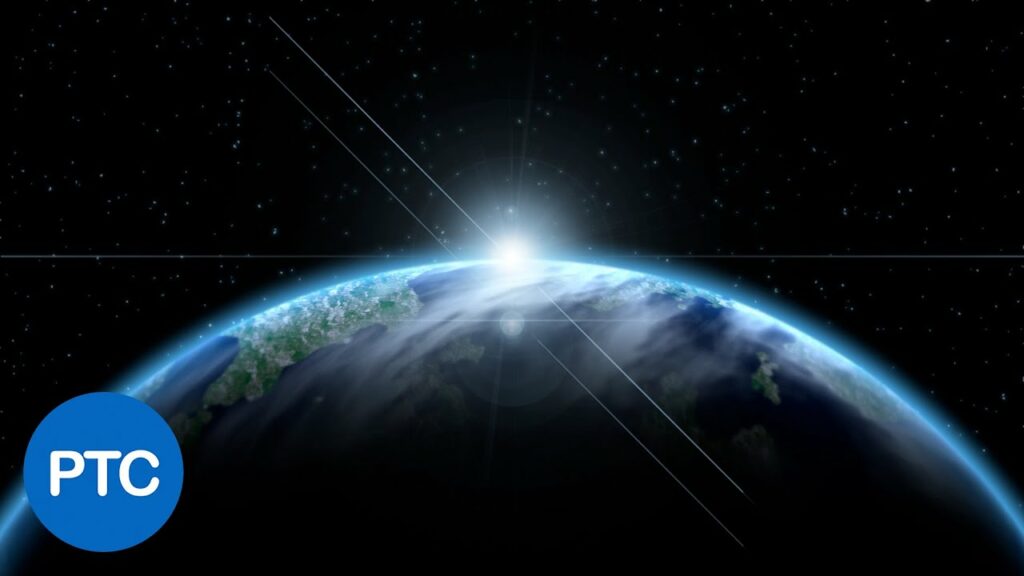
In the vast universe of digital artistry, the power to conjure entire worlds lies at the fingertips of creative minds. One captivating project that allows artists to exercise their imagination and design prowess is the creation of a planet from scratch using Adobe Photoshop. In this extensive guide, we will embark on a celestial journey through the step-by-step process of crafting a unique and mesmerizing planet, exploring essential techniques, tools, and details that will transform a blank canvas into a celestial masterpiece.
Understanding the Cosmic Palette
- Research and Inspiration:
- Begin by gathering inspiration from real planets, celestial bodies, and astronomical imagery.
- Study the diversity of planets in our solar system and beyond to inform your design.
- Color Theory for Celestial Bodies:
- Understand the science behind the colors of planets, considering factors such as atmospheric composition, surface materials, and the influence of sunlight.
- Explore color harmonies that evoke specific moods or atmospheres for your custom planet.
Setting Up Your Photoshop Workspace
- Creating a New Document:
- Open Adobe Photoshop and create a new document with dimensions suitable for your planetary design.
- Consider working with a large canvas to capture intricate details.
- Background Gradient:
- Set a cosmic background gradient to simulate the vastness of space.
- Experiment with deep blues, purples, and subtle gradients to create a cosmic ambiance.
Designing the Planet Surface
- Base Shape and Structure:
- Use the Elliptical Marquee Tool to draw the basic shape of your planet.
- Consider factors like size, shape, and geological features based on your creative vision.
- Surface Texturing:
- Apply texture overlays or use Photoshop brushes to simulate the surface details of your planet.
- Experiment with various textures, such as rocky terrains, swirling clouds, or icy formations.
- Atmospheric Effects:
- Introduce atmospheric effects to add depth and realism to your planet.
- Apply soft brush strokes or filters to create ethereal clouds, storms, or hazes.
- Craters and Geological Features:
- Craft craters and geological features using a combination of brushes, layer styles, and texture overlays.
- Pay attention to the placement and distribution of features for a naturalistic appearance.
Adding a Planetary Atmosphere
- Outer Glow and Halo:
- Apply an outer glow or halo effect to simulate the atmosphere surrounding your planet.
- Adjust the opacity, color, and size to achieve a subtle yet impactful atmospheric glow.
- Rings or Moons:
- Experiment with the addition of rings or moons to enhance the celestial allure.
- Design these elements with attention to scale, placement, and the interaction of light.
Creating Realistic Lighting and Shadows
- Light Source Direction:
- Establish the direction of your primary light source, such as the sun, to determine the placement of shadows and highlights.
- Consider the angle of illumination to create realistic shading on the planet’s surface.
- Surface Highlights:
- Apply highlights to the illuminated areas of your planet’s surface.
- Use soft brushes or the Dodge tool to accentuate the reflection of light on prominent features.
- Shadowing and Depth:
- Introduce shadows to the opposite side of the planet, creating depth and dimension.
- Adjust the opacity of the shadows to maintain a balance between realism and artistic expression.
Fine-Tuning and Refining Details
- Color Adjustments:
- Utilize adjustment layers to fine-tune the overall color balance and vibrancy of your planet.
- Experiment with levels, curves, and color balance adjustments for nuanced control.
- Texture Variation:
- Introduce subtle variations in surface texture to avoid uniformity.
- Overlay additional textures or modify existing ones to add complexity to your planet’s appearance.
- Atmospheric Haze and Blur:
- Create a sense of distance by adding a slight atmospheric haze or blur to the farthest regions of your planet.
- Adjust the opacity to maintain a seamless transition.
Exporting and Showcasing Your Cosmic Creation
- Saving High-Resolution Versions:
- Save your completed planet design in high-resolution formats suitable for different purposes, such as printing or detailed digital presentations.
- Incorporating into Artwork or Designs:
- Integrate your newly crafted planet into various digital artwork or design projects.
- Experiment with different compositions and contexts to showcase the versatility of your cosmic creation.
Conclusion
Creating a planet from scratch in Photoshop is a celestial odyssey that combines technical precision with boundless imagination. By understanding the nuances of planetary design, harnessing the tools of Photoshop to simulate surface textures, atmospheres, and lighting effects, you can transform a blank canvas into a breathtaking celestial masterpiece. Whether you’re a seasoned digital artist or an aspiring creator exploring the realms of space and imagination, this comprehensive guide equips you with the skills and techniques to embark on a cosmic journey of your own. Unleash your creativity, design worlds beyond the stars, and let your custom planet be a shining testament to the limitless possibilities of digital artistry in Adobe Photoshop.


