Capturing the Unseen: A Comprehensive Exploration of the Infrared Photo Effect with Photoshop
Introduction:
In the realm of digital photography and artistic expression, the infrared photo effect has emerged as a captivating technique that transcends the boundaries of conventional imagery. This comprehensive guide is designed to walk you through the intricate steps of creating an infrared photo effect using Adobe Photoshop, unraveling the mysteries of capturing a surreal world where the unseen becomes visible. Whether you’re a seasoned photographer or a digital art enthusiast, this exploration into the realm of infrared photography will empower you to transform ordinary images into ethereal and otherworldly masterpieces.
Section 1: Understanding Infrared Photography
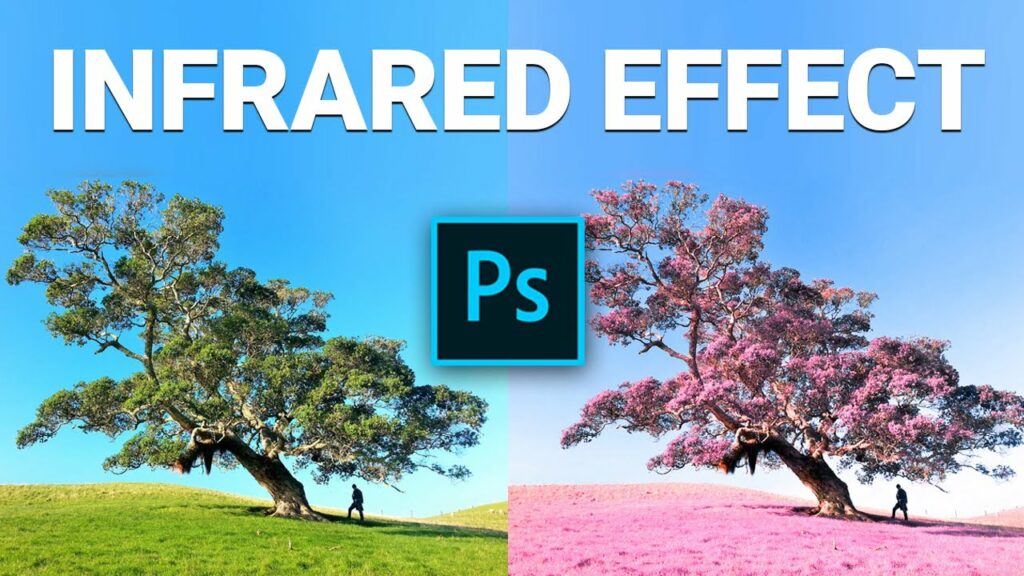
Before delving into the technicalities of the infrared photo effect, it’s crucial to grasp the fundamentals of infrared photography. Traditional cameras capture light in the visible spectrum, while infrared photography involves capturing light beyond what the human eye can perceive. This leads to unique and surreal effects, with foliage appearing bright and otherworldly, and the sky taking on deep, dramatic tones.
Section 2: Setting Up Your Workspace
Open Adobe Photoshop and import the image you want to transform with the infrared effect. Ensure that the photo has a good balance of elements, such as vegetation, skies, and other features, as these will contribute to the effectiveness of the infrared effect.
Section 3: Channel Swapping
One of the key techniques in creating the infrared effect involves channel swapping. Navigate to the Channels panel, where you’ll find the Red, Green, and Blue channels. Swap the Red and Blue channels by dragging them interchangeably. This process enhances the contrast between vegetation and the sky, creating the signature look of infrared photography.
Section 4: Adjusting Levels and Curves
Fine-tune the tonal range of your image by adjusting levels and curves. This step helps in enhancing the contrast and achieving the distinct, dreamy appearance associated with infrared photography. Experiment with curves adjustments to achieve the desired balance between highlights and shadows.
Section 5: Simulating Grain and Texture
To evoke the analog aesthetic often associated with infrared film photography, consider adding a touch of grain and texture. Create a new layer and apply a grain filter to mimic the organic feel of traditional film. Adjust the opacity to control the intensity, ensuring a subtle yet effective addition to your infrared photo effect.
Section 6: Creating a Faux Sky
In infrared photography, the sky often takes on a dark, mysterious tone. Create a new layer and use the Brush tool to paint the sky with deep blues or purples. Experiment with blending modes and opacities to seamlessly integrate the faux sky with the rest of the image. This step enhances the surreal and captivating atmosphere of the infrared effect.
Section 7: Adjusting Color Balance
Fine-tune the color balance to achieve the characteristic cool and surreal tones associated with infrared photography. Experiment with the color balance sliders, emphasizing blues and purples to create a visually striking and ethereal atmosphere. This adjustment further enhances the dreamlike quality of your infrared photo effect.
Section 8: Refining Details and Highlights
Zoom in on your image to refine details and highlights. Pay attention to intricate elements like foliage, enhancing their brightness and contrast to achieve the signature glow often seen in infrared photography. This step adds depth and dimension to your transformed image.
Section 9: Adding Vignettes and Final Touches
To draw attention to the center of your image and create a more immersive feel, consider adding a subtle vignette. Create a new layer, use the Elliptical Marquee tool to select the center, and apply a dark gradient. Adjust the opacity to achieve a gentle vignette effect. Additionally, fine-tune any remaining details to ensure a polished and cohesive result.
Section 10: Saving and Showcasing Your Infrared Masterpiece
Once satisfied with your infrared photo effect, save your masterpiece. Consider creating different versions with varying levels of grain, texture, and color balance to explore the nuances of this unique style. Share your creation with the world, showcasing the ethereal beauty that the infrared photo effect can bring to ordinary photographs.
Conclusion:
The journey into the world of infrared photography with Photoshop is an exploration of the unseen and the extraordinary. This comprehensive guide has provided you with a roadmap to create captivating infrared photo effects, transforming ordinary images into ethereal and surreal masterpieces. Whether you’re drawn to the dreamlike quality of foliage or the mysterious tones of the sky, the infrared effect allows you to capture a world beyond the visible spectrum. Embrace the artistry of infrared photography, experiment with techniques, and let your creativity soar as you unveil the hidden beauty within your images.


