Navigating the Installation Maze: A Comprehensive Guide on How to Install MSI Files on Windows 10 or Windows 11

Introduction:
MSI (Microsoft Installer) files play a pivotal role in the Windows ecosystem, serving as a standardized format for software installation. Understanding how to install MSI files on Windows 10 or Windows 11 is essential for users seeking to efficiently add, update, or remove software from their systems. In this comprehensive guide, we will delve into the intricacies of the MSI installation process, covering both the fundamental methods and advanced considerations. Whether you’re a seasoned user or a newcomer to the Windows environment, this guide aims to demystify the installation of MSI files, empowering you to harness the full potential of your operating system.
Understanding MSI Files:
Before diving into the installation process, it’s crucial to grasp the fundamentals of MSI files. MSI is a file extension denoting Microsoft Installer files, which are designed to simplify the software installation process on Windows systems. These files encapsulate the necessary instructions, resources, and configurations required for installing or uninstalling applications in a standardized manner.
Basic Methods to Install MSI Files:
Method 1: Using File Explorer
- Locate the MSI File:
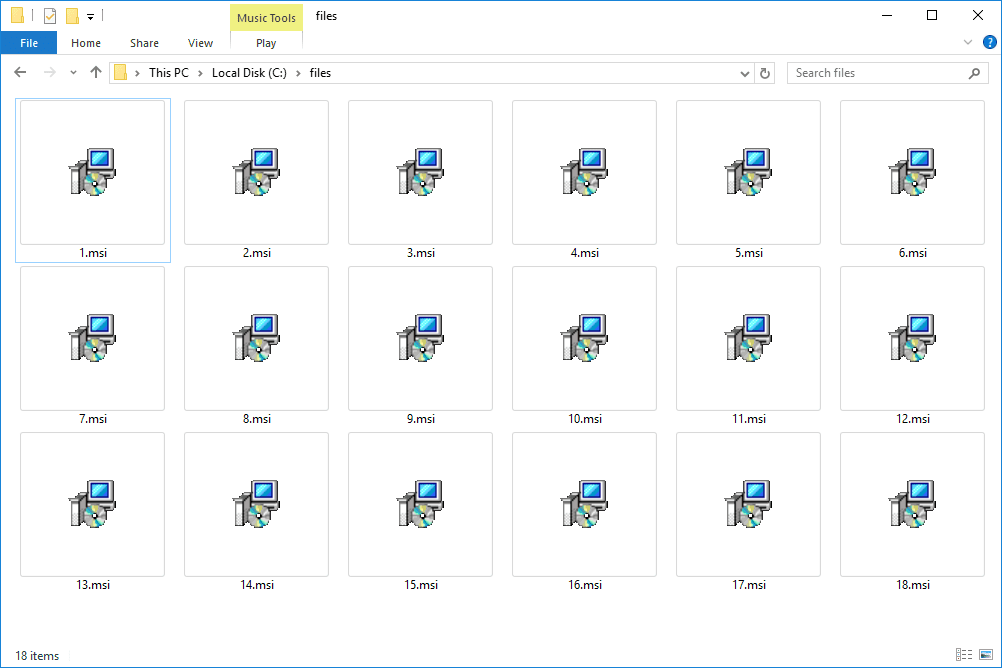
- Navigate to the directory containing the MSI file you wish to install using File Explorer.
- Right-Click on the MSI File:
- Right-click on the MSI file.
- Select ‘Install’:
- From the context menu, choose the “Install” option. This initiates the installation process.
- Follow Installation Wizard:
- The installation wizard will guide you through the process. Follow the on-screen instructions, including accepting terms and specifying installation options.
- Complete Installation:
- Once the installation is complete, you may be prompted to launch the application. Otherwise, you can manually start it from the Start menu.
Method 2: Using Command Prompt
- Open Command Prompt:
- Press
Win + Xand choose “Command Prompt” or “Windows PowerShell” with administrative privileges.
- Press
- Navigate to MSI File Directory:
- Use the
cdcommand to navigate to the directory containing the MSI file.
cd path\to\directory - Use the
- Run MSI Installer:
- Execute the following command to run the MSI installer.
msiexec /i filename.msiReplace “filename.msi” with the actual name of your MSI file. - Follow Installation Wizard:
- The installation wizard will appear, prompting you to follow the on-screen instructions to complete the installation.
- Finish Installation:
- Once the installation is complete, you may choose to launch the application or exit the installer.
Advanced Installation Considerations:
Method 3: Silent Installation
- Open Command Prompt:
- Open Command Prompt or PowerShell with administrative privileges.
- Run Silent Installation:
- Execute the following command to perform a silent installation.
msiexec /i filename.msi /qnReplace “filename.msi” with the actual name of your MSI file. The/qnswitch ensures a quiet, unattended installation.
Method 4: Group Policy Deployment
- Access Group Policy Editor:
- Press
Win + R, type “gpedit.msc,” and press Enter to open the Group Policy Editor.
- Press
- Navigate to Software Installation:
- In the editor, go to “Computer Configuration” > “Software Settings” > “Software Installation.”
- Right-Click and Choose ‘New’ > ‘Package’:
- Right-click on “Software Installation,” choose “New,” and then select “Package.”
- Select MSI File:
- Browse to the location of the MSI file and select it. Click “Open.”
- Specify Deployment Method:
- Choose the deployment method, such as “Assigned” or “Published,” and follow the on-screen instructions.
- Apply Group Policy:
- Close the Group Policy Editor and force a group policy update using the command
gpupdate /forcein Command Prompt.
- Close the Group Policy Editor and force a group policy update using the command
Troubleshooting Installation Issues:
- Check System Requirements:
- Ensure that your system meets the minimum requirements specified by the software vendor.
- Verify MSI File Integrity:
- Confirm that the downloaded MSI file is not corrupted. Re-download it if necessary.
- Run Installer as Administrator:
- Right-click on the MSI file and select “Run as administrator” to ensure elevated privileges.
- Review Installation Logs:
- Check installation logs for error messages. You can find these logs in the
%TEMP%directory.
%TEMP%\MSI*.log - Check installation logs for error messages. You can find these logs in the
Conclusion:
Installing MSI files on Windows 10 or Windows 11 is a fundamental aspect of managing software on your system. Whether using the familiar context menu in File Explorer, employing command-line tools for advanced control, or leveraging Group Policy for large-scale deployments, this guide has equipped you with a comprehensive understanding of the installation process. By mastering the intricacies of MSI file installations, you gain the ability to effortlessly add, update, or remove software applications, optimizing your Windows experience to suit your needs.


