Mastering the Art of Importing 3D Models in DaVinci Resolve: A Comprehensive Guide
Introduction: DaVinci Resolve, known for its robust video editing capabilities, has evolved into a powerhouse for creatives across various multimedia disciplines. Its prowess extends beyond traditional video editing, offering a plethora of advanced features, including the integration of 3D models. Incorporating 3D elements into your projects can elevate the visual appeal and immerse viewers in captivating narratives. In this comprehensive guide, we’ll delve into the intricacies of importing 3D models into DaVinci Resolve, unlocking a world of creative possibilities for filmmakers, animators, and content creators alike.
Section 1: Understanding 3D Model Formats Before embarking on your journey to import 3D models into DaVinci Resolve, it’s essential to grasp the various file formats commonly used in the realm of 3D modeling. DaVinci Resolve supports popular formats such as OBJ, FBX, and Alembic, each with its own advantages and considerations. Understanding the strengths and limitations of these formats will streamline your workflow and ensure compatibility with DaVinci Resolve’s environment.
Section 2: Preparing 3D Models for Import Achieving seamless integration of 3D models in DaVinci Resolve begins with meticulous preparation. This entails optimizing your 3D models for compatibility and performance within the editing software. Tasks such as UV unwrapping, texture mapping, and polygon reduction may be necessary to enhance efficiency and preserve visual fidelity. Additionally, organizing your 3D assets into manageable directories fosters a structured workflow, expediting the import process and minimizing errors.
Section 3: Importing 3D Models into DaVinci Resolve With your 3D models meticulously prepared, it’s time to embark on the importation process within DaVinci Resolve. This section will guide you through the step-by-step procedure, encompassing the following key aspects:
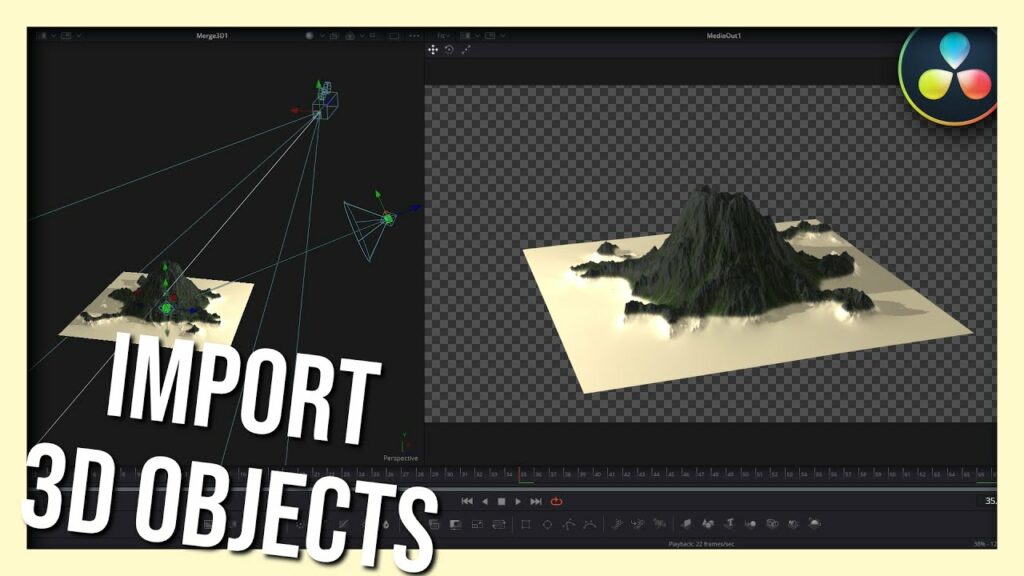
- Accessing the Fusion page: DaVinci Resolve’s Fusion page serves as the hub for compositing and advanced visual effects. Navigating to this page lays the foundation for incorporating 3D models seamlessly into your projects.
- Importing 3D models: Leveraging Fusion’s robust toolset, import your prepared 3D models into the composition. DaVinci Resolve’s support for industry-standard file formats ensures compatibility with a wide range of 3D assets.
- Positioning and manipulating 3D models: Once imported, manipulate the orientation, scale, and position of your 3D models within the Fusion workspace. Utilize Fusion’s intuitive controls to achieve precise placement and alignment, seamlessly integrating 3D elements into your scenes.
Section 4: Enhancing Visual Impact with Textures and Materials Texture mapping and material assignment play pivotal roles in enhancing the realism and visual impact of your 3D models within DaVinci Resolve. This section explores techniques for applying textures, defining materials, and refining surface properties to imbue your 3D assets with depth and authenticity. Whether simulating natural phenomena or crafting intricate surfaces, mastering texture and material manipulation empowers you to breathe life into your creations.
Section 5: Animating 3D Models for Dynamic Visuals Animating 3D models adds dynamic flair and narrative depth to your projects, captivating audiences with immersive storytelling. DaVinci Resolve offers robust animation tools within its Fusion environment, enabling you to animate 3D models with precision and creativity. From simple transformations to complex keyframe animations, unleash your imagination and bring your 3D scenes to life with seamless motion and fluidity.
Section 6: Rendering and Exporting 3D Scenes With your 3D models integrated and animated to perfection, the final step is rendering and exporting your composition from DaVinci Resolve. This section elucidates the rendering process, encompassing settings optimization, output formats, and rendering presets. Whether targeting high-definition displays or immersive VR environments, DaVinci Resolve empowers you to tailor your output to suit your project’s specific requirements, ensuring optimal visual fidelity and compatibility across platforms.
Conclusion: Incorporating 3D models into your DaVinci Resolve projects opens a world of creative possibilities, elevating your storytelling prowess and captivating audiences with immersive visuals. By mastering the art of importing 3D models, you unlock a treasure trove of tools and techniques to unleash your creative vision and bring your ideas to life with unparalleled depth and realism. Embrace the journey of exploration and experimentation, and let DaVinci Resolve be your canvas for boundless creativity in the realm of 3D storytelling.


