Mastering Shape Creation: A Comprehensive Guide to Crafting Custom Shapes in Adobe Illustrator
Introduction:
In the realm of digital design, Adobe Illustrator stands as a beacon of creativity, offering a myriad of tools and features to bring artistic visions to life with precision and finesse. Among its many capabilities, the ability to create custom shapes provides artists and designers with the flexibility to craft unique and intricate designs tailored to their specific needs. Whether you’re a seasoned illustrator or an aspiring designer, understanding how to effectively wield the tools in Adobe Illustrator to create custom shapes is essential for unlocking new dimensions of creativity. In this comprehensive guide, we’ll embark on a journey to explore the techniques and tools needed to craft stunning custom shapes from scratch.
Chapter 1: Understanding Vector Shapes
Before diving into the creation process, it’s important to understand the fundamentals of vector shapes in Adobe Illustrator. Unlike raster images, which are composed of pixels and can lose quality when scaled, vector shapes are composed of mathematical equations and can be scaled infinitely without loss of quality. This makes vector shapes ideal for creating logos, icons, illustrations, and other types of artwork that require scalability and precision.
Chapter 2: Exploring Shape Creation Tools
Adobe Illustrator offers a variety of tools for creating custom shapes, each with its own unique capabilities and functionalities. The most commonly used shape creation tools include the pen tool, the shape tools (rectangle, ellipse, polygon, etc.), and the curvature tool. Experiment with each of these tools to understand their strengths and limitations, and find the one that best suits your needs for creating custom shapes.
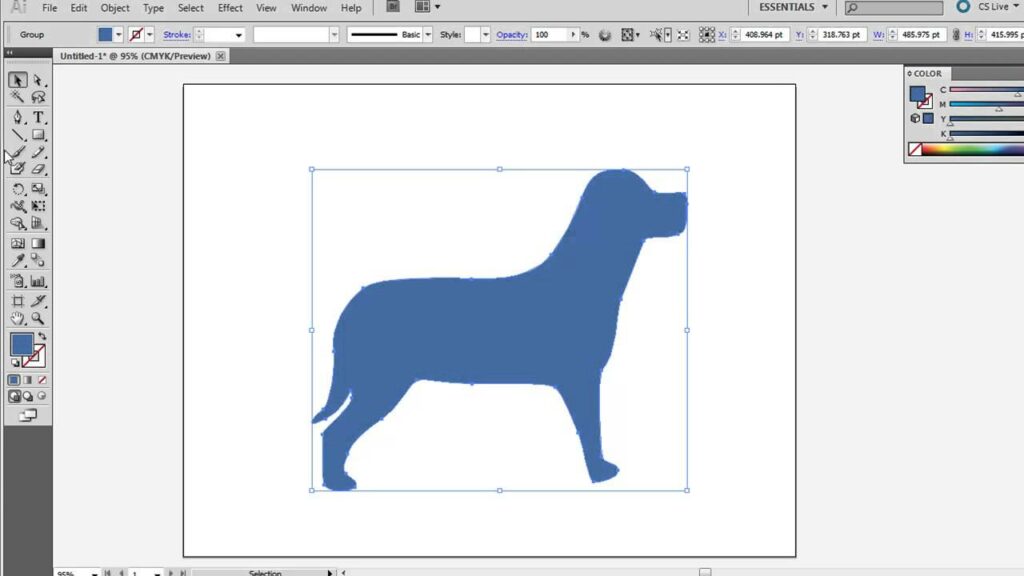
Chapter 3: Using the Pen Tool for Precision
The pen tool is one of the most powerful and versatile tools for creating custom shapes in Adobe Illustrator. With the pen tool, you can create complex and intricate shapes with precision and accuracy. To use the pen tool, simply click to create anchor points, and then click and drag to create curved lines. Experiment with different combinations of anchor points and curved lines to create smooth and flowing shapes. Use the direct selection tool to adjust the position and shape of individual anchor points and handles until you achieve the desired shape.
Chapter 4: Utilizing Shape Tools for Convenience
For simpler shapes, such as rectangles, circles, and polygons, Adobe Illustrator offers a variety of shape tools that allow you to create these shapes with ease. To use a shape tool, simply select the desired shape from the toolbar, click and drag on the canvas to create the shape, and then adjust its size and proportions using the selection tool. Experiment with different shapes and sizes to create interesting compositions and layouts.
Chapter 5: Mastering the Curvature Tool for Flexibility
The curvature tool in Adobe Illustrator provides a more intuitive and flexible approach to creating custom shapes. With the curvature tool, you can create smooth and flowing shapes by simply clicking and dragging on the canvas to create curved lines. Unlike the pen tool, which requires you to manually add and adjust anchor points, the curvature tool automatically adds and adjusts anchor points as you draw, allowing for more natural and organic shapes.
Chapter 6: Combining and Editing Shapes
Once you’ve created your custom shapes, you can combine and edit them to create more complex and intricate designs. Use the pathfinder tool to combine multiple shapes into a single shape, or to subtract one shape from another. Use the shape builder tool to merge overlapping shapes, or to divide a shape into multiple shapes. Experiment with different combinations and arrangements of shapes to create unique and visually interesting compositions.
Chapter 7: Adding Detail and Refinement
To enhance the visual appeal of your custom shapes, consider adding detail and refinement. Use the stroke and fill options to add color, gradients, and patterns to your shapes. Experiment with different stroke weights and styles to add depth and dimension to your shapes. Use the appearance panel to apply effects such as shadows, glows, and textures to your shapes. Additionally, use the align and distribute tools to ensure that your shapes are properly aligned and spaced within your artwork.
Chapter 8: Saving and Exporting Custom Shapes
Once you’ve completed your custom shapes in Adobe Illustrator, it’s important to save and export them for future use. Save your Illustrator document in a compatible file format, such as AI or PDF, to preserve the vector properties of your shapes. If you’re creating shapes for use in other applications, consider exporting them as SVG files for scalability and compatibility with web browsers. For print-based projects, export your shapes as high-resolution raster images in formats such as JPEG or PNG.
Conclusion:
Creating custom shapes in Adobe Illustrator is a rewarding and fulfilling endeavor that allows artists and designers to unleash their creativity and imagination. By understanding the fundamentals of vector shapes, exploring the shape creation tools, mastering the pen tool, utilizing shape tools, harnessing the curvature tool, combining and editing shapes, adding detail and refinement, and saving and exporting custom shapes, you’ll be able to craft stunning shapes that elevate your artwork to new heights. So grab your stylus, set your sights on the canvas, and let the shape creation tools in Adobe Illustrator become your gateway to boundless creativity and expression.


