Mastering Segment Deletion in DaVinci Resolve: A Comprehensive Guide
Introduction:
Deleting segments from a video clip is a crucial editing technique that allows editors to refine their footage, remove unwanted content, and enhance the overall flow and coherence of their projects. DaVinci Resolve, a powerful and versatile editing software, offers a range of tools and methods for deleting segments with precision and efficiency. In this comprehensive guide, we’ll explore the ins and outs of deleting segments from a video clip in DaVinci Resolve, equipping you with the knowledge and skills to master this essential aspect of post-production.
Understanding the Importance of Segment Deletion:
Deleting segments from a video clip serves several purposes in the editing process:
- Removing Unwanted Content: Segment deletion enables editors to eliminate unwanted or extraneous content from their footage, such as mistakes, pauses, or unusable takes.
- Enhancing Pacing and Flow: By deleting segments, editors can improve the pacing and flow of their edits, ensuring a smooth and engaging viewing experience for the audience.
- Streamlining Storytelling: Deleting unnecessary segments helps streamline the storytelling process, allowing editors to focus on the essential elements of their narrative and convey their message more effectively.
Navigating the Deletion Tools in DaVinci Resolve:
DaVinci Resolve offers multiple methods for deleting segments from a video clip, each tailored to different editing preferences and workflow requirements. Let’s explore the primary deletion tools available in DaVinci Resolve:
- Blade Tool:
- The Blade tool allows editors to make precise cuts in video clips at specific points on the timeline.
- To delete a segment using the Blade tool, position the playhead at the beginning of the segment you wish to remove, select the clip, and use the Blade tool to make a cut.
- Next, position the playhead at the end of the segment and make another cut.
- Finally, select the segment you want to delete and press the Delete key on your keyboard to remove it from the timeline.
- Range Selection Tool:
- The Range Selection tool allows editors to select and delete specific segments of a video clip within a defined range.
- To use the Range Selection tool, activate it by selecting the Range Selection button in the toolbar or by pressing the “R” key.
- Click and drag across the timeline to create a selection range encompassing the segments you want to delete.
- Once the segments are selected, press the Delete key on your keyboard to remove them from the timeline.
- Trim Edit Mode:
- Trim Edit Mode provides a dedicated interface for making adjustments to the in and out points of a video clip.
- Enter Trim Edit Mode by selecting a clip on the timeline and pressing the “T” key.
- In Trim Edit Mode, drag the edit points of the clip to adjust the timing and duration of the segment you want to delete.
- Once the segment is selected, press the Delete key on your keyboard to remove it from the timeline.
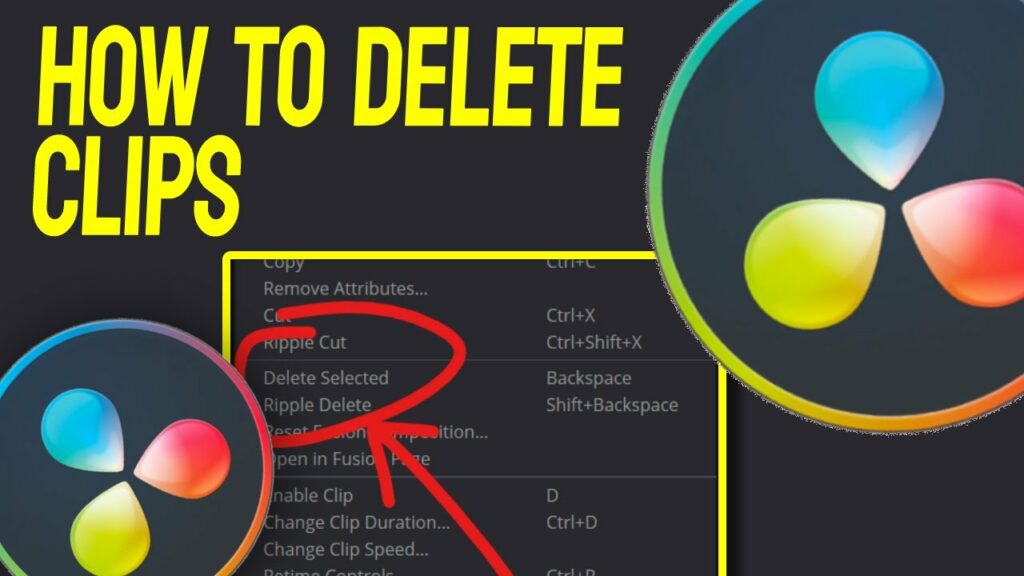
- Delete Segment Button:
- DaVinci Resolve also provides a dedicated Delete Segment button in the toolbar for quick and easy deletion of segments.
- Select the segment you want to delete on the timeline, then click the Delete Segment button in the toolbar to remove it from the timeline.
Best Practices for Segment Deletion:
To optimize your workflow and achieve seamless results when deleting segments from a video clip in DaVinci Resolve, consider the following best practices:
- Plan Ahead:
- Before deleting segments, review your footage and identify the sections that need to be removed or trimmed.
- Develop a clear understanding of the desired pacing, rhythm, and narrative structure of your project to guide your deletion decisions.
- Non-Destructive Editing:
- Embrace non-destructive editing techniques to preserve the integrity of your original footage and maintain flexibility throughout the editing process.
- Avoid making irreversible changes to your clips whenever possible, opting instead for adjustments that can be easily reverted or modified as needed.
- Use Keyboard Shortcuts:
- Familiarize yourself with keyboard shortcuts for deletion operations in DaVinci Resolve to expedite your editing workflow.
- Learn shortcuts for tasks such as cutting clips, deleting segments, and navigating the timeline to work more efficiently and intuitively.
- Refine Transitions:
- Pay attention to transitions between deleted segments and adjacent clips to ensure seamless continuity and visual coherence.
- Use trimming tools and transition effects to refine the timing and pacing of your edits, creating smooth transitions between segments.
- Experiment and Iterate:
- Don’t be afraid to experiment with different deletion techniques and creative approaches to refine your edits and achieve your desired artistic vision.
- Iterate on your edits, fine-tuning the timing and arrangement of deleted segments until you achieve the desired emotional impact and narrative resonance.
Conclusion:
Deleting segments from a video clip is a fundamental editing skill that empowers editors to refine their footage, streamline their storytelling, and create compelling visual narratives. By mastering the deletion tools and techniques available in DaVinci Resolve, you can elevate your editing skills, enhance the coherence of your edits, and captivate audiences with seamless and engaging content. Whether you’re crafting a cinematic masterpiece, a promotional video, or a vlog for social media, the ability to delete segments with precision and finesse is indispensable for achieving professional results and realizing your creative vision.


