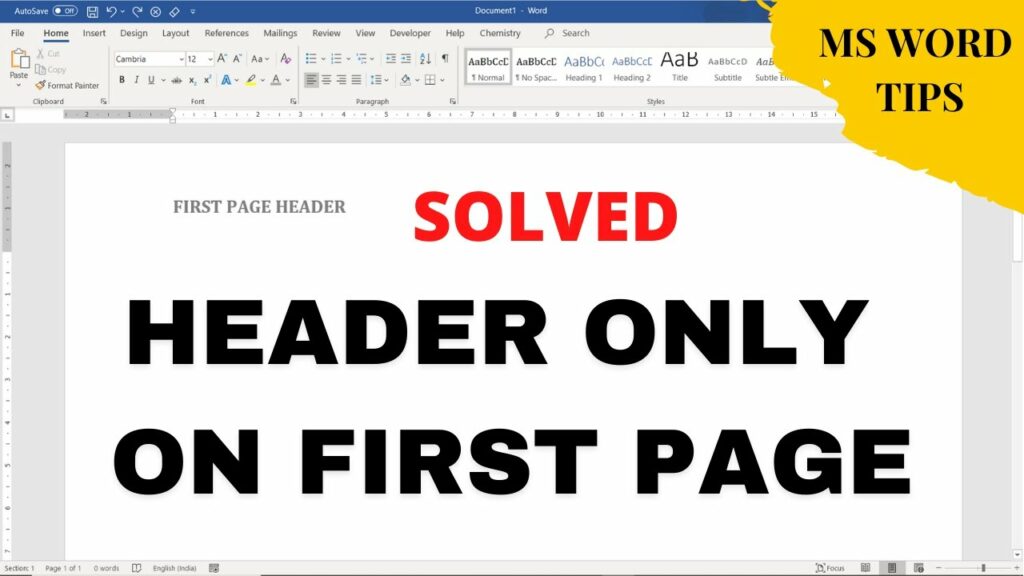
Mastering Header Customization in Microsoft Word: Adding Headers Only on the First Page
Microsoft Word offers a plethora of customization options for headers, enabling users to enhance the appearance and organization of their documents. One common requirement is to add a header that appears only on the first page, such as a title or company logo, while subsequent pages have a different header or no header at all. In this extensive guide, we’ll delve into the intricacies of adding a header only on the first page in Microsoft Word, equipping you with the knowledge and skills to achieve this task with precision and professionalism.
Understanding the Importance of Headers:
Before delving into the specifics of header customization, it’s essential to recognize the significance of headers in document design. Headers serve multiple purposes, including providing context, identifying document sections, and reinforcing branding. By adding a header to your document, you can convey important information, such as the document title, author name, date, or page numbers, while also enhancing the visual appeal and professionalism of your document.
Basic Header Insertion:
Adding a header in Microsoft Word is a straightforward process that can be accomplished using the “Header” tool. Here’s how to do it:
- Navigate to the “Insert” Tab:
- Open Microsoft Word and navigate to the “Insert” tab located in the top menu bar.
- Click on “Header”:
- In the “Insert” tab, locate the “Header” button. Click on this button to reveal a dropdown menu with various header styles and options.
- Choose a Header Style:
- From the dropdown menu, select the desired header style. Word offers predefined header styles, such as blank headers, built-in headers, and custom headers.
- Edit the Header:
- Once you’ve selected a header style, Word will automatically insert the header into your document. You can then click inside the header area to edit its contents, such as adding text, inserting images, or formatting the header elements.
- Customize Header Options:
- Word provides a range of customization options for headers, allowing you to adjust settings such as font style, size, color, alignment, and spacing. You can access these options by double-clicking on the header area to enter the Header & Footer Tools tab.
Adding a Header Only on the First Page:
While inserting a basic header suffices for many scenarios, Microsoft Word does not offer a built-in option to add a header only on the first page by default. However, you can achieve this effect using a workaround involving section breaks and different header settings for each section. Here’s how to do it:
- Insert a Section Break:
- Position your cursor at the end of the first page where you want the header to end.
- Navigate to the “Layout” tab in the top menu bar and click on the “Breaks” button.
- Select “Next Page” from the dropdown menu to insert a section break.
- Link Headers in Different Sections:
- Double-click on the header area of the second page to enter the Header & Footer Tools tab.
- In the “Navigation” group, deselect the “Link to Previous” option to unlink the header from the previous section.
- Customize the Second Page Header:
- With the header for the second page unlinked, you can now customize it independently from the header on the first page. You can add different content, adjust formatting, or even leave it blank.
- Repeat for Subsequent Pages (Optional):
- If you want subsequent pages to have different headers or no header at all, repeat the process of unlinking headers and customizing them as needed for each section.
Best Practices for Header Usage:
While headers offer versatility and functionality in document design, it’s essential to use them judiciously and in accordance with best practices. Here are some tips to consider:
- Keep Headers Concise:
- Limit the content of headers to essential information, such as document titles, author names, and page numbers. Avoid overcrowding headers with excessive text or graphics, as this can detract from readability.
- Maintain Consistency:
- Use consistent header styles and formatting throughout your document to maintain coherence and professionalism. Consistency in headers enhances the document’s visual appeal and reinforces branding.
- Test for Compatibility:
- When sharing or exporting your document, ensure that headers are compatible with the intended output format. Some header formatting options may not translate well to certain file formats or viewing platforms.
Conclusion:
Customizing headers in Microsoft Word allows users to enhance the appearance, organization, and functionality of their documents. By mastering the basic insertion process, exploring advanced customization options, and implementing workarounds for specific requirements, such as adding a header only on the first page, you can achieve professional-looking documents tailored to your needs. Whether you’re creating reports, proposals, resumes, or academic papers, headers offer versatility and flexibility to elevate your document’s impact and effectiveness. So, the next time you embark on a document creation journey in Word, remember to leverage the power of headers to convey important information, reinforce branding, and enhance the overall presentation of your writing.


