How to Set Up a Virtual Environment in Python
Introduction
Python is a powerful and versatile programming language that is used by developers all over the world for a wide range of applications. One of the key features that makes Python so useful is its support for virtual environments. A virtual environment allows you to create an isolated workspace for your Python projects, which helps to manage dependencies and avoid conflicts between different projects. In this comprehensive guide, we will walk you through the process of setting up a virtual environment in Python, covering all the details you need to know to get started.
Table of Contents
- What is a Virtual Environment?
- Why Use Virtual Environments?
- Prerequisites
- Setting Up a Virtual Environment
- Using
venv - Using
virtualenv
- Using
- Activating and Deactivating a Virtual Environment
- Windows
- Mac and Linux
- Managing Dependencies
- Installing Packages
- Freezing and Sharing Dependencies
- Installing from a Requirements File
- Advanced Virtual Environment Management
- Customizing the Virtual Environment
- Using Virtual Environment Wrappers
- Common Issues and Troubleshooting
- Conclusion
What is a Virtual Environment?
A virtual environment in Python is an isolated environment that allows you to install and manage packages independently of your system-wide Python installation. Each virtual environment has its own installation directories, including its own copy of the Python interpreter, and can have its own set of installed packages. This isolation helps to ensure that the dependencies required by one project do not interfere with those required by another.
Why Use Virtual Environments?
There are several reasons to use virtual environments in Python:
- Dependency Management: Different projects may require different versions of the same package. A virtual environment allows you to manage these dependencies without conflict.
- Project Isolation: By isolating your projects, you can avoid issues that arise from global package installations and ensure that each project has a clean, consistent environment.
- Reproducibility: Virtual environments make it easier to reproduce and share your development environment with others, which is crucial for collaboration and deployment.
Prerequisites
Before you can set up a virtual environment, you need to have Python installed on your system. You can check if Python is installed by opening a terminal or command prompt and typing:
sh
Copy code
python --version
or
sh
Copy code
python3 --version
If Python is not installed, you can download and install it from the official Python website: python.org.
Setting Up a Virtual Environment
There are two primary tools for setting up virtual environments in Python: venv and virtualenv. The venv module is included with Python 3.3 and later, while virtualenv is a third-party tool that works with both Python 2 and Python 3.
Using venv
The venv module is the standard way to create virtual environments in Python 3. It is included with the Python standard library, so you do not need to install anything extra.
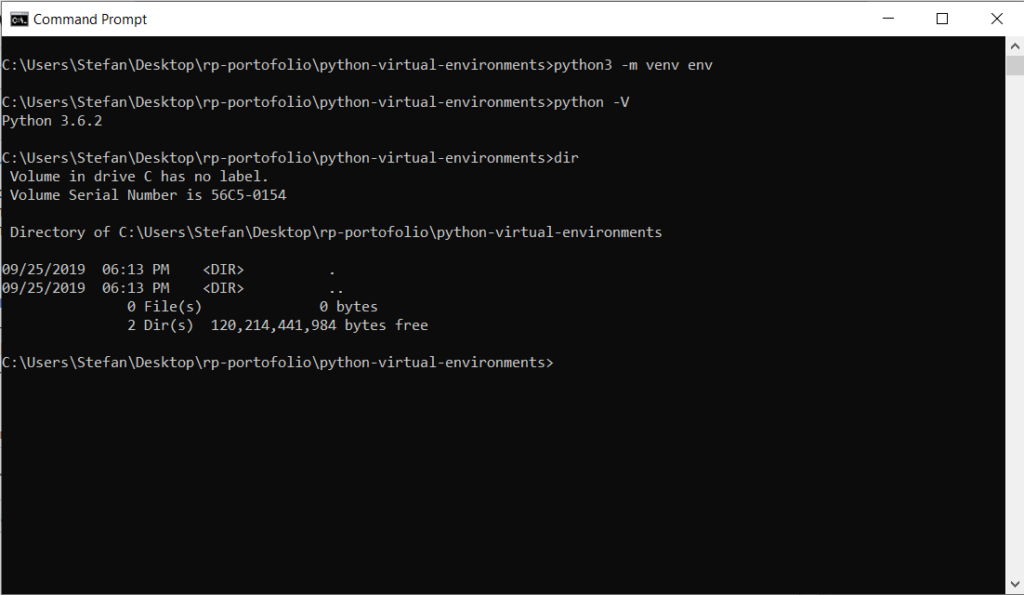
- Creating a Virtual Environment:Open a terminal or command prompt and navigate to the directory where you want to create your virtual environment. Then run the following command:shCopy code
python3 -m venv myenvReplacemyenvwith the name you want to give to your virtual environment. This command will create a directory with the specified name, containing a copy of the Python interpreter and alibdirectory with the standard library. - Verifying the Virtual Environment:After creating the virtual environment, you can verify its contents by listing the files in the directory:shCopy code
ls myenvYou should see directories likebin(orScriptson Windows),lib, andinclude.
Using virtualenv
virtualenv is a third-party tool that provides additional features and compatibility with both Python 2 and Python 3.
- Installing
virtualenv:If you do not havevirtualenvinstalled, you can install it usingpip:shCopy codepip install virtualenv - Creating a Virtual Environment:To create a virtual environment with
virtualenv, navigate to your project directory and run:shCopy codevirtualenv myenvReplacemyenvwith the name you want to give to your virtual environment. - Verifying the Virtual Environment:Similar to
venv, you can verify the contents of your virtual environment by listing the files in the directory.
Activating and Deactivating a Virtual Environment
After creating a virtual environment, you need to activate it before you can start using it. The activation process differs slightly between Windows, Mac, and Linux.
Windows
- Activating the Virtual Environment:To activate the virtual environment on Windows, open a command prompt and run:shCopy code
myenv\Scripts\activateAfter activation, you should see the name of your virtual environment in the command prompt, indicating that the virtual environment is active. - Deactivating the Virtual Environment:To deactivate the virtual environment, simply run:shCopy code
deactivate
Mac and Linux
- Activating the Virtual Environment:To activate the virtual environment on Mac or Linux, open a terminal and run:shCopy code
source myenv/bin/activateAfter activation, you should see the name of your virtual environment in the terminal prompt, indicating that the virtual environment is active. - Deactivating the Virtual Environment:To deactivate the virtual environment, simply run:shCopy code
deactivate
Managing Dependencies
One of the key benefits of using virtual environments is the ability to manage dependencies for each project independently.
Installing Packages
- Installing a Package:To install a package in your virtual environment, use
pip:shCopy codepip install package_nameReplacepackage_namewith the name of the package you want to install. - Verifying Package Installation:You can verify that the package was installed correctly by listing the installed packages:shCopy code
pip list
Freezing and Sharing Dependencies
- Freezing Dependencies:To freeze the current state of your virtual environment’s dependencies, run:shCopy code
pip freeze > requirements.txtThis command will create arequirements.txtfile containing a list of all installed packages and their versions. - Sharing Dependencies:You can share the
requirements.txtfile with others to ensure they have the same dependencies.
Installing from a Requirements File
- Installing Dependencies:To install the dependencies listed in a
requirements.txtfile, run:shCopy codepip install -r requirements.txtThis command will install all the packages specified in the file.
Advanced Virtual Environment Management
Customizing the Virtual Environment
You can customize your virtual environment in several ways, such as specifying the Python version or adding post-activation scripts.
- Specifying the Python Version:When creating a virtual environment with
virtualenv, you can specify the Python version:shCopy codevirtualenv -p /path/to/python3 myenvReplace/path/to/python3with the path to the desired Python interpreter. - Adding Post-Activation Scripts:You can add scripts to be executed when the virtual environment is activated. Place the scripts in the
bin(orScriptson Windows) directory and name thempostactivate.
Using Virtual Environment Wrappers
Virtual environment wrappers like virtualenvwrapper provide additional features for managing multiple virtual environments.
- Installing
virtualenvwrapper:To installvirtualenvwrapper, run:shCopy codepip install virtualenvwrapper - Setting Up
virtualenvwrapper:Follow the instructions in thevirtualenvwrapperdocumentation to set up and configure the tool. - Creating and Managing Environments:Use the
virtualenvwrappercommands to create and manage virtual environments. For example, to create a new environment:shCopy codemkvirtualenv myenv
Common Issues and Troubleshooting
- Permission Issues:If you encounter permission issues when creating or activating a virtual environment, try running the commands with
sudo(on Mac/Linux) or as an administrator (on Windows). - Missing Dependencies:If you receive errors about missing dependencies, make sure you have all the necessary build tools installed. For example, on Ubuntu, you can install the build-essential package:shCopy code
sudo apt-get install build-essential - Python Version Conflicts:If you have multiple versions of Python installed, make sure you are using the correct version for your virtual environment. You can specify the Python version when creating the environment, as described earlier.
Conclusion
Setting up and using virtual environments in Python is an essential skill for managing project dependencies and ensuring a clean, isolated development environment. By following the steps outlined in this comprehensive guide, you can create, activate, and manage virtual environments with ease. Whether you are working on a small project or a large application, virtual environments will help you maintain a consistent and reliable development setup, making your coding experience more efficient and enjoyable.


