How to set up a liquid cooling system
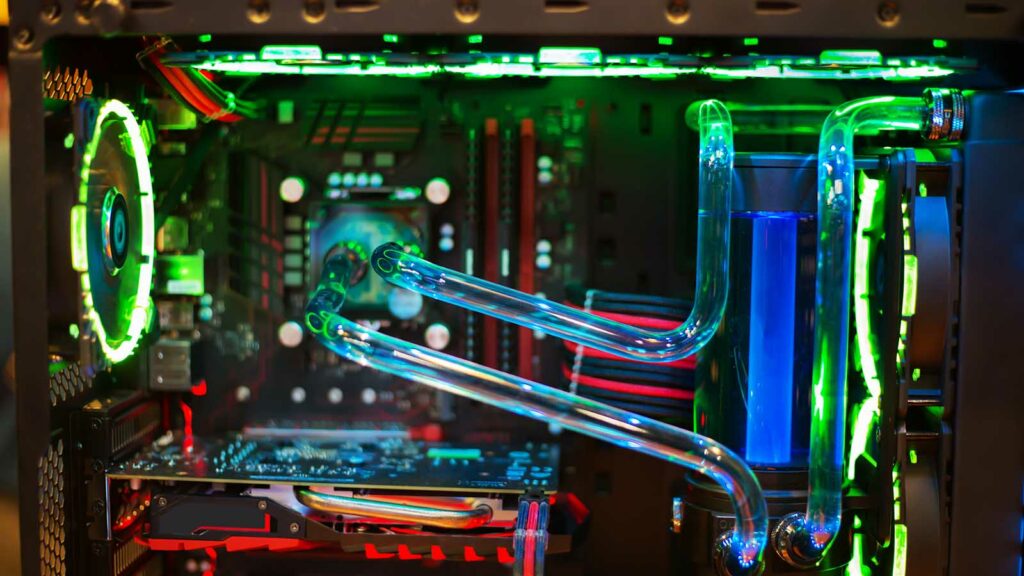
LED light fan.Computer with water cooling system.Inside of air cooled high performance modern.
Introduction to Setting Up a Liquid Cooling System
Liquid cooling systems use water or a coolant to dissipate heat from components such as CPUs and GPUs. These systems consist of several key components, including a radiator, water blocks for each component, tubing, a pump, and coolant. Setting up a liquid cooling system involves careful planning, assembly of components, and ensuring proper installation to achieve optimal cooling performance.
Preparation
Before you start setting up a liquid cooling system, gather the necessary tools, components, and information:
- Tools and Equipment:
- Screwdriver set (typically Phillips-head and sometimes hex keys)
- Thermal paste (for CPU water block)
- Anti-static wrist strap (recommended to prevent static electricity damage)
- Soft cloth or paper towels (for cleaning)
- Components Needed:
- CPU water block
- GPU water block (if liquid cooling the graphics card)
- Radiator and fans
- Pump and reservoir combo or separate units
- Tubing (soft or hard tubing, depending on preference)
- Coolant (pre-mixed or concentrate with distilled water)
- Fittings and adapters (compression fittings or barbs)
- Compatibility Check:
- Ensure compatibility between water blocks, radiator size, and fittings with your CPU, GPU, and computer case.
- Check radiator and fan placement options in your computer case for optimal airflow and cooling efficiency.
- Safety Precautions:
- Power off your computer and unplug it from the power source before starting the installation.
- Handle liquid cooling components with care to avoid damaging sensitive parts or causing leaks.
Step-by-Step Guide to Set Up a Liquid Cooling System
Step 1: Plan Your Liquid Cooling Loop
- Determine Loop Configuration:
- Decide on the placement and order of components in your liquid cooling loop (CPU, GPU, radiator, pump, reservoir).
- Plan tube routing to minimize bends and optimize coolant flow.
- Prepare Components:
- Install water blocks on the CPU and GPU according to manufacturer instructions. Apply thermal paste on the CPU water block if required.
Step 2: Install Radiator and Fans
- Mount Radiator:
- Install the radiator in your computer case using screws provided. Position it in a location that allows easy access to air intake and exhaust.
- Attach Fans:
- Mount fans on the radiator to pull or push air through the fins. Secure fans with screws to ensure they are firmly attached to the radiator.
Step 3: Install Pump and Reservoir
- Mount Pump and Reservoir:
- Mount the pump and reservoir combo or separate units in a convenient location inside the case. Ensure the pump is securely fastened to reduce vibration and noise.
- Connect Components:
- Connect the pump to the reservoir and ensure a secure connection with fittings or clamps. Position the reservoir to facilitate easy filling and bleeding of air from the loop.
Step 4: Connect Tubing
- Cut Tubing to Size:
- Measure and cut tubing to appropriate lengths for connecting components in your liquid cooling loop. Use a sharp tube cutter for clean cuts.
- Attach Tubing:
- Slide compression fittings or barbs onto each end of the tubing before attaching them to water blocks, radiator, pump, and reservoir.
- Ensure fittings are tightened securely to prevent leaks but avoid over-tightening, which can damage fittings or tubing.
Step 5: Fill and Bleed the Loop
- Prepare Coolant:
- Mix coolant with distilled water if using concentrate according to manufacturer recommendations. Avoid using tap water or pre-mixed coolants unless specified by the manufacturer.
- Fill the Loop:
- Slowly fill the reservoir with coolant mixture until the entire loop is filled. Monitor for leaks during the filling process.
- Run the pump to circulate coolant through the loop. Tilt the case gently to release air bubbles trapped in the loop.
- Bleed Air from the Loop:
- Continue running the pump and tilting the case as needed to bleed air from the loop. Check reservoir levels and top up coolant as necessary.
Step 6: Test and Monitor
- Check for Leaks:
- After filling and bleeding the loop, check all connections and fittings for leaks. Inspect components for signs of coolant leakage.
- Power On and Monitor Temperatures:
- Power on your computer and monitor temperatures using software tools or BIOS/UEFI settings. Verify that components are cooling effectively without overheating.
Step 7: Cable Management and Final Adjustments
- Organize Cables:
- Route and secure cables neatly using cable ties or Velcro straps. Ensure cables do not obstruct airflow or interfere with liquid cooling components.
- Optimize Fan and Pump Speeds:
- Adjust fan speeds and pump settings in BIOS/UEFI or using software tools to achieve optimal cooling performance and noise levels.
Step 8: Maintenance and Troubleshooting
- Regular Maintenance:
- Periodically check coolant levels and condition. Clean dust buildup on radiator fins and fans using compressed air.
- Inspect tubing and fittings for signs of wear or leakage.
- Troubleshooting:
- If you encounter cooling issues or component malfunctions, check for loose connections, air bubbles in the loop, or inadequate coolant circulation.
- Refer to manufacturer guides or online resources for troubleshooting specific to your liquid cooling components.
Conclusion
Setting up a liquid cooling system can provide efficient cooling performance and quieter operation compared to traditional air cooling solutions. By following this comprehensive guide and taking necessary precautions, you can successfully install and maintain a liquid cooling system to optimize thermal management for your high-performance computing needs.
Always refer to specific instructions provided by your liquid cooling component manufacturers for detailed guidance and recommendations tailored to your hardware.


