How to Clone a Hard Drive: A Comprehensive Guide
Cloning a hard drive is a valuable skill for anyone looking to upgrade their storage, create a backup, or transfer data to a new drive. This process involves creating an exact copy of one drive onto another, ensuring that all files, applications, and system settings are preserved. This comprehensive guide will walk you through the steps to clone a hard drive on various operating systems, explain the benefits, tools, and provide detailed instructions for different scenarios.
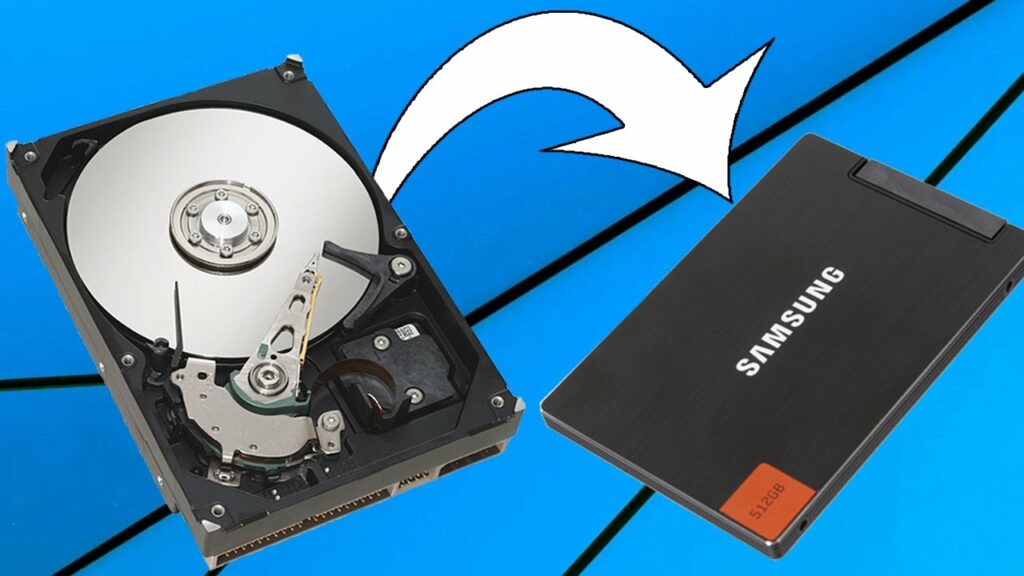
Understanding Hard Drive Cloning
What is Hard Drive Cloning?
Hard drive cloning involves creating an exact, sector-by-sector copy of a source hard drive onto a target hard drive. This process replicates all the data, including the operating system, installed programs, and personal files, making the target drive an exact replica of the source drive.
Benefits of Cloning a Hard Drive
- Data Backup: Cloning creates a complete backup, protecting against data loss.
- System Migration: Move your entire system to a new hard drive without reinstalling everything.
- Upgrade Storage: Upgrade to a larger or faster drive while keeping all your data intact.
- Disaster Recovery: Quickly restore your system in case of hardware failure or corruption.
Types of Hard Drives
- HDD (Hard Disk Drive): Traditional mechanical drives that use spinning disks to store data.
- SSD (Solid State Drive): Modern drives with no moving parts, offering faster read/write speeds.
- NVMe (Non-Volatile Memory Express): High-speed SSDs connected via PCIe interface, providing superior performance.
Preparing for Cloning
Gather Necessary Tools
- Cloning Software: Choose reliable software for cloning. Popular options include:
- Acronis True Image
- Macrium Reflect
- Clonezilla
- EaseUS Todo Backup
- Target Drive: Ensure the target drive has enough capacity to hold all the data from the source drive.
- Connection Cables/Adapters: Depending on your system, you might need SATA cables, USB adapters, or enclosures.
Backup Important Data
Although cloning aims to preserve all data, it’s wise to back up crucial files separately before starting the process.
Check Drive Health
Ensure both the source and target drives are in good health. Use tools like CrystalDiskInfo (Windows) or SMART Utility (macOS) to check for potential issues.
Cloning a Hard Drive on Windows
Using Acronis True Image
Step 1: Install Acronis True Image
- Download and install Acronis True Image from the official website.
- Launch the application and create an account if necessary.
Step 2: Connect the Target Drive
- Connect the target drive to your computer using the appropriate cables or adapters.
- Ensure the drive is recognized by your system.
Step 3: Start the Cloning Process
- Open Acronis True Image.
- Select
Tools>Clone Disk. - Choose the
Automaticmode for ease of use and clickNext.
Step 4: Select Source and Target Drives
- Select the source drive you want to clone and click
Next. - Select the target drive and click
Next.
Step 5: Confirm and Start Cloning
- Review the summary of actions to be performed.
- Click
Proceedto start the cloning process. - Wait for the process to complete, then shut down your computer.
Using Macrium Reflect
Step 1: Install Macrium Reflect
- Download and install Macrium Reflect from the official website.
- Launch the application.
Step 2: Connect the Target Drive
- Connect the target drive to your computer.
- Ensure the drive is recognized by your system.
Step 3: Start the Cloning Process
- Open Macrium Reflect.
- Select the source drive you want to clone.
- Click
Clone this disk.
Step 4: Select Target Drive
- Select the target drive as the destination.
- Ensure the target drive is empty or contains no important data.
Step 5: Configure Cloning Options
- Optionally, adjust partition sizes on the target drive to utilize the available space.
- Click
Nextand thenFinishto start the cloning process.
Step 6: Complete the Cloning Process
- Wait for the process to complete.
- Shut down your computer once cloning is finished.
Cloning a Hard Drive on macOS
Using Carbon Copy Cloner
Step 1: Install Carbon Copy Cloner
- Download and install Carbon Copy Cloner from the official website.
- Launch the application.
Step 2: Connect the Target Drive
- Connect the target drive to your Mac.
- Ensure the drive is recognized by your system.
Step 3: Start the Cloning Process
- Open Carbon Copy Cloner.
- Select the source drive as the
Source. - Select the target drive as the
Destination.
Step 4: Configure Cloning Options
- Optionally, customize the cloning settings and schedule.
- Click
Cloneto start the cloning process.
Step 5: Complete the Cloning Process
- Wait for the process to complete.
- Shut down your Mac once cloning is finished.
Using Disk Utility
Step 1: Open Disk Utility
- Open
Disk Utilityfrom theApplications>Utilitiesfolder.
Step 2: Connect the Target Drive
- Connect the target drive to your Mac.
- Ensure the drive is recognized by your system.
Step 3: Start the Cloning Process
- Select the source drive from the left sidebar.
- Click on the
Restoretab.
Step 4: Select Target Drive
- Drag the target drive to the
Destinationfield. - Click
Restoreto start the cloning process.
Step 5: Complete the Cloning Process
- Wait for the process to complete.
- Shut down your Mac once cloning is finished.
Cloning a Hard Drive on Linux
Using Clonezilla
Step 1: Download and Create Clonezilla Live USB
- Download Clonezilla Live from the official website.
- Create a bootable USB drive using tools like Rufus or UNetbootin.
Step 2: Boot from Clonezilla Live USB
- Insert the Clonezilla Live USB drive into your computer.
- Boot your computer from the USB drive.
Step 3: Start Clonezilla
- Select
Clonezilla livefrom the boot menu. - Choose
Start_Clonezillaand pressEnter.
Step 4: Select Cloning Mode
- Choose
device-devicefor disk-to-disk cloning. - Select
Beginnermode for simplicity.
Step 5: Select Source and Target Drives
- Select the source drive as the
Source Disk. - Select the target drive as the
Destination Disk.
Step 6: Confirm and Start Cloning
- Review the summary of actions to be performed.
- Confirm the cloning process by typing
yand pressingEnter.
Step 7: Complete the Cloning Process
- Wait for the process to complete.
- Shut down your computer once cloning is finished.
Using dd Command
Step 1: Open Terminal
- Open the terminal on your Linux system.
Step 2: Identify Drives
- Use
lsblkorfdisk -lto identify the source and target drives.
Step 3: Start Cloning Process
- Run the following command to clone the drive:bashCopy code
sudo dd if=/dev/sdX of=/dev/sdY bs=64K conv=noerror,syncReplace/dev/sdXwith the source drive and/dev/sdYwith the target drive.
Step 4: Complete the Cloning Process
- Wait for the process to complete.
- Shut down your computer once cloning is finished.
Post-Cloning Steps
Verify Cloned Drive
- Boot from the Cloned Drive: Disconnect the source drive and boot from the cloned drive to ensure everything works correctly.
- Check Data Integrity: Verify that all files and applications are accessible on the cloned drive.
Expand Partition (if necessary)
- Windows: Use
Disk Managementto extend the partition and utilize the full capacity of the target drive. - macOS: Use
Disk Utilityto resize the partition. - Linux: Use
GPartedto adjust partition sizes.
Securely Erase Source Drive (if disposing or repurposing)
- Windows: Use tools like DBAN or built-in utilities to securely erase data.
- macOS: Use
Disk Utilityto erase the drive with a secure format. - Linux: Use the
shredcommand to overwrite data.
Troubleshooting Common Issues
Cloning Process Fails
- Check Connections: Ensure all cables and adapters are securely connected.
- Drive Health: Verify the health of both source and target drives.
- Software Updates: Ensure cloning software is up to date.
Target Drive Not Bootable
- Boot Order: Check BIOS/UEFI settings to ensure the target drive is set as the primary boot device.
- Repair Boot Loader: Use tools like Windows Recovery Environment, macOS Recovery, or Linux GRUB repair to fix boot issues.
Incomplete Cloning
- Check Disk Space: Ensure the target drive has enough space to accommodate all data from the source drive.
- Partition Alignment: Ensure partitions are properly aligned to avoid data corruption.
Conclusion
Cloning a hard drive is a powerful tool for upgrading storage, creating backups, and ensuring data continuity. By following the detailed steps in this guide, you can confidently clone a hard drive on Windows, macOS, and Linux using various tools and methods. Remember to prepare thoroughly, choose reliable cloning software, and verify the cloned drive to ensure a successful cloning process. With these skills, you can efficiently manage your data and maintain system integrity across different devices and scenarios.


