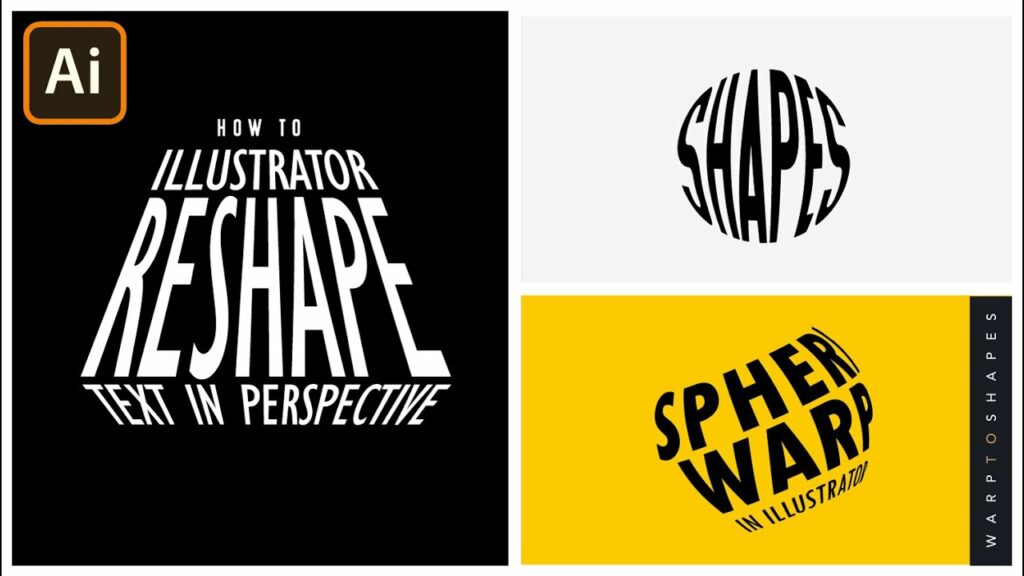
Crafting Curvature: An Extensive Guide to Warping Text in Adobe Illustrator
Warping text in Adobe Illustrator is a dynamic and creative technique that allows designers to bend, distort, and manipulate text to fit a variety of shapes, paths, and designs. Whether you’re designing logos, posters, or digital artwork, mastering the art of warping text can add visual interest, convey mood, and enhance the overall impact of your designs. In this comprehensive guide, we’ll delve into everything you need to know about warping text in Adobe Illustrator, from basic techniques to advanced methods and creative applications.
Understanding Text Warping in Adobe Illustrator:
Before exploring the techniques for warping text, it’s essential to understand the basic principles of text warping in Adobe Illustrator:
- Definition: Text warping refers to the process of distorting or manipulating text to conform to a specific shape, path, or curvature. Illustrator offers various tools and options for warping text, allowing for precise control over the distortion effects applied to the text.
- Text Object vs. Outlines: Text in Illustrator can be warped as a live text object or converted to outlines (vector paths) and then warped. Warping live text allows for non-destructive editing of the text content, while warping text outlines provides more flexibility and control over the distortion effects.
Step-by-Step Guide to Warping Text:
- Create Your Text: Start by creating your text using the Type Tool (T) and typing out the desired text on the artboard. You can choose a font, size, and color for your text before applying any warping effects.
- Convert to Outlines (Optional): If you prefer to warp the text outlines rather than the live text, select the text object and go to Type > Create Outlines (or press Ctrl/Cmd + Shift + O). This converts the text to editable vector outlines.
- Select Your Text: With your text object or outlines selected, navigate to the Effects menu and choose Warp > Warp Options. This opens the Warp Options dialog box, where you can customize the warp effect applied to the text.
- Choose a Warp Style: In the Warp Options dialog box, select a warp style from the dropdown menu. Illustrator offers various preset warp styles, including Arc, Bulge, Flag, Wave, and more. Choose the style that best suits your design concept.
- Adjust Warp Options: Once you’ve selected a warp style, use the sliders and input fields in the Warp Options dialog box to adjust the intensity, bend, and distortion of the warp effect. Experiment with different settings until you achieve the desired look for your text.
- Preview and Apply Warp: Enable the Preview checkbox in the Warp Options dialog box to preview the warp effect in real-time. Once you’re satisfied with the result, click OK to apply the warp effect to the selected text object or outlines.
- Fine-Tune Warp (Optional): After applying the warp effect, you can further fine-tune the appearance of the warped text by selecting it and adjusting the individual anchor points, handles, and path segments using the Direct Selection Tool (A) or the Pen Tool (P).
Advanced Techniques and Tips for Text Warping:
- Custom Warp Mesh: For more precise control over the distortion of text, create a custom warp mesh using the Warp tool (Shift + R). This allows you to manually distort and manipulate the text by dragging individual mesh points.
- Envelope Distort: Use the Envelope Distort feature in Illustrator to warp text along a custom shape or path. Draw a shape or path using the Pen Tool (P) or the Shape Tools, select both the text and the shape/path, and go to Object > Envelope Distort > Make with Top Object.
- Warp Text Along Path: Create text that follows a curved or wavy path by selecting the Type on a Path Tool (Shift + T) and clicking on the desired path. You can then type your text, and Illustrator will automatically warp it to fit the path.
- Stacked Warp Effects: Combine multiple warp effects to achieve complex distortion effects. Apply one warp effect to the text and then go to Object > Expand Appearance to expand the effect. You can then apply another warp effect to the expanded text.
- Perspective Distortion: Create a perspective distortion effect by selecting the text and using the Free Transform tool (E) to skew and distort it manually. This technique is useful for creating dynamic and eye-catching typography designs.
- Blend and Mesh Warp: Experiment with the Blend tool (W) and Mesh Warp tool (Shift + U) to create organic and fluid distortions in your text. These tools offer advanced control over shape blending and mesh deformation, allowing for unique and customized warp effects.
Creative Applications of Text Warping:
- Logo Design: Use text warping techniques to create custom logo designs with dynamic and expressive typography. Warp the text to fit within custom shapes, paths, or symbols, adding visual interest and personality to your logos.
- Poster Design: Design eye-catching posters with warped text that follows the contours of illustrations, photographs, or graphic elements. Experiment with different warp styles and effects to create dynamic typography compositions.
- Digital Artwork: Incorporate warped text into digital artwork and illustrations to add narrative and visual interest. Use text warping to integrate text seamlessly with other graphic elements, creating cohesive and immersive designs.
- Typography Effects: Create unique typography effects with warped text, such as 3D perspective, liquid distortion, or kinetic motion. Warp the text to convey emotions, mimic physical materials, or enhance storytelling in typographic compositions.
- Packaging Design: Design packaging labels and product branding with warped text that conforms to the shape of packaging containers or product surfaces. Use text warping to create visually appealing and informative product labels.
- User Interface Design: Incorporate warped text into user interface (UI) and web design to create visually engaging headers, buttons, and navigation elements. Use text warping to add dimension and hierarchy to UI components, enhancing the user experience.
Conclusion:
In conclusion, text warping in Adobe Illustrator is a versatile and creative technique that offers endless possibilities for manipulating and distorting text to fit a variety of shapes, paths, and designs. By mastering the step-by-step techniques outlined in this guide, exploring advanced tips and creative applications, and incorporating text warping into your design workflow, you’ll be able to unleash your creativity, elevate your designs, and captivate your audience with dynamic and expressive typography. So, experiment fearlessly, push the boundaries of text manipulation, and let text warping be your gateway to limitless creativity in Adobe Illustrator!


