Carving Digital Magic: A Comprehensive Guide to Creating a Halloween Jack-O-Lantern Pumpkin in Photoshop

Introduction
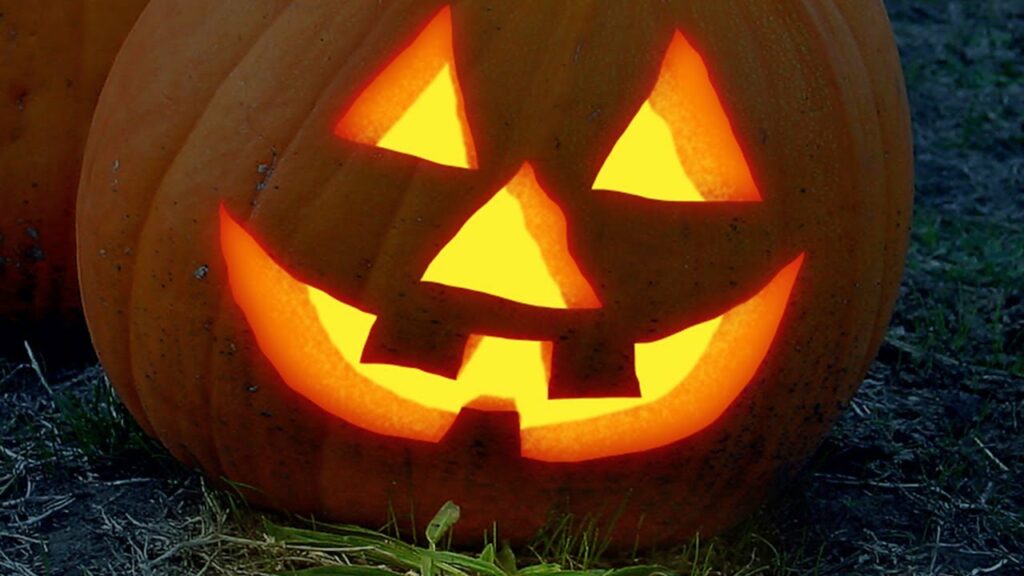
As the crisp autumn air sets in and the leaves turn shades of fiery red and golden brown, the season of Halloween beckons with its enchanting traditions and eerie festivities. Among the most iconic symbols of this spooky celebration is the Jack-O-Lantern – a grinning pumpkin with a flickering light emanating from within. In this extensive guide, we will explore the magical realm of digital pumpkin carving using Adobe Photoshop, unraveling the step-by-step process to bring your virtual Jack-O-Lantern to life. From selecting the perfect pumpkin image to carving intricate details, we will delve into the techniques that will transform your digital canvas into a haunting masterpiece.
Choosing the Right Pumpkin Image
- High-Quality Base Image:
- Start with a high-resolution image of a pumpkin as your canvas.
- Ensure good lighting and clarity to provide a solid foundation for your digital creation.
- Consider Shape and Size:
- Choose a pumpkin image that aligns with your artistic vision.
- Consider the pumpkin’s shape and size to suit the final composition.
- Embrace Varieties:
- Explore different types of pumpkins – from classic orange to quirky heirloom varieties.
- Each pumpkin type can add a unique character to your digital creation.
Preparing the Canvas in Photoshop
- Importing the Pumpkin Image:
- Open Photoshop and import your chosen pumpkin image.
- Use the crop tool to adjust the composition if necessary.
- Background Adjustment:
- Consider adjusting the background to complement the Halloween theme.
- Experiment with dark, spooky backgrounds or eerie gradients.
Carving the Jack-O-Lantern Face
- Choosing a Design:
- Plan your Jack-O-Lantern face design before diving into the carving process.
- Sketch out different expressions and features to find the one that suits your vision.
- Using the Pen Tool:
- Select the Pen Tool in Photoshop for precise carving.
- Create paths outlining the eyes, nose, and mouth according to your chosen design.
- Creating Selections:
- Convert your paths into selections to prepare for carving.
- Fine-tune the selections using feather and refinement options for smoother transitions.
- Layer Mask for Carving:
- Apply a layer mask to the pumpkin layer based on your selections.
- This will create the illusion of carved-out sections, revealing the dark background.
Adding Illumination and Shadows
- Internal Illumination:
- Simulate the internal glow of a Jack-O-Lantern by adding a new layer for the illumination.
- Use a soft, warm color to mimic the gentle light emitted from within.
- Shadows and Depth:
- Introduce shadows around the carved sections to enhance depth.
- Adjust the opacity and blending modes to achieve a realistic shadow effect.
Fine-Tuning Details and Textures
- Surface Texture:
- Enhance the realism of your Jack-O-Lantern by adding surface textures.
- Experiment with brushes to create a bumpy, textured appearance.
- Highlighting Edges:
- Add highlights to the edges of the carved sections for a polished look.
- Adjust the opacity to maintain subtlety and avoid overemphasis.
- Color Variation:
- Introduce subtle color variations to the pumpkin’s surface to mimic natural imperfections.
- Use a soft brush with low opacity to apply variations in hue and saturation.
Creative Enhancements and Effects
- Smoke and Atmosphere:
- Add a layer for smoke or atmosphere to create a mystical ambiance.
- Experiment with blending modes and opacity to achieve the desired effect.
- Glowing Eyes and Mouth:
- Make the eyes and mouth of your Jack-O-Lantern stand out by adding a subtle glowing effect.
- Use soft brushes and layer styles to create a supernatural illumination.
- Background Elements:
- Enhance the overall composition by adding eerie elements in the background.
- Incorporate spooky branches, bats, or other Halloween-themed details.
Final Touches and Exporting
- Reviewing and Adjusting:
- Take a step back to review your digital Jack-O-Lantern.
- Fine-tune details, adjust lighting, and make any necessary corrections.
- Exporting and Sharing:
- Save your masterpiece in a suitable format for sharing.
- Consider sharing your creation on social media platforms or incorporating it into Halloween-themed designs.
Conclusion
Carving a Halloween Jack-O-Lantern in Photoshop is a delightful fusion of digital artistry and spooky creativity. By selecting the perfect pumpkin image, carefully planning your design, and employing techniques like layer masking, illumination, and texture enhancement, you can transform a simple pumpkin photo into a captivating and haunting masterpiece. Embrace the magic of Halloween, experiment with various effects, and let your digital Jack-O-Lantern shine as a beacon of spookiness in the realm of digital art. Whether you’re a seasoned Photoshop enthusiast or a curious beginner, this comprehensive guide equips you with the skills to conjure up a virtual Jack-O-Lantern that will delight and chill in equal measure.


