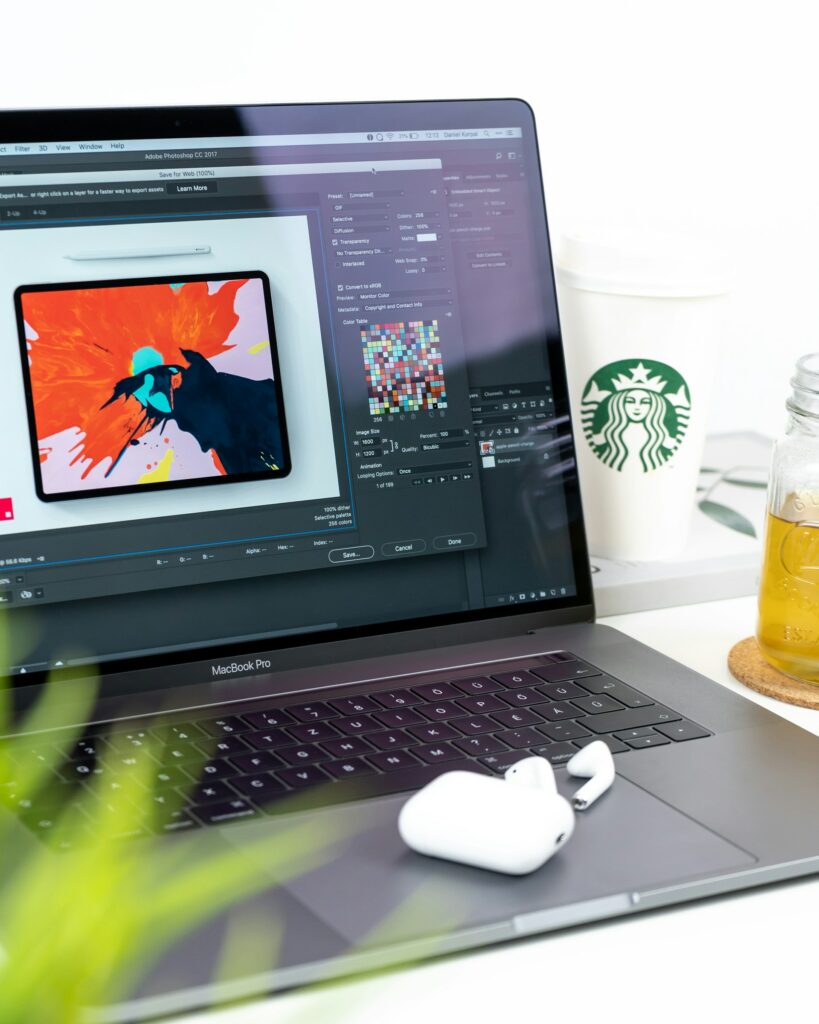
A Step-by-Step Guide for Beginners on How to Create Stunning Thumbnails Using Photoshop
A Step-by-Step Guide for Beginners on How to Create Stunning Thumbnails Using Photoshop
Your video thumbnail is the first impression that people get of your video, and on websites like YouTube, it may determine whether or not someone clicks on your video or goes on to something else. The purpose of a great thumbnail is not only to look pretty; it also conveys a narrative, attracts attention, and helps you establish your unique brand. Photoshop provides you with the greatest amount of control and creative flexibility, allowing you to create graphics that are genuinely exceptional, despite the fact that there are numerous online tools accessible.
Don’t worry if you’re just starting off with Photoshop. This tutorial will provide you with a straightforward, step-by-step approach that will take you through the full process of creating thumbnails. Even if you have never used Photoshop before, by the time you reach the end of this tutorial, you will be able to create thumbnails that are uncluttered, professional, and captivating.
1. Configure the Canvas to the Appropriate Size
The first step is to launch Photoshop and make a new project available. When it comes to YouTube thumbnails, the suggested dimensions are 1280 pixels in width and 720 pixels in height. The resolution should be set to 72 pixels per inch (PPI), which is perfectly enough for display on a screen. The “RGB Color” mode should be selected, and the backdrop should be set to either white or transparent; either option is acceptable, depending on the design style you are going for.
By doing so, you are provided with the ideal blank canvas on which to work on a thumbnail of superior quality that seems fantastic on all platforms.
2. Import the Background Image as well as the Main Image
Bringing in your images is the next step at this point. Simply drag and drop the file you want to use into the Photoshop window. This is the same whether you are using a snapshot of yourself or a screenshot from your film. To keep the dimensions intact, resize it using the Transform tool (Ctrl+T or Cmd+T on a Mac), while holding down the Shift key all the while.
Put the picture in the position where you want it to be. In the majority of thumbnails, the subject (which might be your face or a primary item) is positioned off to one side so that there is room for text on the other side. Examine the backdrop to ensure that it does not interfere with the text that you want to add in the future.
You may also add a blurred version of the same picture as the backdrop for a more dramatic feel. To do this, just copy the image, expand it, then apply a tiny blur using the “Gaussian Blur” effect that is available in the Filter menu.
3. Remove your subject to get a spotless appearance.
When you clip off the topic from the backdrop of your thumbnail, you are doing one of the simplest things you can do to make it stand out. Choose the picture layer you want to pick, and then click on the “Select Subject” button that is located on the toolbar (this button is often located in the “Properties” panel when the Quick Selection tool is being used).
The AI in Photoshop will make an attempt to identify the primary topic. The “Add Layer Mask” button should be pressed once it has been chosen. This eliminates the backdrop completely. Utilizing Layer Styles like as “Stroke” or “Outer Glow,” you can then apply a vibrant outline or glow to your subject in order to make it stand out even more.
As a result, the person or thing that is shown in your thumbnail will immediately attract attention.
4. Add Text That Is Bold and Readable
At this point, write your title or headline. First, choose the Text tool (T), then click on the canvas, and last, input a brief message that packs a punch. You should limit your message to three to five words since people who watch YouTube scroll quickly, so it has to be rapid and clear.
In order to get a powerful visual impression, you should make use of bold typefaces such as Impact, Montserrat Extra Bold, or Bebas Neue. Maintain a large and easily readable text. Select a color that provides a striking contrast with the backdrop; for example, white or yellow works really well when applied to dark backgrounds.
You could want to try adding a black outline (Stroke), a slight shadow (Drop Shadow), or a colored backdrop box behind the text by using the Rectangle tool. These are all possibilities that will help increase readability.
5. Take Advantage of the Contrast and Color Available to You
In order to direct the attention of the spectator, good thumbnails make use of contrast, that is, dark and light, warm and cold. Make adjustments to the brightness, saturation, and contrast of your picture in order to make everything seem more colored.
To fine-tune your photographs, you may make use of the adjustment layers that are available in Photoshop. These layers include “Brightness/Contrast,” “Hue/Saturation,” and “Levels.” You should strive to make your thumbnail as colorful and vibrant as possible, but not so brilliant that it seems to be false.
Keep clutter to a minimum. Maintain a focus on a distinct theme, a vibrant color palette, and a limited number of distractions.
6. After that, add the finishing touches and perfect the details.
A few simple gestures may go a long way. Your thumbnail may be given a cinematic feel by adding subtle lighting effects, light flares, or grain textures all of which you can choose from. To create a sense of equilibrium and frame the composition, you may make use of gradients, form overlays, and borders.
You should zoom in to verify the alignment, spacing, and borders of your work. When necessary, make use of guidelines or rulers to center the components. Begin by saving your creation in PSD file so that you may come back to it at a later time and make changes.
The next step is to export your thumbnail as a JPG or PNG file by going to File > Export > Save for Web (Legacy). Make sure that the file size is less than 2 megabytes, since this is the maximum size that most platforms allow for.
7. Put each video through its paces and refine it.
Your first thumbnail may not be of the highest quality, and that’s just OK. Whether you are learning, testing, or improving with each design, what is important is that you are doing so. Examine the thumbnails of YouTube producers or YouTubers who have achieved success in your specialization. Pay attention to the techniques that they are using, including the font size, color scheme, emotions, and layout.
To choose which version of your thumbnail to post, you should first try creating a few different versions of it. Through the use of third-party tools or on some platforms, you can even do A/B testing on your thumbnails to see which version receives a greater number of clicks.
Over the course of time, the design of your thumbnail will develop into one of the most powerful instruments for your brand.
To summarize, you should get viewers to click before they ever hit the play button.
This is not about being a graphic designer; rather, it is about conveying a visual tale that your audience can comprehend immediately. Creating a strong thumbnail is not about being artistic. You have the ability to go beyond the fundamentals and produce something that genuinely sticks out in a feed that is already full of other content when you use Photoshop.
Just remember to follow these instructions, have faith in your gut feelings, and don’t be scared to try new things. The more you practice, the more your thumbnails will come to represent your own personal style, which will in turn help drive actual growth to your channel.