
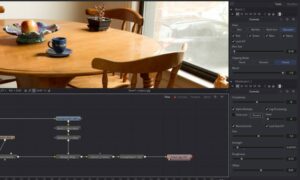
Mastering the Art of 3D Keying in DaVinci Resolve: A Comprehensive Guide
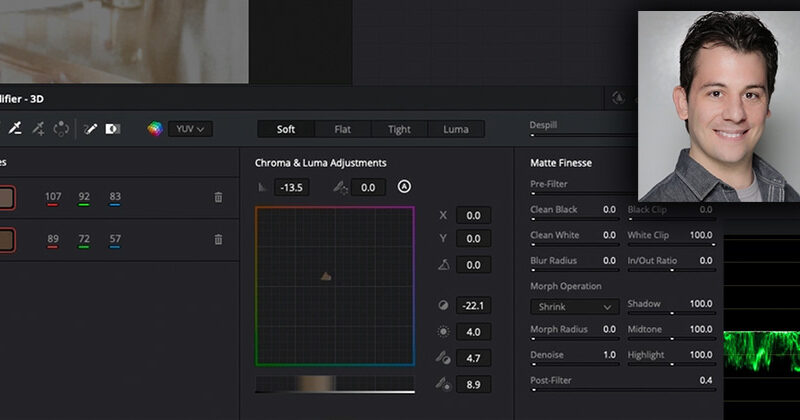
Introduction: The ability to extract subjects from their backgrounds with precision and finesse is a fundamental skill in the realm...
 Mastering the Art of 3D Keying in DaVinci Resolve: A Comprehensive Guide
  Mastering the Art of 3D Text Creation in DaVinci Resolve: A Comprehensive Guide
  Unleashing Creativity: A Deep Dive into the 3D Workspace in DaVinci Resolve
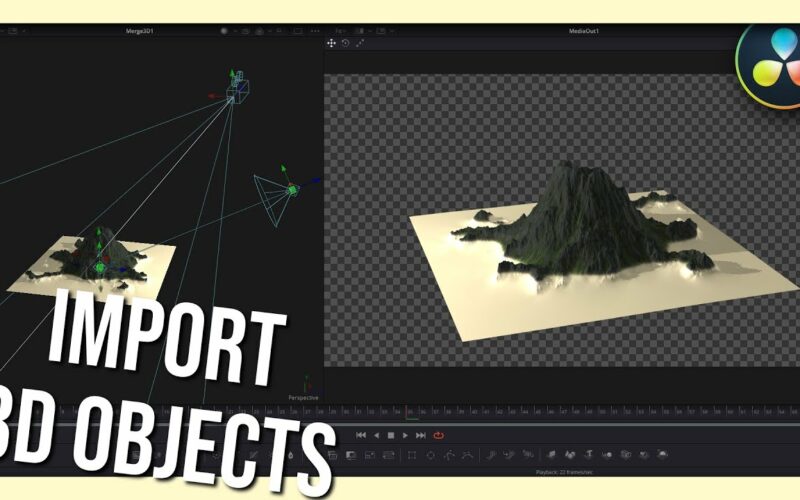
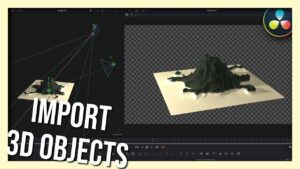
  Mastering the Art of Importing 3D Models in DaVinci Resolve: A Comprehensive Guide
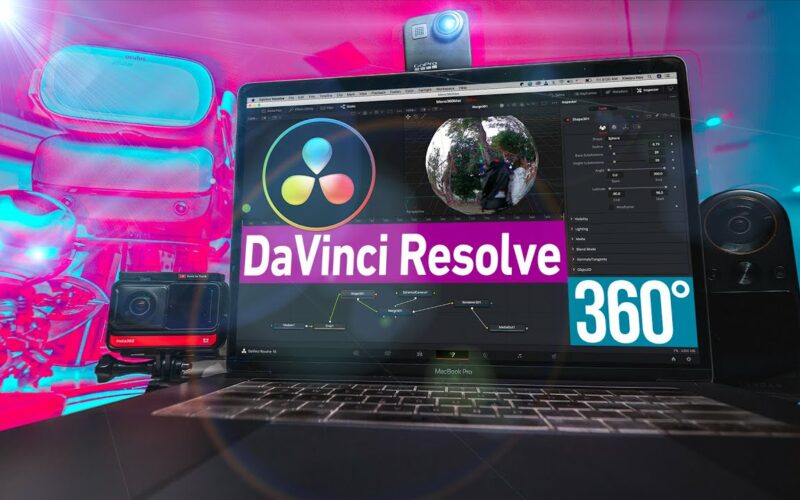
 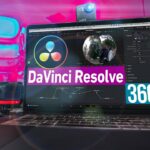 Elevating Immersion: A Deep Dive into Adding 360-Degree Video Effects in DaVinci Resolve
 Introduction: The ability to extract subjects from their backgrounds with precision and finesse is a fundamental skill in the realm...

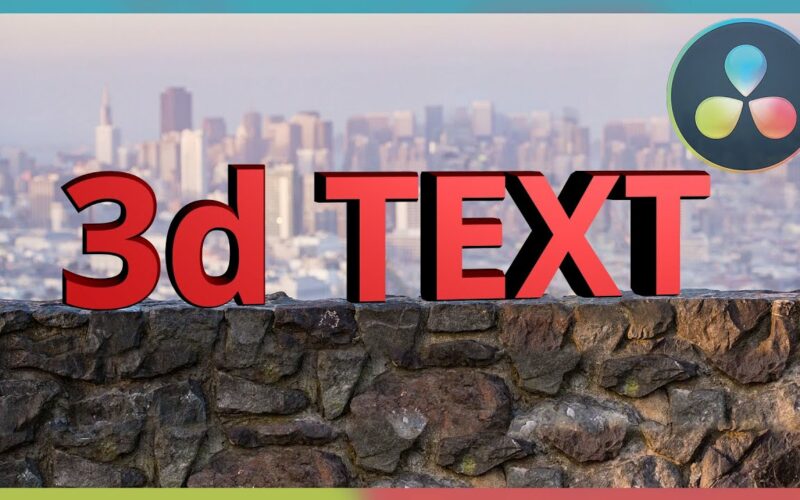
Introduction: In the realm of visual storytelling, text serves as a powerful tool for conveying information, setting the mood, and...
Introduction: DaVinci Resolve stands as a beacon of innovation in the realm of video editing and post-production, continually pushing boundaries...
Introduction: DaVinci Resolve, known for its robust video editing capabilities, has evolved into a powerhouse for creatives across various multimedia...

Introduction: The realm of 360-degree video is a captivating landscape where viewers are immersed in fully interactive environments, exploring every...
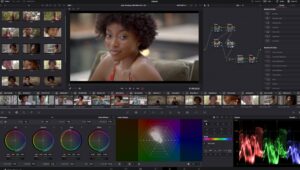
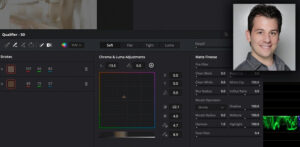
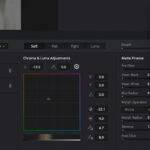
Introduction: Color correction is a critical aspect of the post-production process, allowing editors to enhance the visual quality, consistency, and...